40
Operation
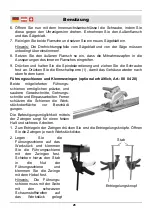
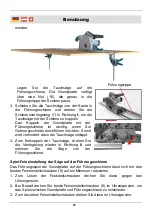
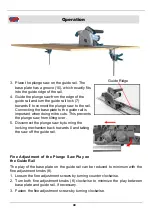
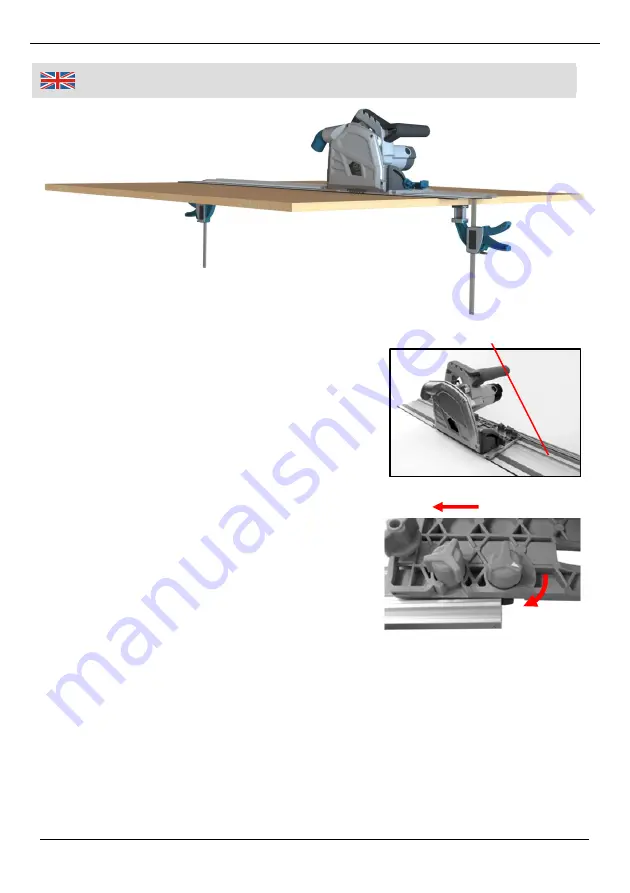
3. Place the plunge saw on the guide rail. The
base plate has a groove (16), which exactly fits
into the guide ridge of the rail.
4. Guide the plunge saw from the edge of the
guide rail and turn the guide rail lock (7)
towards
I
to connect the plunge saw to the rail.
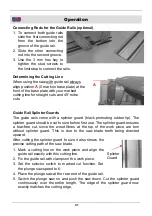
Connecting the base plate to the guide rail is
important when doing mitre cuts. This prevents
the plunge saw from tilting over.
5. Disconnect the plunge saw by turning the
locking mechanism back towards 0 and taking
the saw off the guide rail.
Fine Adjustment of the Plunge Saw Play on
the Guide Rail
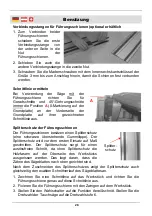
The play of the base plate on the guide rail can be reduced to minimum with the
fine adjustment knobs (8).
1. Loosen the fine adjustment screws by turning counter clockwise.
2. Turn both fine adjustment knobs (8) clockwise to minimize the play between
base plate and guide rail, if necessary.
3. Fasten the fine adjustment screws by turning clockwise.
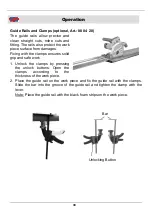
Guide Ridge

