


15
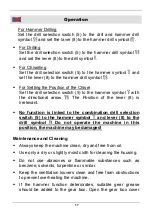
Operation
Before first Use
Unpack the pneumatic drill hammer and check all parts for any
damage in transit. Dispose of packaging materials or store it out
of reach of children. Plastic bags etc. may become a deadly toy
for children.
Use only tool bits with SDS Plus coupler! If the shank of the tool
does not match the coupler on the machine, the tool must not be
used!
Inserting Tools
Attention! Unplug from the power supply before cleaning,
maintaining or when not in use.
1. Lightly grease the shaft of the drill before inserting. Keep the
guides and grooves in the shaft clean.
2. To attach a drill or chisel, pull the locking sleeve (3) of the
SDS Plus chuck (2) back and insert the tool into the chuck.
The tool has a slot with which a guide rail in the chuck
engages.
3. Slightly turn the tool while inserting until the grooves and
guides lock into each other. When the locking ring slides back
into place, the tool is locked into place. Before starting wok,
check if the tool has firmly locked into place. To remove the
tool, pull back the locking ring and pull the tool out of the
chuck.
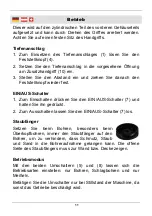
Auxiliary Handle
For your own safety, always use the auxiliary grip (10) with the
drill hammer.


