21
Using
Before first Use
Remove all parts from the packaging. Keep packaging material out of reach of
children. There is risk of suffocation!
The negatives and slides scanner supports Windows XP*, Vista and Win 7, via
USB 2.0 port only. USB port 1.1. is not supported.
Clean the inner glass surface of the scanner with the included cleaning brush (7)
with using alcohol or similar in order to achieve a clear image.
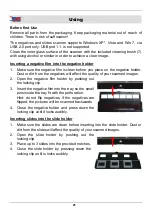
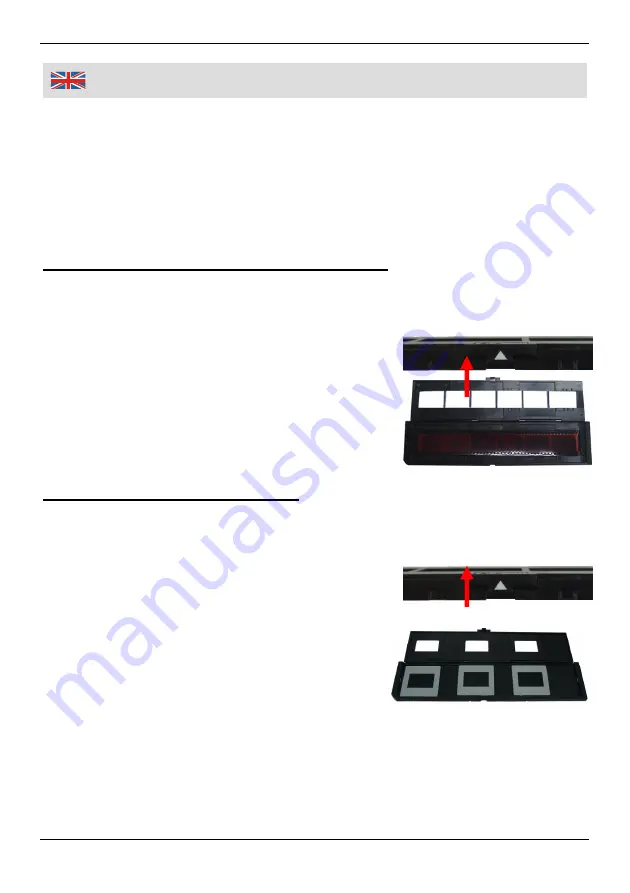
Inserting a negative film into the negative holder
1. Make sure the negative film is clean before you place on the negative holder.
Dust or dirt from the negatives will affect the quality of your scanned images.
2. Open the negative film holder by pushing out
the locking clip.
3. Insert the negative film into the tray so the small
pins inside the tray fit with the perforation.
Hint: do not flip negatives, if the negatives are
flipped, the pictures will be scanned backwards.
4. Close the negative holder and press down the
locking clip until it locks audibly.
Inserting slides into the slide holder
1. Make sure the slides are clean before inserting into the slide holder. Dust or
dirt from the slides will affect the quality of your scanned images.
2. Open the slide holder by pushing out the
locking clip.
3. Place up to 3 slides into the provided notches.
4. Close the slide holder by pressing down the
locking clip until is locks audibly.


