24
Installing the Driver and Software
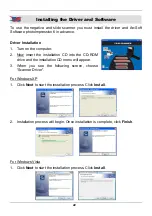
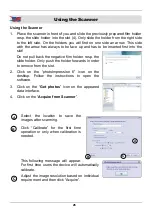
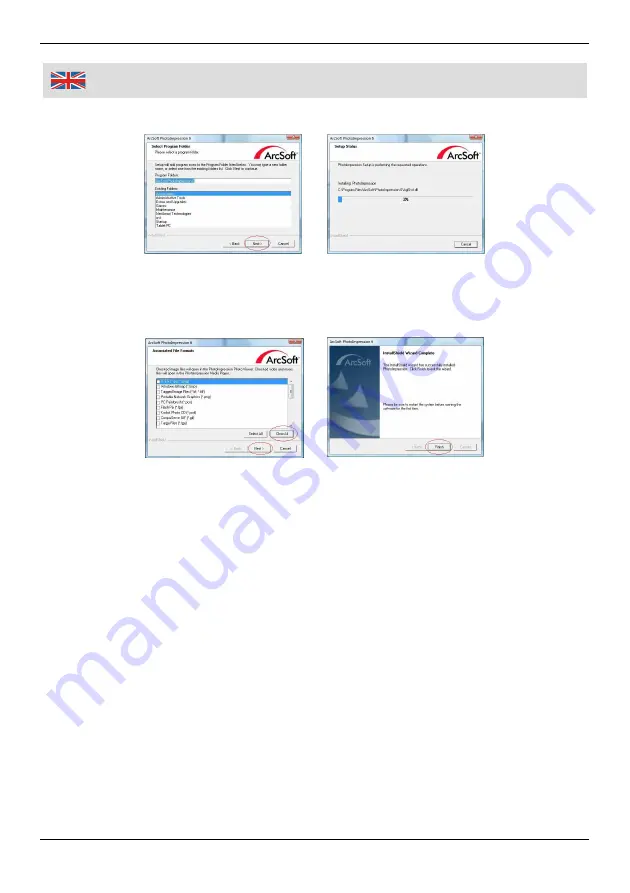
3. Click
Next
several times so photoImpression will start setup process.
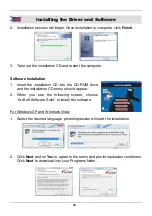
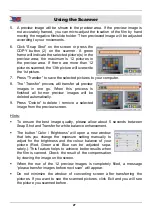
4. Once you get this screen, select "
Clear All
" so that photoImpression does not
take over the files on your computer . Click
Next
.
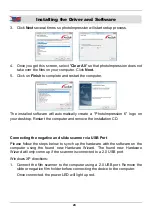
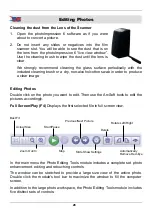
5. Click
on
Finish
to complete and restart the computer.
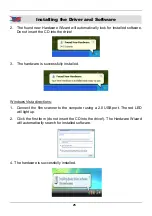
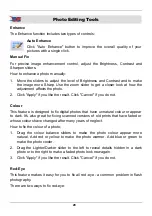
The installed software will automatically create a “PhotoImpression 6” logo on
your desktop. Restart the computer and remove the installation CD.
Connecting the negative and slide scanner via USB Port
Please follow the steps below to synch up the hardware with the software on the
computer using the found new Hardware Wizard. The found new Hardware
Wizard will only come up if the scanner is connected to a 2.0 USB port.
Windows XP directions:
1. Connect the film scanner to the computer using a 2.0 USB port. Remove the
slide or negative film holder before connecting the device to the computer.
Once connected, the power LED will light up red.


