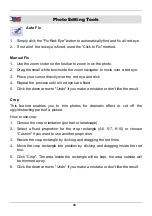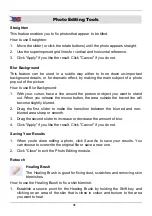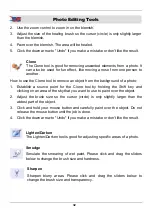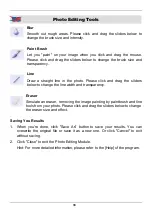
26
Using the Scanner
Using the Scanner
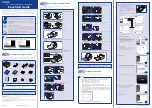
1. Place the scanner in front of you and slide the previously prepared film holder
resp. the slide holder into the slot (4). Only slide the holder from the right side
to the left side. On the holders you will find on one side an arrow. This side
with the arrow has always to be face up and has to be inserted first into the
slot!
Do not pull back the negative film holder resp. the
slide holder. Only push the holder forwards in order
to remove from the slot.
2. Click on the “photoImpression 6” icon on the
desktop. Follow the instructions to open the
software.
3. Click on the “
Get photos
” icon on the appeared
data interface.
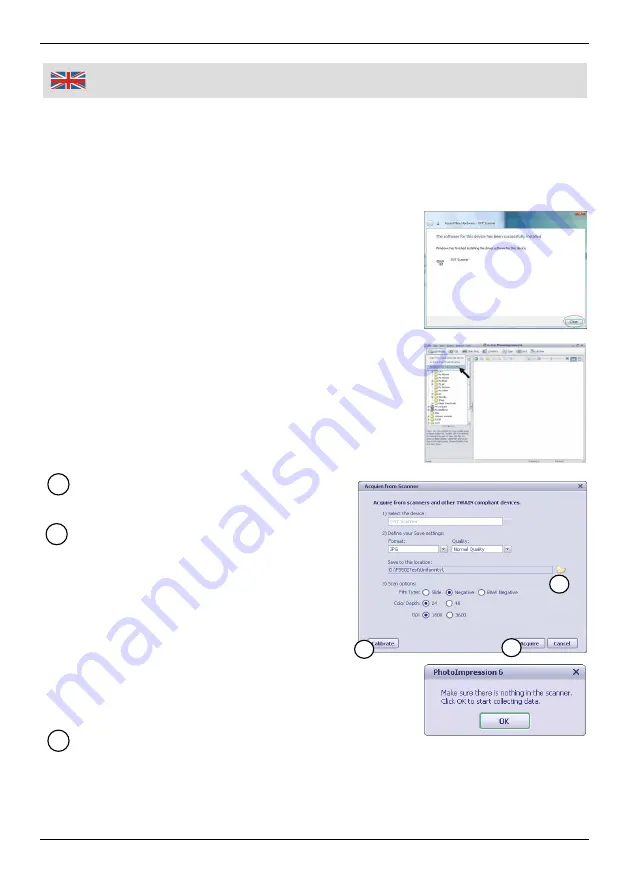
4. Click on the “
Acquire from Scanner
”.
Select the location to save the
images after scanning.
Click “Calibrate” for the first time
operation or only when calibration is
needed.
This following message will appear.
For first time users the device will automatically
calibrate.
Adjust the image resolution based on individual
requirement and then click “Acquire”.
A
B
C
B
C
A

