10 | Westinghouse Outdoor Power Equipment, LLC
Westinghouse Outdoor Power Equipment, LLC | 11
ASSEMBLY
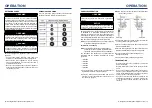
FUEL
WARNING
Fire and explosion hazard. Never use a gasoline
container, gasoline tank, or any other fuel item that is
broken, cut, torn or damaged.
DANGER
Fire and explosion hazard. Do not overfill fuel tank. Fill
only to the red fill ring located in the in-tank fuel screen
filter. Overfilling may cause fuel to spill onto engine
causing a fire or explosion hazard.
DANGER
Fire and explosion hazard. Never refuel the generator
while the engine is running. Always turn the engine off
and allow the generator to cool for two minutes before
refueling.
NOTICE
E85 E15
Do not use E15 or E85 fuel in this
product. Engine or equipment
damage caused by stale fuel or
the use of unapproved fuels (such
as E15 or E85 ethanol blends) is
not covered by warranty. Only use
unleaded gasoline containing up to
10% ethanol.
FUEL REQUIREMENTS
•
CLEAN, FRESH, unleaded gasoline, 87–93 octane.
•
Up to 10% ethanol (gasohol) is acceptable (where
available; non-ethanol fuel is recommended).
•
DO NOT use E85 or E15.
•
DO NOT use a gas oil mix.
•
DO NOT modify the engine to run on alternate fuels.
•
DO NOT fuel indoors.
•
DO NOT create a spark or flame while fueling.
USING FUEL STABILIZER
Adding a fuel stabilizer (not included) extends the usable
life of fuel and helps prevent deposits from forming that
can clog the fuel system. Follow the manufacturer’s
instructions for use.
Always mix the correct amount of fuel stabilizer to gasoline
in an approved gasoline container before fueling the
generator. Run the generator for five minutes to allow the
stabilizer to treat the entire fuel system.
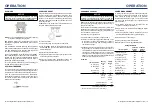
FILLING THE FUEL TANK
1.
Turn the generator OFF and allow to cool for a minimum
of two minutes before fueling.
2.
Place the generator on level ground in a well ventilated
area.
3.
Clean the area around fuel cap and remove the cap
slowly.
NOTICE
Only fill the tank from an approved gasoline container.
Make sure the gasoline container is internally clean and
in good condition to prevent fuel system contamination.
4.
Slowly add the recommended fuel. Do not overfill. Fill
only to the red maximum fill ring on the fuel screen filter
visible in the filler neck.
Maximum
Fuel Level
Screen
Filter
Fuel Cap
5.
Install the fuel cap. Tighten until a click is heard
(iGen2500 only).
NOTICE
Fuel can damage paint and plastic. Use caution when
filling the fuel tank. Damage caused by spilled fuel is not
covered under warranty.
NOTICE
Clean the fuel screen filter of debris before and after
each fueling. Remove the fuel screen filter by slightly
compressing it while removing it from the fuel tank.
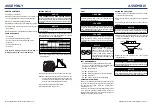
ASSEMBLY
CARTON CONTENTS
1.
Carefully open the carton.
2.
Remove and save the instruction manual, oil bottle, oil
funnel, spark plug socket wrench, and screwdriver.
3.
Remove and discard the packing materials.
4.
Unfold the top of the plastic bag enclosing the generator.
5.
Carefully cut the vertical corners of the carton to access
the generator.
6.
Recycle or dispose of the packaging materials properly.
CARTON CONTENTS
• User manual
•
Quick Start Guide/Maintenance Schedule
• 0.37 Quart (0.35 Liter) bottle of SAE 10W-30 Oil
• Screwdriver
• Spark plug socket wrench
• Oil Funnel
If any parts are missing, contact our service team at
service@wpowereq.com or call 1-855-944-3571.
INITIAL OIL FILL
NOTICE
THIS GENERATOR HAS BEEN SHIPPED WITHOUT
OIL
. Do not attempt to crank or start engine before it has
been properly serviced with recommended oil. Failure to
add engine oil before starting will result in serious engine
damage.
NOTICE
Use of 2-stroke/cycle oil or other unapproved oil types
can cause severe engine damage that is not covered
under warranty.
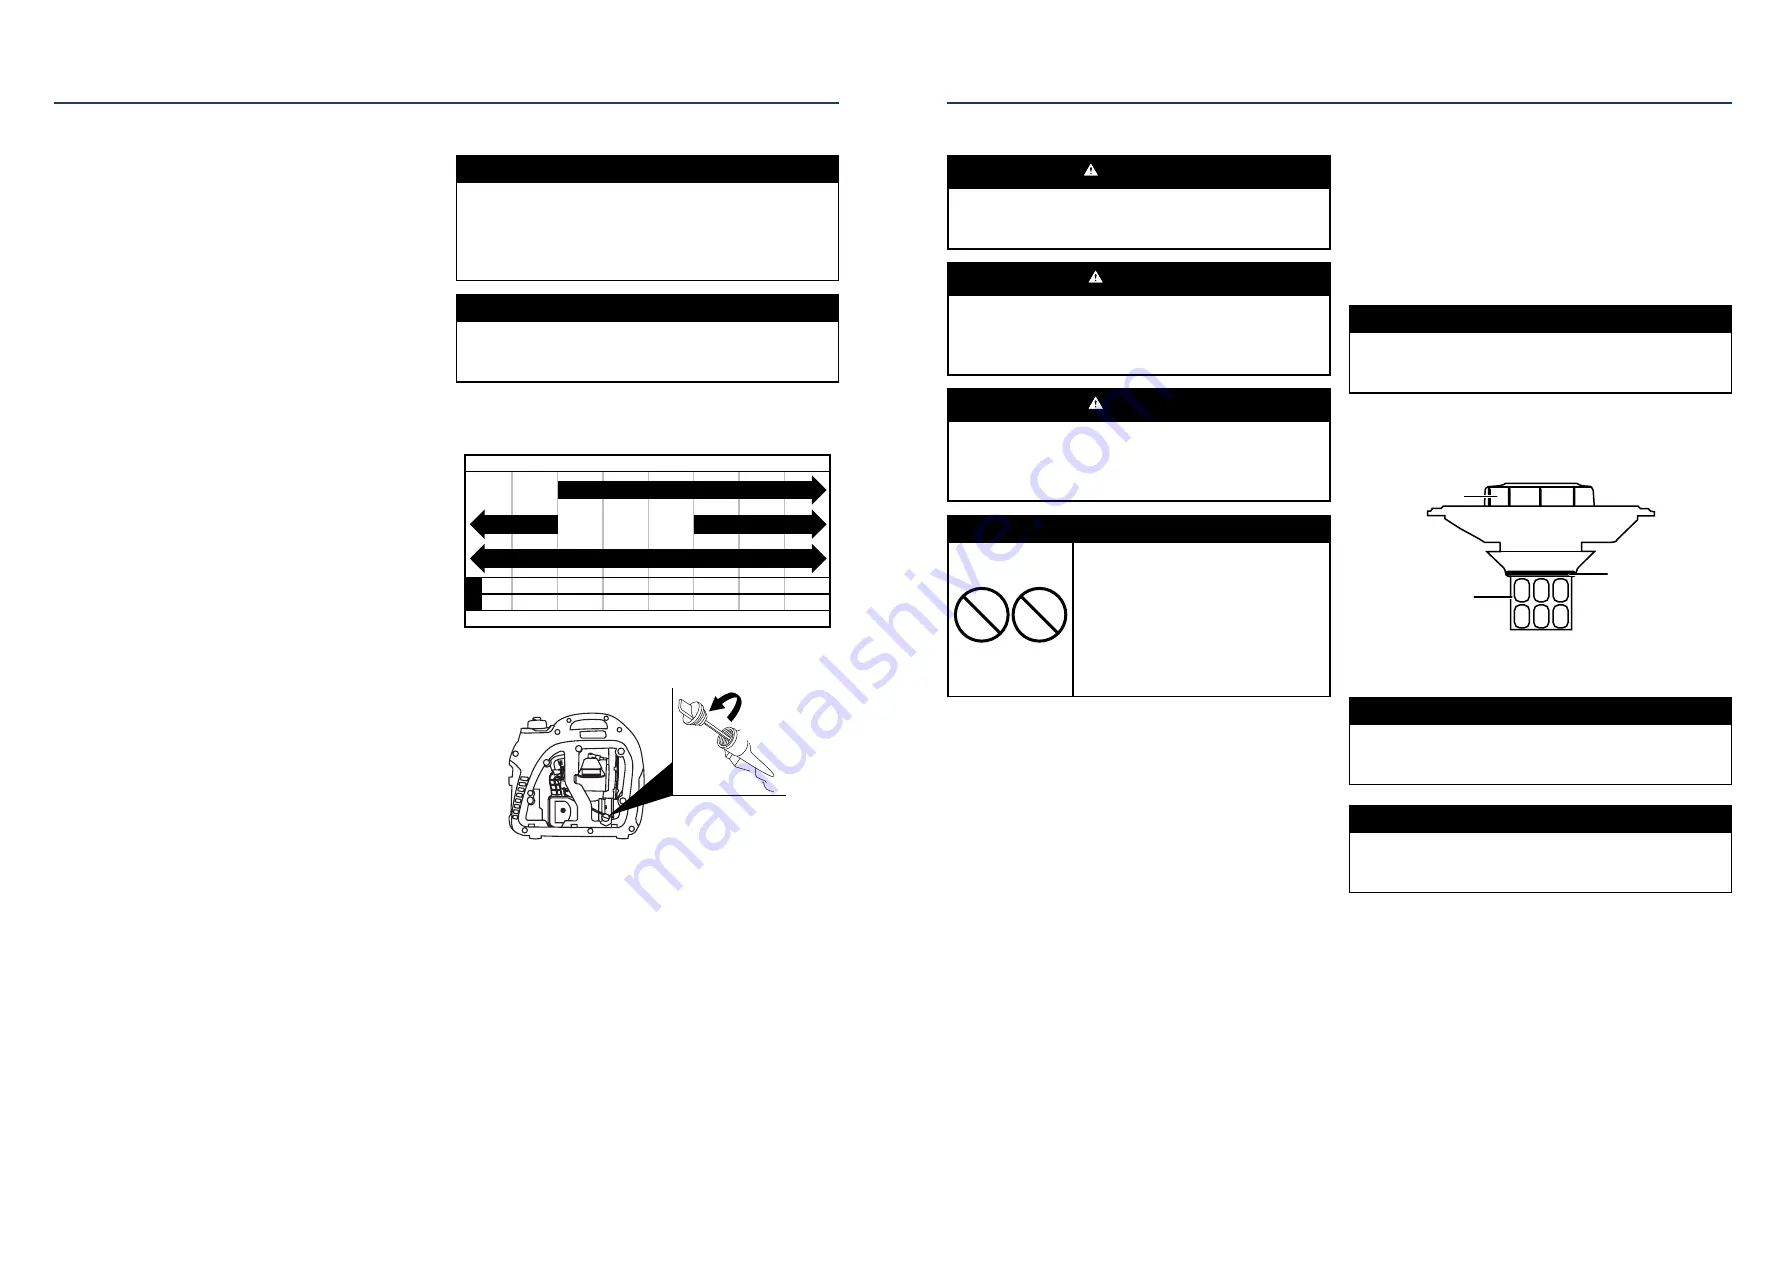
The included, recommended oil type for typical use is
10W-30 engine oil. If running the generator in extreme
temperatures, refer to the following chart.
-20
0
20
40
60
Ambient temperature
Recommended Engine Oil Type
80
100
120
-28.9
°F
°C
-17.8 -6.7 4.4
15.6 26.7 37.8 48.9
10W-30
5W-30 Synthetic
10W-40
5W-30
1.
On a level surface, remove the engine service cover
and oil dipstick.
2.
Using the supplied funnel and oil, add oil into the engine.
Note:
As residual oil from the factory may remain in the
engine, add the oil incrementally near the end of the
bottle to prevent overfilling the engine. See Engine
Oil Level Check in the Maintenance section.
3.
Replace the oil dipstick and hand-tighten.
4.
Replace the engine service cover.


