67
WHL-016 REV. 12.18.14
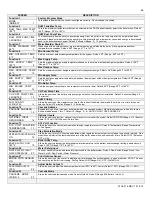
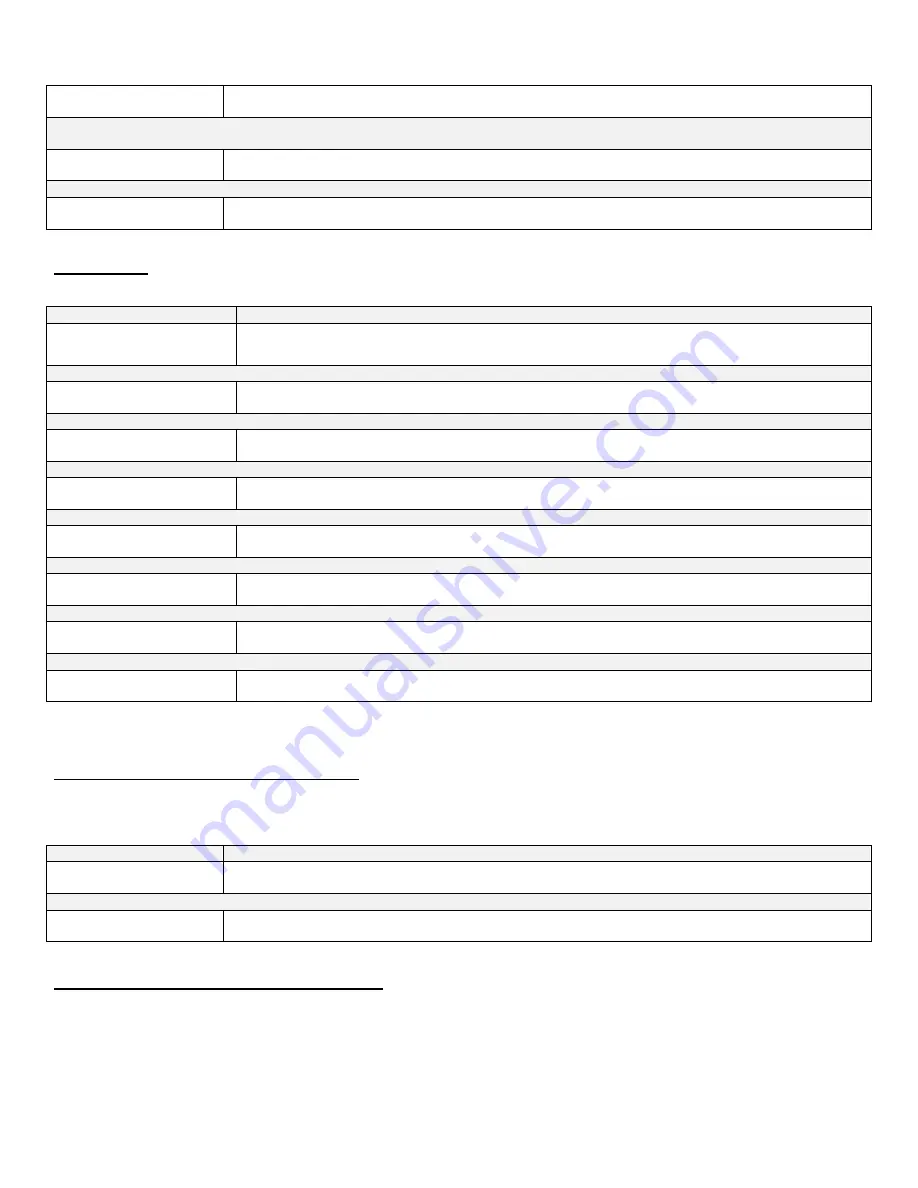
DHW SET POINT
119
o
F
Function:
Adjusts the indirect tank set point. Default: 119
o
F (Range: 70
o
F to 185
o
F).
DHW DIFF SET POINT
7
o
F
Function:
Adjusts the indirect tank differential set point. Default: 7
o
F (Range: 1
o
F to 30
o
F).
TEMP DISPLAY C OR F
o
F
Function:
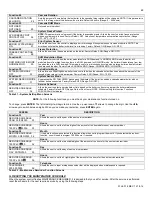
Adjusts the temperature measurement in F = Fahrenheit to C = Celsius (Default is Fahrenheit).
Table 18
– Boiler Setting Screen Descriptions
Clock Settings
(NOTE: The clock will reset if the boiler is powered off for more than a week.)
SCREEN
DESCRIPTION
CLOCK MODE (12/24)
08/28/2009 Fr 9:42A
Function:
Changes the clock from 12 hour mode (8:45 PM) to 24 hour mode (20:45). To change to 24 hour mode,
press the
ENTER
key. The letter (A or P) after the time will blink. Press the up or down arrow key once and the letter
will disappear. Press the
ENTER
key to save the new setting.
CLOCK HOUR
08/28/2009 Fr 10:01A
Function:
Allows the user to adjust the hour setting.
CLOCK MINUTE
08/28/2009 Fr 10:01A
Function:
Adjusts the minute setting.
CLOCK DAY OF WEEK
08/28/2009 Fr 10:01A
Function:
Adjusts the day of week.
CLOCK DATE MODE
08/28/2009 Fr 10:01A
Function:
Allows the user to switch to European date format (2009/08/28) from US format (08/28/2009).
CLOCK YEAR
08/28/2009 Fr 10:01A
Function:
Adjusts the year setting.
CLOCK MONTH
08/28/2009 Fr 10:01A
Function:
Adjusts the month setting.
CLOCK DATE
08/28/2009 Fr 10:01A
The clock is set.
Table 19
– Clock Setting Screens
NOTE:
The clock does not automatically adjust for Daylight Savings Time, and requires manual adjustment.
E. PROGRAMMING THE SYSTEM SETTING
System Setting Program Access
NOTE
: Programming the boiler control is not possible when the boiler is firing. Make sure any input which can create a demand on the
boiler, such as the tank thermostat, is turned off, so the boiler will remain idle to allow programming.
SCREEN
DESCRIPTION
ENTER MENU CODE
000
To access the boiler setting program, press and hold the
ENTER
Key for 4 seconds, until the display shows the screen
at left.
ENTER MENU CODE
925
Using the arrow keys on the display, log in your
System Menu Access Code “925”
. To confirm code, press
ENTER
to access system setting program navigation menu.
Table 20
– System Setting Access
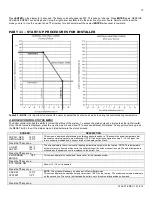
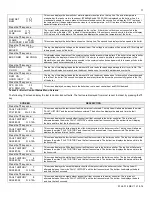
F. SYSTEM SETTING PROGRAM NAVIGATION
Once the
System Menu Access Code
is confirmed, the user can begin to set the system setting menu. Use the
arrow keys on
the display to navigate through the system setting program. To change a setting, press
ENTER
. System settings can be
increased
by
pressing the
UP ARROW
and
decreased
by pressing the
DOWN ARROW
on the display. When done, press
ENTER
. Setting will stop
blinking and you can move on to next setting. Press
RESET
to exit programming and store settings. Listed below are the boiler settings
that can be programmed into the control.
Summary of Contents for WBCNG399W
Page 14: ...14 WHL 016 REV 12 18 14 SPECIFICATIONS AND DIMENSIONS Figure 2 Specifications and Dimensions ...
Page 24: ...24 WHL 016 REV 12 18 14 Figure 8 Piping Symbol Legend ...
Page 59: ...59 WHL 016 REV 12 18 14 Figure 32 Cascade Master and Follower Wiring ...
Page 60: ...60 WHL 016 REV 12 18 14 Figure 33 Internal Connection Diagram LP 293 J ...
Page 83: ...83 WHL 016 REV 12 18 14 055 080 110 PARTS BREAKDOWN Figure 36 Replacement Parts LP 387 J ...
Page 85: ...85 WHL 016 REV 12 18 14 155 199 285 399 PARTS BREAKDOWN ...
Page 86: ...86 WHL 016 REV 12 18 14 Figure 38 Replacement Parts LP 387 KK ...
Page 87: ...87 WHL 016 REV 12 18 14 155 199 285 399 MODEL PARTS BREAKDOWN ...
Page 91: ...91 WHL 016 REV 12 18 14 ...
Page 92: ...92 WHL 016 REV 12 18 14 ...


