background image

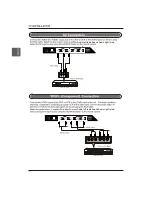
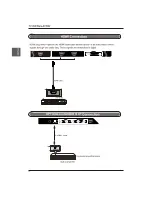
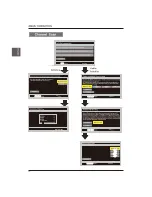
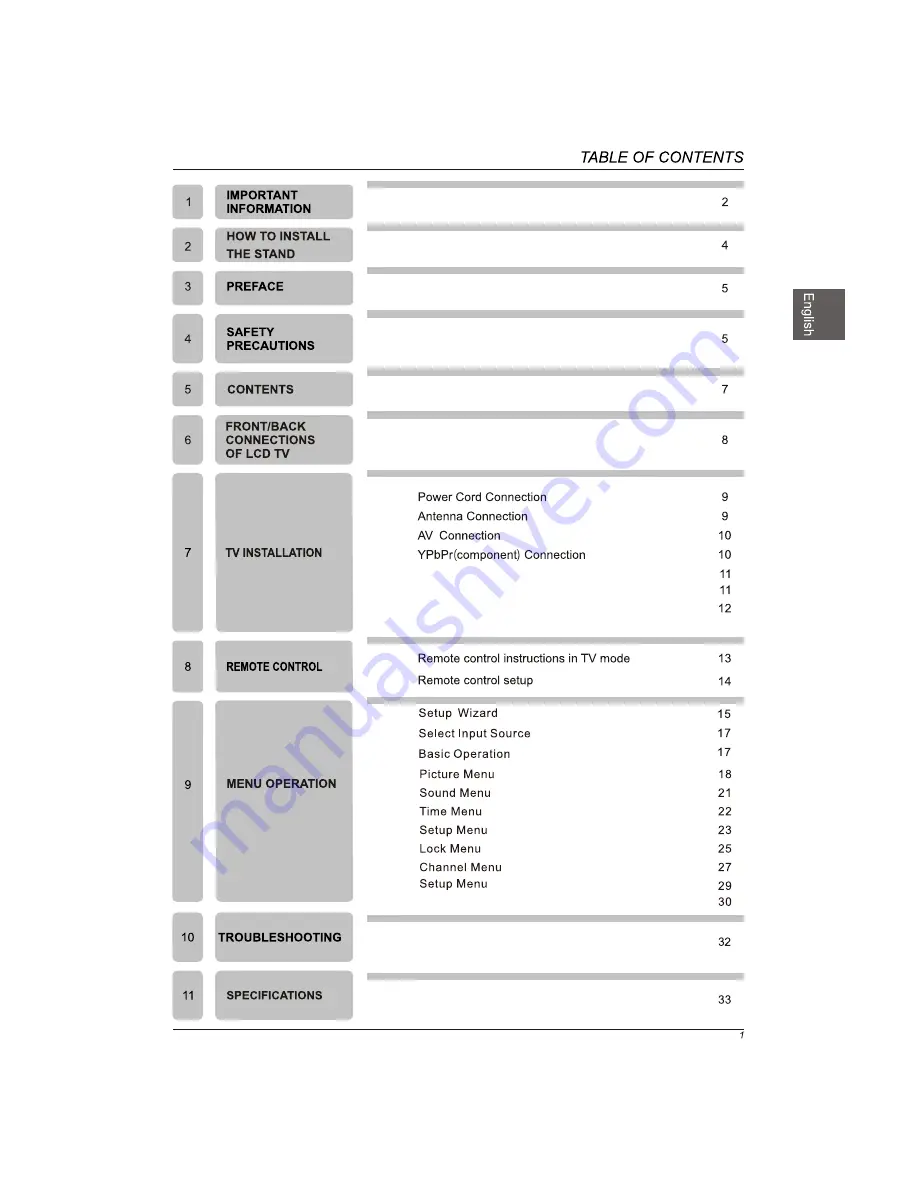
VGA(PC)Connection

HDMI&OPTICAL&Auido out Connection

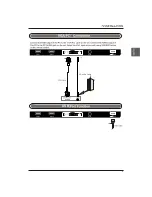
USB Port Function

USB Menu

Summary of Contents for WD28HC1160

Page 1: ...USER S MANUAL MANUEL DE L UTILISATEUR MANUAL DEL USUARIO WD28HC1160 ...

Page 2: ...VGA PC Connection HDMI OPTICAL Auido out Connection USB Port Function USB Menu ...

Page 3: ......

Page 4: ...23 7 0 5 ...

Page 5: ...M4x14 3pcs 1 Fix the base as image1 2 Fix the base cover to the base as image2 3 Fix the base cover to the base as image3 M4x14 4pcs image3 image 4 ...

Page 6: ......

Page 7: ......

Page 8: ......

Page 9: ...7 USB 5 PC IN Jack 3 COMPONENT VIDEO IN and AUDIO IN Jack 2 OPTICAL Jack 1 Headphone Jack 6 TV ANTENNA Terminal 4 HDMI IN Jack SOURCE Blue when TV is powered on Red when TV is powered off OPTICAL CVBS ...

Page 10: ......

Page 11: ...Audio left is white and Audio right is red Audio left is white and Audio right is red OPTICAL CVBS OPTICAL CVBS ...

Page 12: ...USB PC Audio Cable ...

Page 13: ...OPTICAL and AUDIO OUT OPTICAL Cable OPTICAL OPTICAL CVBS ...

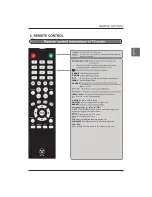
Page 14: ...r off Press once to disable the audio and press again to enable the audio ASPECT SLEEP INFO S MODE P MODE Press to set the closed caption Press to adjust between available audio channel SOURCE S OK Displays V CHIP Switch to V CHIP input Press to diaplay the favourite program list FAV Add Erase channel to favourite program list ADD ERASE FAV FAV Press these two keys to switch to your favourite prog...

Page 15: ......

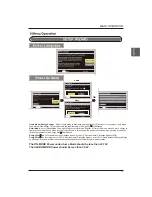
Page 16: ...ergy Star is a joint program of the U S Environmental Protection Agency and the U S Department of Energy helping us all save money and protect the environment through energy efficient products and practices The ON MODE Power under Home Mode should be less than 23 7W The SLEEP MODE Power should be less than 0 5 W HOME Retail OK OK OK Next OK Power On Mode Use the Left Right arrows on your remote co...

Page 17: ...YPbPr AV OK OK OK YPbPr YPbPr AV HDMI1 HDMI2 HDMI3 VGA USB OK Menu Skip DTV s OK OK Use the Up and Down arrows on your remote control to select the channel scan type Total Found ...

Page 18: ...Select Input Source Basic Operation OK Lock OK YPbPr AV Source Select HDMI1 HDMI2 HDMI3 VGA USB ...

Page 19: ...Press button to select Color Temperature then press button to adjust Available color Temp mode Warm Cool Normal Color Temperature Lock Color Temperature Normal ...

Page 20: ...Off Weak Medium Strong Color Red Hue Saturation Brightness Reset Custom Lock OK OK OK OK Lock Lock Lock Normal Color Temperature ...

Page 21: ...the option you want press OK OK OK Lock Lock ...

Page 22: ...Audio Surround Mode Surround Mode Sound Mode Sound Mode On or Off Audio menu Sound Mode Bass Treble Balance Digital Audio Ouput Surround Mode AVL English Raw Off Off Standard Lock Audio Language Audio Language Audio Language ...

Page 23: ...TIME Menu Sleep Timer Sleep Timer Lock ...

Page 24: ...OSD Timeout OSD Timeout Lock OK OK Lock Digital CC Option Service1 OSD Timeout ...

Page 25: ...00 OK OK OK Lock Lock Lock Lock Digtial CC Option Press button to select Option then press button enter submenu Press button to select Advance Selection then press button to select Service1 Service2 Service3 Service4 Service5 Service6 off ...

Page 26: ...Block Unrated Off Block Unrated Off On Change Password 8899 a sub menu will OK OK Lock Lock Lock Lock Lock 0 9 0 9 0 9 ...

Page 27: ...Block Unrated Off Block Unrated Off Block Unrated Off OK OK OK Lock Lock Lock Lock Lock YPbPr AV HDMI1 Unblock Unblock Unblock Unblock Unblock Unblock Unblock HDMI2 HDMI3 VGA USB NA ...

Page 28: ...Signal Type Signal Type Signal Type Signal Type Air Lock Lock OK OK Lock Lock OK Channel Label Total Found ...

Page 29: ...28 OK OK OK Lock OK Lock Channel Label ...

Page 30: ...Setup are 29 OK OK AUDIO Lock Lock 30 ...

Page 31: ...ton to select the option you want to adjust in the main Media menu then press OK button to enter Press button to select JPEG in the main menu then press OK button to enter Press Exit button to return back to the previous menu Press button to select drive disk you want to watch then press OK button to enter Press button to select Return option to go back to the previous menu JPEG Menu 30 M JPEG M J...

Page 32: ...IT button to return back to the previous menu Press button to select drive disk you want to watch then press OK button to enter Press button to select Return option to go back to the previous menu When highlighting the option you select the file information will appear on the right and Movie will be previewed in the center Press OK button to play the selected movie Press display button to show sel...

Page 33: ...32 ...

Page 34: ...33 642 5 x160x435mm 642 5 x76 8x392mm 60 LED 5 5 6 5 27 5 1366 x 768 JPEG M JPEG OPTICAL ...

Page 35: ...www westinghouseelectronics com Westinghouse Electronics LLC Diamond Bar CA SE UM 2801 1501 S N ...

Reviews: