16 | Westinghouse Outdoor Power Equipment, LLC
ASSEMBLY
1.
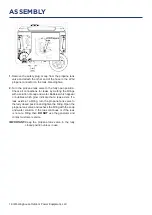
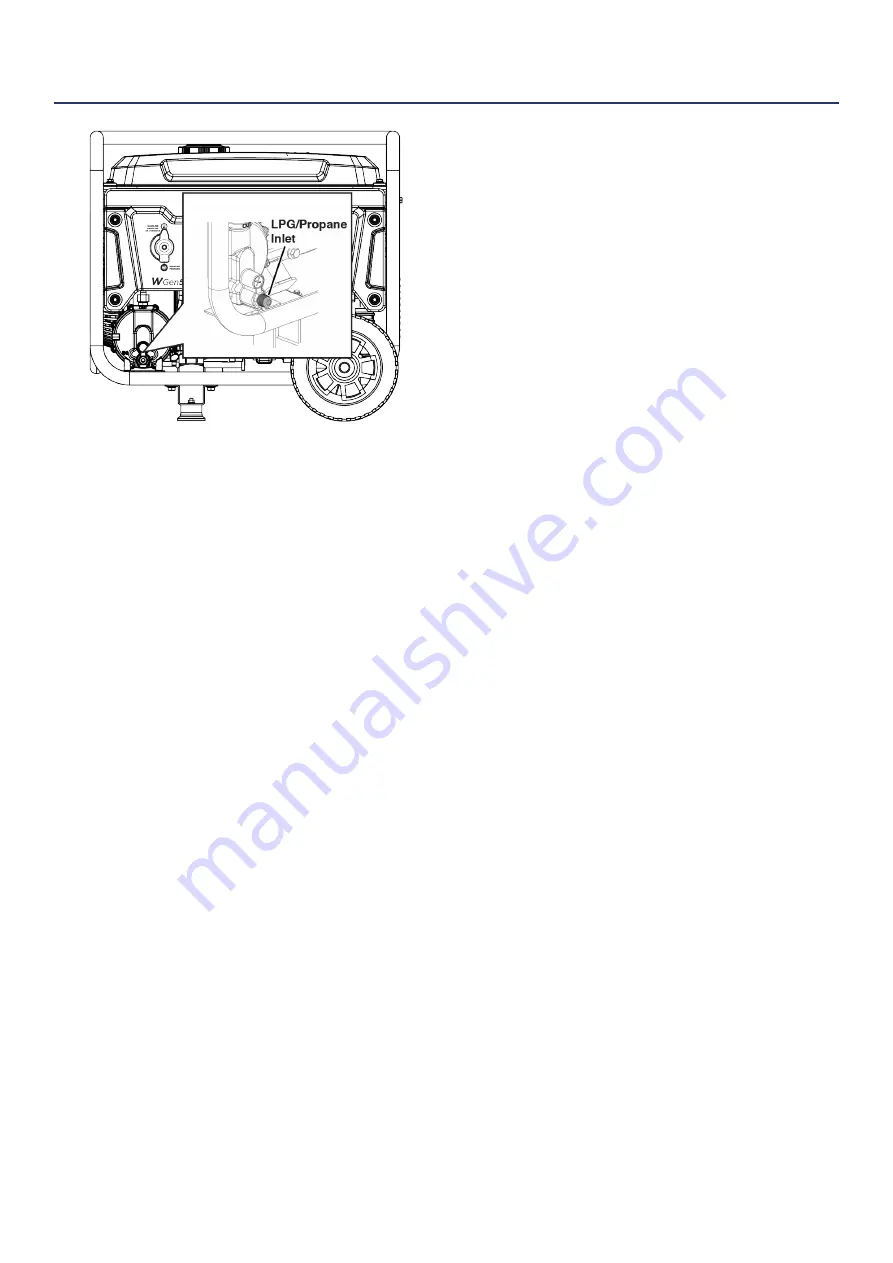
Remove the safety plug or cap from the propane tank
valve and attach the other end of the hose to the LPG/
propane connector on the tank. Hand-tighten.
2.
Turn the propane tank valve to the fully open position.
Check all connections for leaks by wetting the fittings
with a solution of soap and water. Bubbles which appear
or bubbles which grow indicate that a leak exists. If a
leak exists at a fitting, turn the propane tank valve to
the fully closed position and tighten the fitting. Open the
propane tank valve and recheck the fitting with the soap
and water solution. If the leak continues or if the leak
is not at a fitting then
DO NOT
use the generator and
contact customer service.
IMPORTANT:
Keep the propane tank valve in the fully
closed position unless in use.
Summary of Contents for WGen5300DFcv
Page 8: ...8 Westinghouse Outdoor Power Equipment LLC SAFETY LABELS SAFETY ...
Page 9: ...Westinghouse Outdoor Power Equipment LLC 9 SAFETY LABELS SAFETY ...
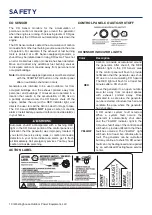
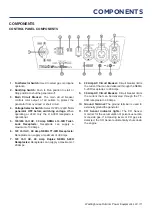
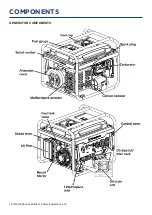
Page 12: ...12 Westinghouse Outdoor Power Equipment LLC COMPONENTS GENERATOR COMPONENTS ...
Page 32: ...32 Westinghouse Outdoor Power Equipment LLC GENERATOR EXPLODED VIEW EXPLODED VIEWS ...
Page 35: ...Westinghouse Outdoor Power Equipment LLC 35 SCHEMATICS SCHEMATICS SCHEMATICS ...
Page 43: ...Westinghouse Outdoor Power Equipment LLC 43 CALCOMANÍAS DE SEGURIDAD LA SEGURIDAD ...
Page 44: ...44 Westinghouse Outdoor Power Equipment LLC CALCOMANÍAS DE SEGURIDAD LA SEGURIDAD ...
Page 72: ...72 Westinghouse Outdoor Power Equipment LLC AUTOCOLLANTS DE SÉCURITÉ SÉCURITÉ ...
Page 73: ...Westinghouse Outdoor Power Equipment LLC 73 AUTOCOLLANTS DE SÉCURITÉ SÉCURITÉ ...


