22 | Westinghouse Outdoor Power Equipment, LLC
MAINTENANCE
MAINTENANCE
Accidental start-up. Disconnect the spark plug boot from
the spark plug when performing maintenance on the
generator.
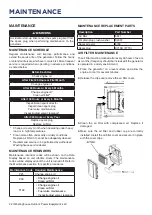
MAINTENANCE SCHEDULE
Regular maintenance will improve performance and
extend the service life of the generator. Follow the hourly
or calendar intervals, whichever occurs first. More frequent
service is required when operating in adverse conditions
as noted below.
Before Each Use
Check engine oil
After First 25 Hours or First Month
Change engine oil
After 50 Hours or Every 6 Months
Change engine oil
1
Clean air filter
2
After 100 Hours or Every 6 Months
Inspect/clean spark arrestor
Inspect/clean spark plug
Fuel valve maintenance
Inspect/adjust valve clearance
3
After 300 Hours or Every Year
Replace spark plug
Replace air filter
1
Change oil every month when operating under heavy
load or in high temperatures.
2
Clean more often under dirty or dusty conditions.
Replace air filter if it cannot be adequately cleaned.
3
Recommend service to be performed by authorized
Westinghouse service dealer.
MAINTENANCE REMINDERS
Maintenance reminder codes will be shown on the Data
Display based on unit Lifetime Hours. The maintenance
codes will be displayed until the unit is turned off. Refer to
the Maintenance section for specific procedures.
Maintenance Code Required Maintenance
P25
Change engine oil
P50
• Change engine oil
•
Clean air filter
P100
• Change engine oil
•
Clean air filter
• Fuel valve maintenance
• Inspect/adjust valve clearance
MAINTENANCE REPLACEMENT PARTS
Description
Part Number
Air filter
5941
Oil drain plug crush washer
94007
Spark arrestor
6790
Spark plug
97108 (F7TC)
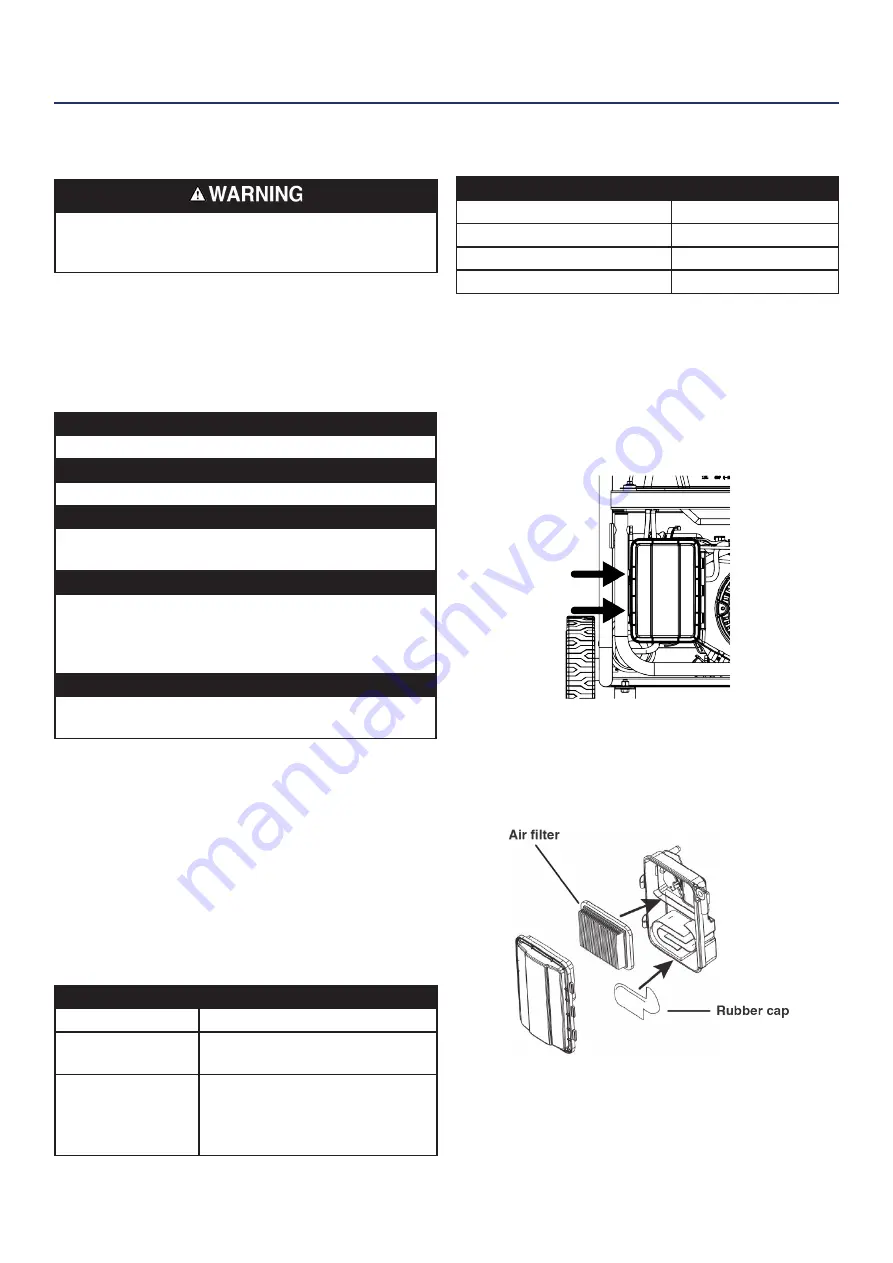
AIR FILTER MAINTENANCE
The air filter must be cleaned after every 50 hours of use or
six months (frequency should be increased if the generator
is operated in a dusty environment).
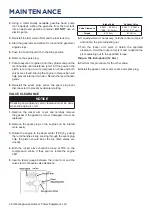
1.
Place the generator on a level surface and allow the
engine to cool for several minutes.
2.
Release the clips and remove the air filter cover.
3.
Clean the air filter with compressed air. Replace if
damaged.
4.
Make sure the air filter and rubber cap are correctly
installed. Install the air filter cover and secure it in place
with the cover clips.
Summary of Contents for WGen5300DFcv
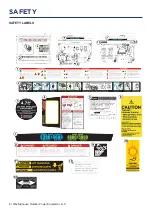
Page 8: ...8 Westinghouse Outdoor Power Equipment LLC SAFETY LABELS SAFETY ...
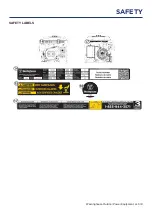
Page 9: ...Westinghouse Outdoor Power Equipment LLC 9 SAFETY LABELS SAFETY ...
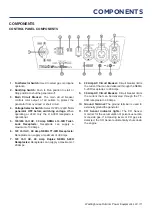
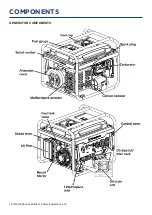
Page 12: ...12 Westinghouse Outdoor Power Equipment LLC COMPONENTS GENERATOR COMPONENTS ...
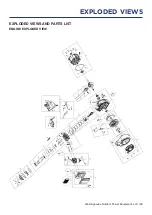
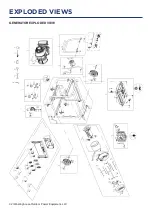
Page 32: ...32 Westinghouse Outdoor Power Equipment LLC GENERATOR EXPLODED VIEW EXPLODED VIEWS ...
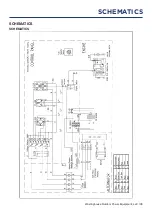
Page 35: ...Westinghouse Outdoor Power Equipment LLC 35 SCHEMATICS SCHEMATICS SCHEMATICS ...
Page 43: ...Westinghouse Outdoor Power Equipment LLC 43 CALCOMANÍAS DE SEGURIDAD LA SEGURIDAD ...
Page 44: ...44 Westinghouse Outdoor Power Equipment LLC CALCOMANÍAS DE SEGURIDAD LA SEGURIDAD ...
Page 72: ...72 Westinghouse Outdoor Power Equipment LLC AUTOCOLLANTS DE SÉCURITÉ SÉCURITÉ ...
Page 73: ...Westinghouse Outdoor Power Equipment LLC 73 AUTOCOLLANTS DE SÉCURITÉ SÉCURITÉ ...

