24 | Westinghouse Outdoor Power Equipment, LLC
5.
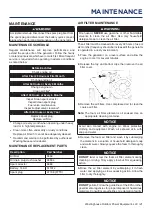
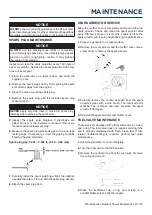
Place the screen and o-ring into the fuel valve. Install
the sediment cup and tighten securely.
6.
Turn the fuel valve to the ON position and check for
leaks. Replace the fuel valve if there is any leakage.
BATTERY MAINTENANCE
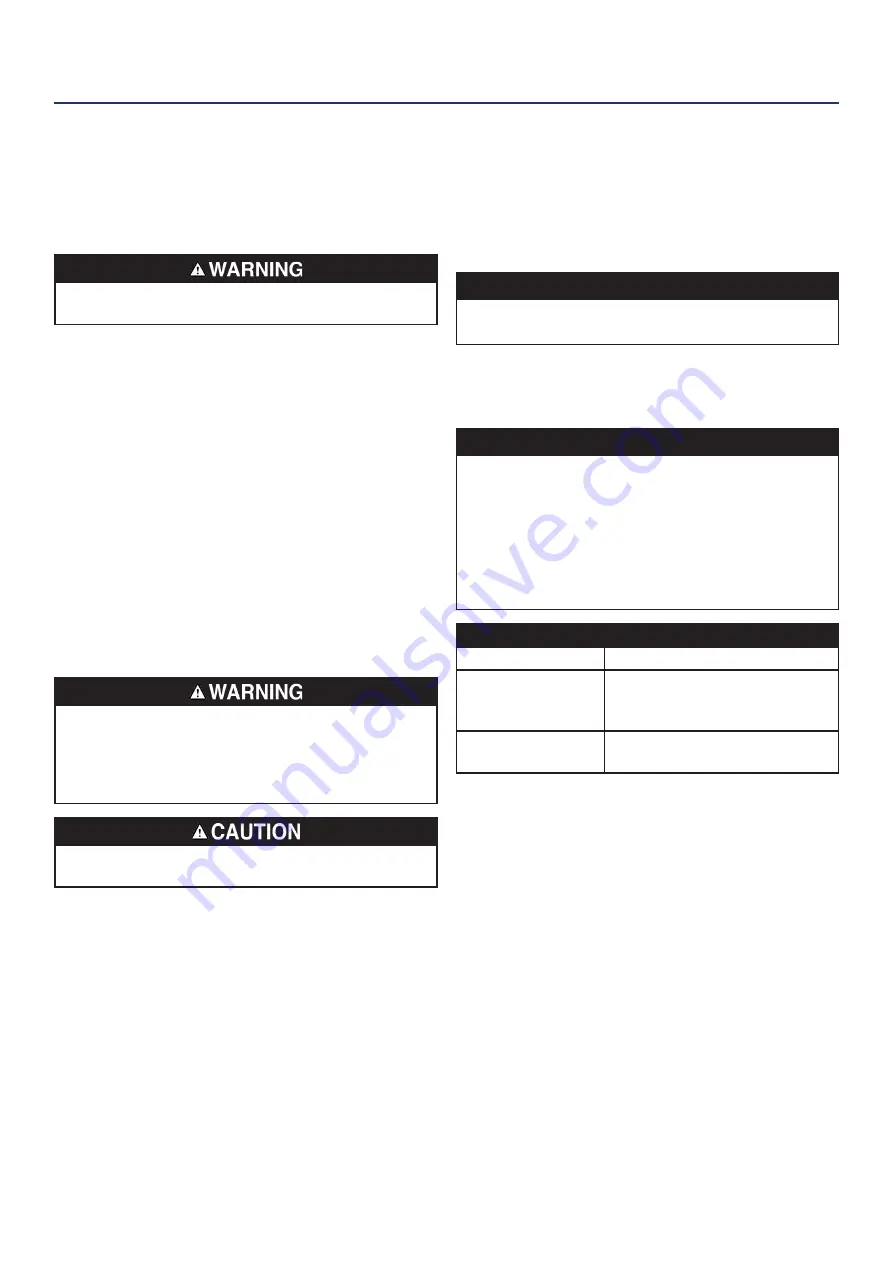
Explosion hazard. Batteries emit explosive gases while
charging. Keep fire and spark away.
The battery shipped with the generator has been fully
charged. A battery may lose some charge when not in use
for prolonged periods of time.
Note:
Once started, the generator will charge the battery
after 30–60 minutes of use.
The included trickle charger can remain connected and
will maintain the battery for an indefinite period of time. A
red light on the charger indicates charging in progress. A
green light indicates charging complete. Charge in a dry
location.
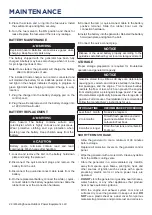
1.
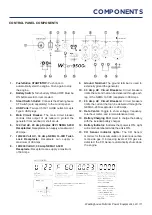
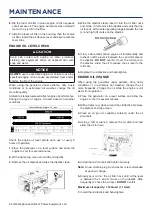
Plug the charger into the battery charging port on the
control panel.
2.
Plug the wall receptacle end of the battery charger into
a 120 Volt AC wall outlet.
BATTERY REPLACEMENT
Burn hazard. The battery contains sulfuric acid
(electrolyte) which is highly corrosive and poisonous.
Wear protective clothing and eye protection when
working near the battery. Keep children away from the
battery.
Battery posts, terminals contain lead and lead
compounds. Wash hands after handling.
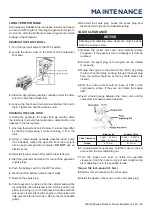
1.
Loosen and remove the bolt on the battery hold-down
plate and swing the plate out.
2.
Disconnect the quick-connect plugs and remove the
battery from the unit.
3.
Disconnect the quick-disconnect cable leads from the
battery.
4.
On the replacement battery, connect the white (-) quick-
connect cable to the battery negative terminal. Slide the
rubber boot over the connection hardware.
5.
Connect the red (+) quick-connect cable to the battery
positive terminal. Slide the rubber boot over the
connection hardware.
6.
Install the battery into the generator. Reinstall the battery
hold-down plate and tighten the bolt.
7.
Connect the quick-connect plug.
NOTICE
Dispose of the used battery properly according to the
guidelines established by your local or state government.
STORAGE
Proper storage preparation is required for trouble-free
operation and generator longevity.
NOTICE
Gasoline stored for as little as 30 days can deteriorate,
causing gum, varnish, and corrosive buildup in fuel lines,
fuel passages, and the engine. This corrosive buildup
restricts the flow of fuel, which can prevent the engine
from starting after a prolonged storage period. The use
of fuel stabilizer significantly increases the storage life of
gasoline. Full-time use of fuel stabilizer is recommended.
Follow the manufacturer’s instructions for use.
STORAGE TIME
RECOMMENDED PROCEDURE
Less than 1 month
No service required.
2 to 6 months
Fill with fresh gasoline and add
gasoline stabilizer. Drain the
carburetor float bowl.
6 months or longer
Drain the fuel tank and carburetor
float bowl.
SHORT TERM STORAGE
• Allow the generator to cool a minimum of 30 minutes
before storage.
• Replace all protective covers on the generator control
panel.
• Wipe the generator with a moist cloth. Clean any debris
from the muffler cooling vents.
• Store the generator in a well-ventilated, dry location
away from sparks, open flames, pilot lights, heat, and
other sources of ignition such as areas with a spark-
producing electric motor or where power tools are
operated.
•
DO NOT
store the generator or gasoline near furnaces,
water heaters, or any other appliances that produce
heat or have automatic ignitions.
• With the engine and exhaust system cool and all
surfaces dry, cover the generator to keep out dust.
DO
NOT
use a plastic sheet as a dust cover. Non-porous
materials trap moisture and promote rust and corrosion.
MAINTENANCE
Summary of Contents for WGen9500c
Page 8: ...8 Westinghouse Outdoor Power Equipment LLC SAFETY LABELS AND DECALS SAFETY...
Page 10: ...10 Westinghouse Outdoor Power Equipment LLC COMPONENTS GENERATOR COMPONENTS COMPONENTS...
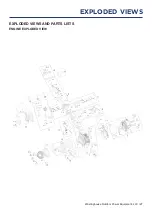
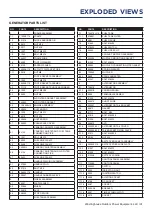
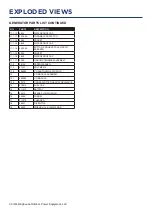
Page 30: ...30 Westinghouse Outdoor Power Equipment LLC GENERATOR EXPLODED VIEW EXPLODED VIEWS...
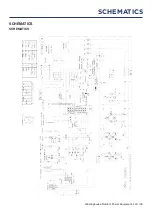
Page 33: ...Westinghouse Outdoor Power Equipment LLC 33 SCHEMATICS SCHEMATICS SCHEMATICS...
Page 41: ...Westinghouse Outdoor Power Equipment LLC 41 ETIQUETAS Y CALCOMAN AS DE SEGURIDAD LA SEGURIDAD...
Page 43: ...Westinghouse Outdoor Power Equipment LLC 43 COMPONENTES COMPONENTES DEL GENERADOR COMPONENTES...
Page 68: ...68 Westinghouse Outdoor Power Equipment LLC TIQUETTES ET AUTOCOLLANTS DE S CURIT S CURIT...
Page 71: ...Westinghouse Outdoor Power Equipment LLC 71 COMPOSANTS DU G N RATEUR COMPOSANTS...


