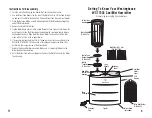
Instructions for Disassembly
1. Turn the unit off and unplug the Humidifier from the electrical outlet.
2. Use the Water Tank Handle (on the top of the Water Tank) to lift the Tank straight
up and out of the Water Tank Housing. Remove Water Tank Lid and discard water.
3. Press the Release Button on both side panels and lift the Main Body straight up
and off the Water Basin.
4. Remove the Wick Filter Holder.
5. Tip the Water Basin over a sink to empty the water. Take care not to immerse the
plug in water. Rinse the Water Basin thoroughly with clear tap water to remove
any sediment and dirt. Wipe the Water Basin, Water Tank and Cool Mist Outlet
clean with a lint-free cloth or paper towel.
6. If necessary, replace the Wick Filter(s) following the instructions outlined in the
REPLACING THE WICK FILTER section of this manual. Replace the Wick Filter
Holder into the recessed area of the Water Basin.
7. Replace the Humidifier Main Housing. Make sure it is properly fitted onto the
Water Basin before operating.
8. Refill the Water Tank with cool tap water. Replace the Water Tank onto the Water
Tank Housing.
11
4
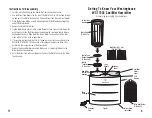
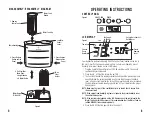
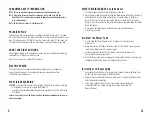
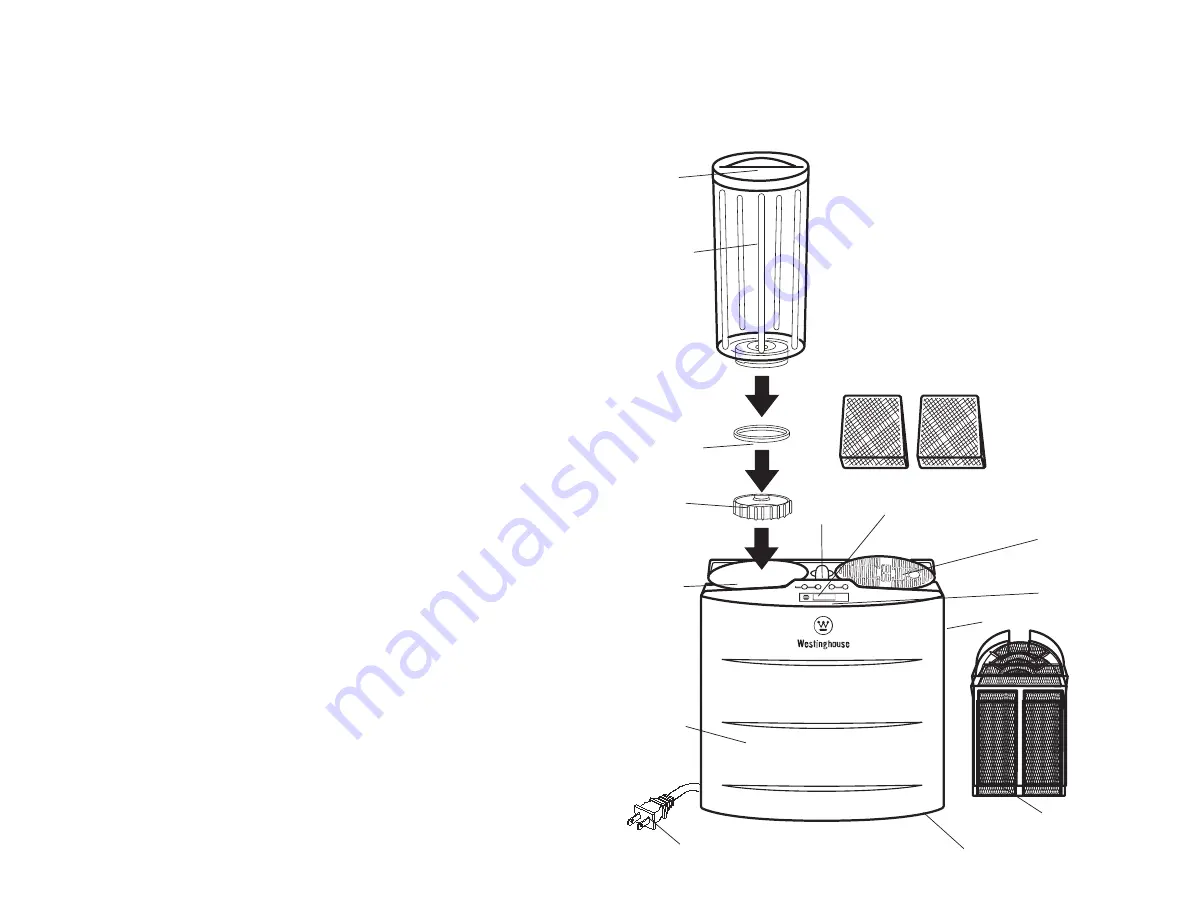
Getting To Know Your Westinghouse
WST7503 Cool Mist Humidifier
Product may vary slightly from illustrations.
LCD
Display
Control
Panel
Water Basin
(not shown)
Wick Filter Holder
(P/N 40271)
Wick Filter (2 Pc. Set)
(P/N WST7505)
Air Inlets
Polarized
Plug
Carry
Handle
Cool Mist
Outlet/
Cover
Water Tank
Handle
Water Tank
(P/N 40270)
Water
Tank Lid
(P/N 40266)
Water Tank
Rubber Ring
(P/N 40265)
Humidifier/
Water Tank
Housing
Main
Housing
Figure 1


