6
ENGLISH INSTRUCTIONS
PEELING, SLICING & CORING
1. Pull the Peeler Blade Arm
back until the metal lever
catches and holds the Peeler
Blade Arm pulled back.
2. Press Shaft Regulator
Thumb Lever to release the
stopper from the Shaft. Pull
on the Handle until the Shaft
is completely pulled back
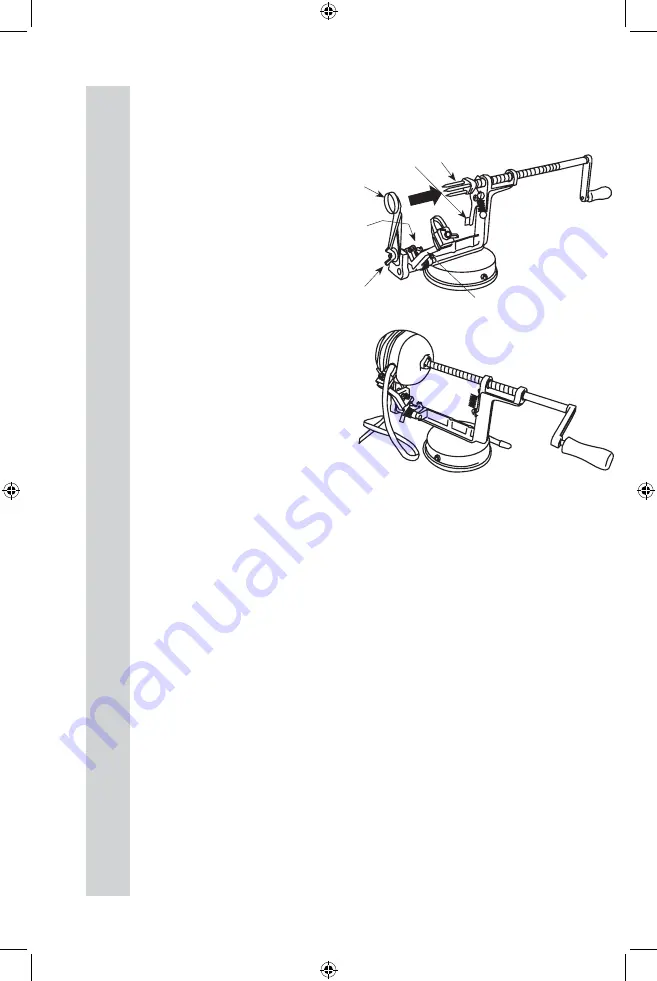
(FIGURE 1).
3. Carefully push an apple,
potato or pear, bottom first, all
the way onto the Food Prongs.
4. Lift up on the metal lever
of the Peeler Blade Arm to
release the Peeler Blade.
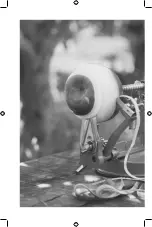
5. Turn the Handle clockwise
to start peeling the apple
(FIGURE 2).
6. The apple will meet with the
Coring/Slicing Blade. This will
begin the slicing and coring of
the apple.
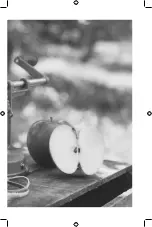
7. When the apple has been completely peeled, sliced and cored, gently pull the
apple off of the core.
8. The apple core and seeds will remain on the Food Prongs. Firmly grasp the apple
core and pull it off of the Food Prongs.
FIGURE 1
Peeler
Blade Arm
Shaft
Regulator
Thumb
Lever
Shaft
Handle
Food
Prongs
Metal Lever
of the
Peeler
Blade Arm
(Not Shown)
FIGURE 2
Coring/
Slicing
Blade
Coring/Slicing
Blade Wing Nut
SLICING & CORING
1. Pull the Peeler Blade Arm back until the metal lever catches and holds the
Peeler Blade Arm pulled back.
2. Press Shaft Regulator Thumb Lever to release the stopper from the Shaft. Pull
on the Handle until the Shaft is completely pulled back
(FIGURE 1).
3. Carefully push an apple, potato or pear, stem end first, all the way onto the Food
Prongs.
4. Turn the Handle clockwise to start slicing/coring the apple.
5. The apple will meet with the Coring/Slicing Blade. This will begin the slicing and
coring of the apple.
6. When the apple has been completely sliced and cored, gently pull the apple off
of the core.
7. The apple core and seeds will remain on the Food Prongs. Firmly grasp the
apple core and pull it off of the Food Prongs.


