16
Using
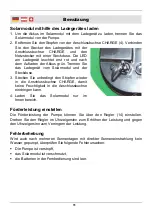
4. Fill the cascade fountain approx. up to the half with clean tap water. Do not
use other liquids except of tap water.
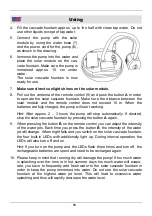
5. Connect the pump with the solar
module by using the water hose (7)
and the power cord for the pump (6),
as shown in the drawing.
6. Immerse the pump into the water and
place the solar module on the cas-
cade fountain. Make sure the pump is
immersed approx. 10 cm under
water.
The solar cascade fountain is now
ready for use.
7.
Make sure direct sunlight shines on the solar module.
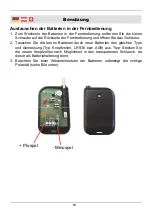
8. Pull out the antenna of the remote control (9) and push the button
A
in order
to operate the solar cascade fountain. Make sure the distance between the
solar module and the remote control does not exceed 10 m. When the
batteries are fully charged, the pump will start working.
Hint: After approx. 2 – 3 hours the pump will stop automatically. If desired,
stop the solar cascade fountain by pressing the button
A
again.
9. When pressing the button
B
on the remote control you can adjust the intensity
of the water jets. Each time you press the button
B
, the intensity of the water
jet will change. When night falls and you switch on the solar cascade fountain,
the four built-in LEDs with additionally light up. During interval operation the
LEDs will also turn off and on.
Hint: If you turn on the pump and the LEDs flash three times and turn off, the
rechargeable batteries are spent and need to be recharged again.
10. Please keep in mind that running dry will damage the pump! If too much water
is splashing over the rims or in hot summer days too much water will evapo-
rate, you have to frequently add fresh water to the solar cascade fountain in
order to keep the pump immersed into water. Do not use the solar cascade
fountain at the highest water jet level. This will lead to excessive water
splashing and thus will rapidly decrease the water level.

