


1 8
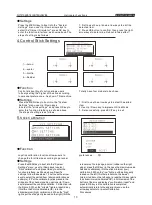
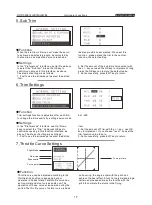
5. Use the arrow keys to select the curve point, + /
- key to chang the value of curves point.
6. Set successfully, you can press EXIT key to
return.
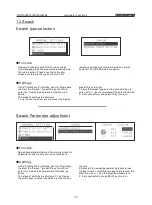
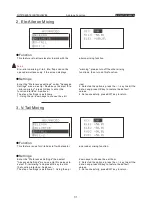
4. Settings exponential EX, can change the
aileron, throttle and rudder these three channels'
joystick sensitivity near the neutral. Dual rate and
curve exponential are match, will have a lot of
combinations and settings, with the arrow keys to
select the "EX" in the screen, settings way are same
as "D / R" .
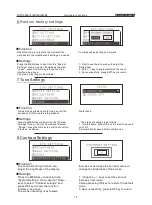
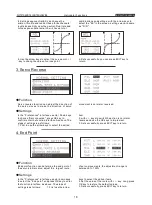
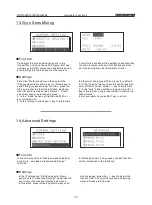
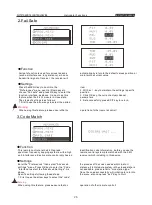
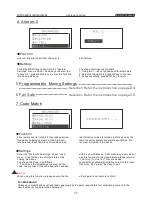
3.Servo Reverse
●
Function
●
Settings
Servo reverse function can adjust the direction of
the servo moves to make the direction of servo
movement is normal or reversed.
In the "Preferences" interface,use Up / Down keys
to choose "Servo reverse", press OK key to
confirm enter the function interface.As above.The
steps of settings is as follows:
1. First to use the arrow keys to select the edited
item.
2. with + / - keys to switch the action is normal or
reverse and use the OK keys to implement.
3. Set successfully, press EXIT key to return.
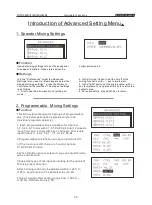
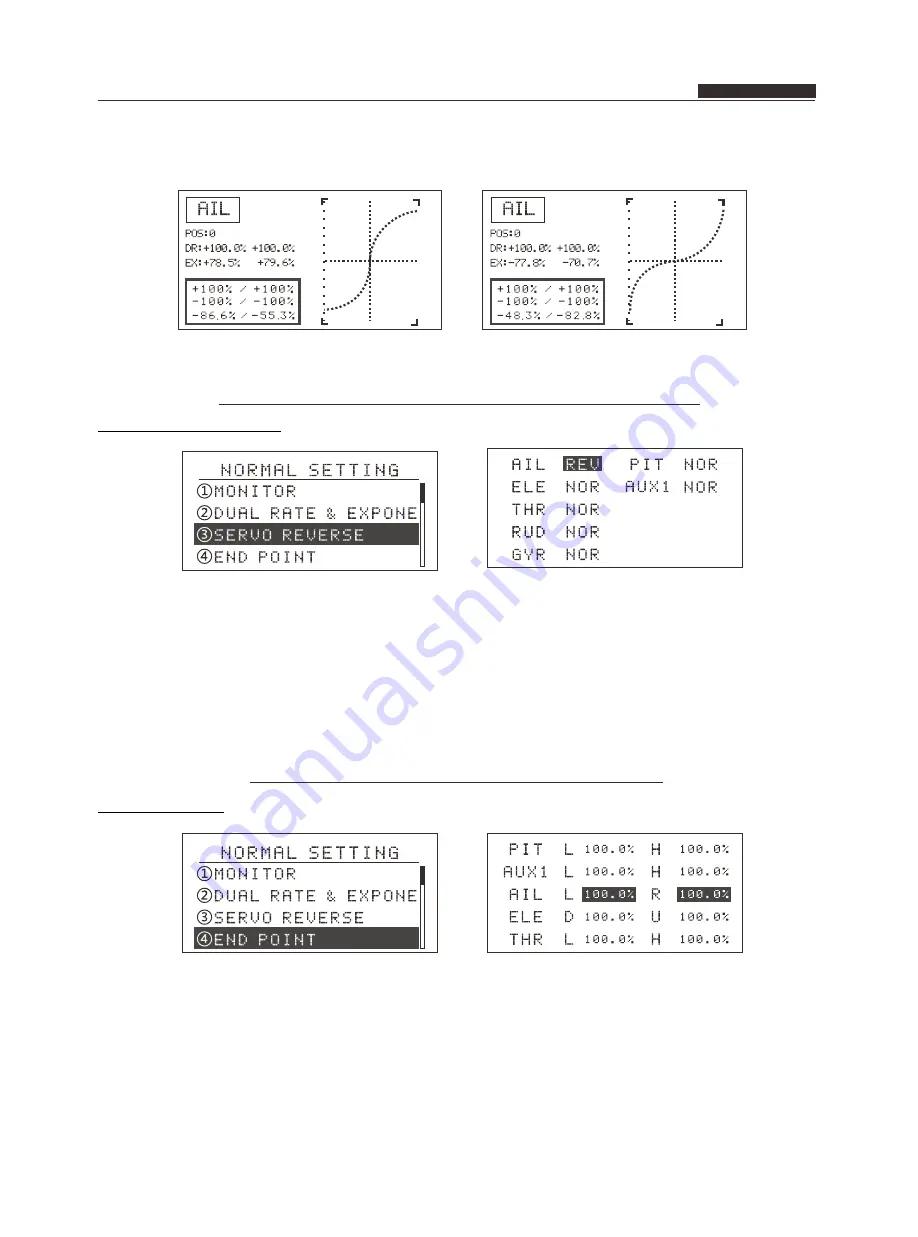
4.End Point
●
Function
●
Settings
End point function can determine the end point of
the servo's initial value, adjust the
largest route
of servo movements, the adjustment range is
between 0% -120%.
In the "Preferences" interface,use up / down keys
to select the "End point" and press OK key to enter
the function interface, as above. The steps of
settings is as follows
:
1.First use the arrow
keys to select the edited items.
2.Set the value of the route with + / - key. Long press
OK key to restore the default values.
3. Set successfully, press EXIT key to return.
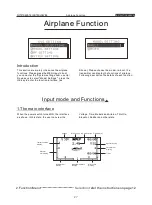
Helicopter Functions
INSTRUCTION MANUAL
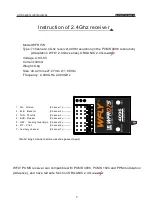
WFT07 REMOTE CONTROL DEVICE


