background image

  Model # AVCEC65-TC 

Please call for replacement parts or assistance: 

1-866-942-5362


Whalen Furniture Mfg., Inc. 


                  Page 7   

                         Factory: FOCIDI


Assembly Instructions 


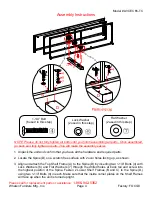
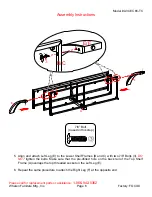
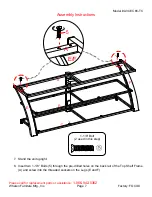
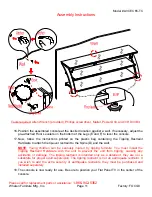
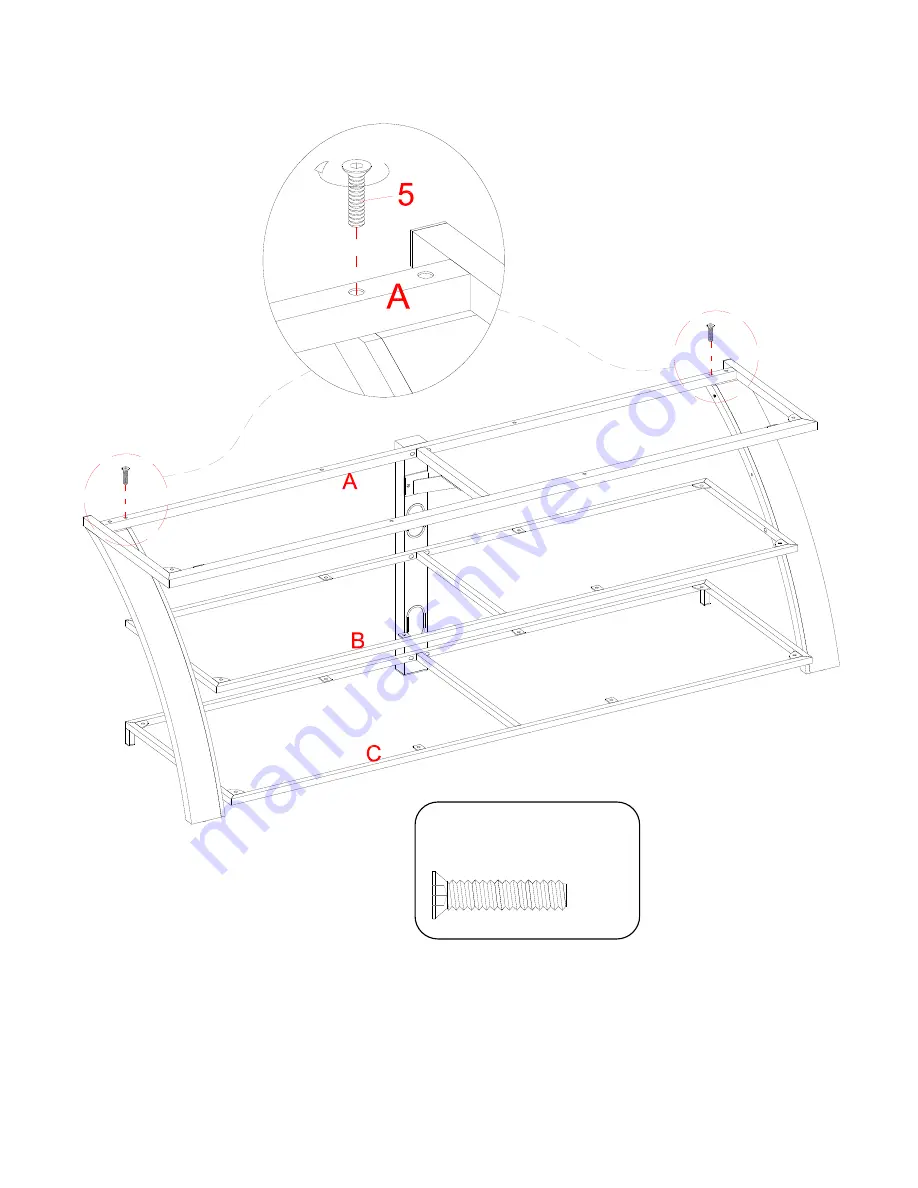
7.  Stand the unit upright. 


8.  Insert two 1-1/8” Bolts (5) through the pre-drilled holes on the back rail of the Top Shelf Frame 

(A) and screw into the threaded sockets on the Legs (E and F). 


E

F

E/F

1-1/8” Bolt 

(2 used in this step) 

Summary of Contents for AVCEC65-TC

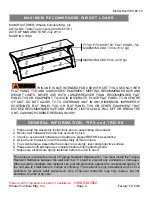
Page 1: ...y or if parts are missing DO NOT return this item to the store where it was purchased Please call our customer service number and have your instructions and parts list ready to provide the model name...

Page 2: ...nt Hardware Kit You must install the Tipping Restraint Hardware between the wall and the TV stand to prevent any accidents or damages When properly installed this restraint can provide protection agai...

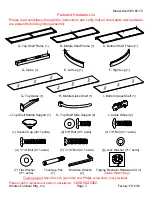
Page 3: ...rame 1 C Bottom Shelf Frame 1 D Spine 1 E Left Leg 1 F Right Leg 1 G Top Glass 1 H Middle Glass Shelf 1 I Bottom Glass Shelf 1 J Top Shelf Middle Support 1 K Top Shelf Side Support 2 L Cable Wheel 2 1...

Page 4: ...2 Locate the Spine D on a scratch free surface with 2 oval holes facing up as shown 3 Align and attach the Top Shelf Frame A to the Spine D by inserting two 1 1 4 Bolts 4 with Lock Washers 6 and Flat...

Page 5: ...c Page 5 Factory FOCIDI Assembly Instructions 4 Align and attach Top Shelf Middle Support J to connect the middle rail of the Top Shelf Frame A with the Spine D using three 5 8 Bolts 2 with Washers 6...

Page 6: ...Align and attach Left Leg E to the Lower Shelf Frames B and C with two 7 8 Bolts 3 DO NOT tighten the bolts Make sure that the pre drilled hole on the back rail of the Top Shelf Frame A overlaps the t...

Page 7: ...en Furniture Mfg Inc Page 7 Factory FOCIDI Assembly Instructions 7 Stand the unit upright 8 Insert two 1 1 8 Bolts 5 through the pre drilled holes on the back rail of the Top Shelf Frame A and screw i...

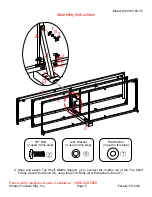
Page 8: ...he L bracket of the Top Shelf Frame A using one 5 8 Bolt 2 with the Washers 6 and 7 Secure the Top Shelf Side Support K to the Left Leg E with the 1 1 8 Bolt 5 As shown above 10 Repeat the same proced...

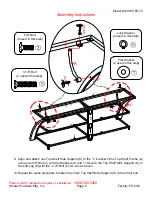
Page 9: ...ructions 11 Attach 2 Cable Wheels L to the backside of the Spine D and tighten with the enclosed Allen Wrench 12 The Cable Wheels allow you to organize route and separate your component cords and cabl...

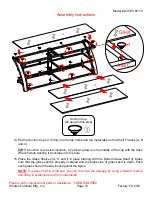
Page 10: ...wn on the middle of the cup with the Allen Wrench while twisting it clockwise into the hole 15 Place the Glass Shelves G H and I in place starting with the Bottom Glass Shelf I Make sure that the glas...

Page 11: ...bag containing the Tipping Restraint Hardware to attach the tip over restraint to the Spine D and the wall NOTE Young children can be seriously injured by tipping furniture You must install the Tippi...

Page 12: ...ice about furniture care It is best to keep your furniture in a climate controlled environment Extreme temperature and humidity changes can cause fading warping shrinking and splitting of wood It is a...

Page 13: ...ddle Shelf Frame AVCEC65 TC 21 1 1 8B 1 1 8 Bolt AVCEC65 TC 8 BSF Bottom Shelf Frame AVCEC65 TC 22 1 1 4B 1 1 4 Bolt AVCEC65 TC 9 TSMS Top Shelf Middle Support AVCEC65 TC 23 LW Lock Washer AVCEC65 TC...

Reviews: