6
Assembly Instructions
NOTE: Please do not fully tighten all bolts until you finish assembling all parts. Once assembled,
go back and fully tighten all bolts. This will make the assembly easier.
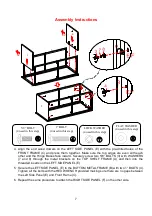
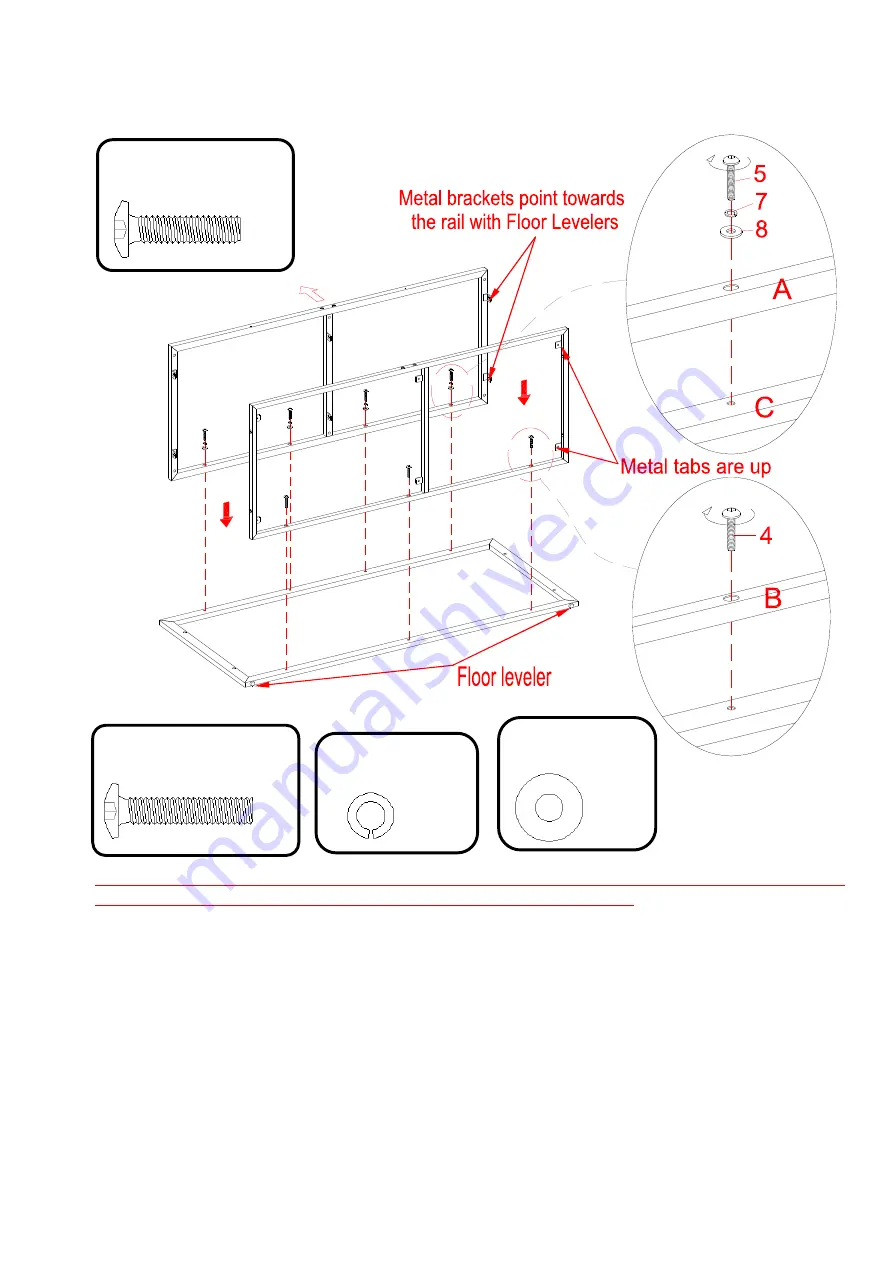
1. Locate the FRONT FRAME (C) and place it on a scratch free surface with the threaded
sockets facing up, as shown above.
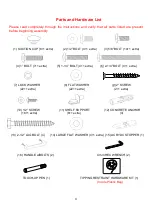
2. Fasten the TOP SHELF FRAME (A) to the FRONT FRAME (C) using four 1-1/4” BOLTS (5)
with LOCK WASHERS (7) and FLAT WASHERS (8). Make sure that the metal brackets on
the TOP SHELF FRAME (A) and the Floor Levelers on the FRONT FRAME (C) point towards
the same direction.
3. Fasten the BOTTOM METAL FRAME (B) to the FRONT FRAME (C) with the metal tabs up.
Use three 1” BOLTS (4) and tighten with the provided HEX WRENCH.
A
B
C
C
UP
LOCK WASHER
(4 used in this step)
⑦
FLAT WASHER
(4 used in this step)
⑧
1” BOLT
(3 used in this step)
④
1-1/4” BOLT
(4 used in this step)
⑤

