page A – 83
WheatNet-IP
/ Mar 2014
A P P E N D I C E S
WheatNet-IP
/ Mar 2015
You can select multiple events from the list using the normal Windows techniques with
the Shift and Ctrl keys. You will be prompted individually for each event you have selected.
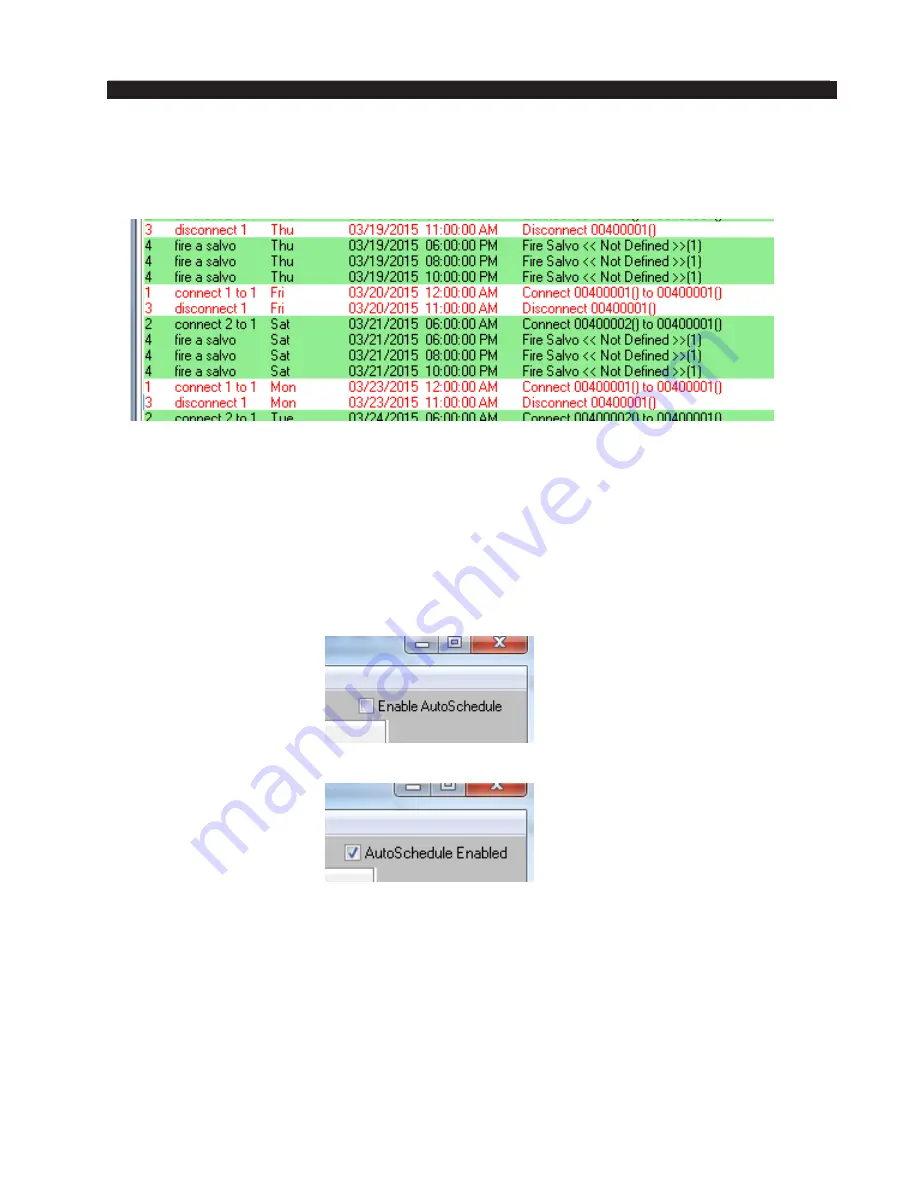
Here is a section of the Scheduled Events tab showing a few disabled events:
To re‑enable an event (or events) the process is similar. The prompt dialog asks if you
want to enable all instances of the event.
The AutoSchedule Feature
The Scheduler can be set up to load and run your schedule automatically at program
start. The check box for enabling and disabling the AutoSchedule
feature is located near
the upper right corner of the Scheduler main window, and appears no matter which tab,
Event Manager
or
Scheduled Events, is being displayed.
When
AutoSchedule has not been enabled the check box looks like this:
When
AutoSchedule is enabled the check box looks like this:
When
AutoSchedule is enabled and the Scheduler started, it will attempt to load the
last saved signal set. Whether this operation succeeds or not it will also attempt to load the
last saved event file. If it succeeds at finding the event file it will schedule all events in the
file and begin firing scheduled events at the required times.
The Scheduler, when not in
AutoSchedule
mode, will pop up a message indicating
failure to find a signal set if it can’t find default set, which will then require an operator
to click OK
on the message box to continue. But in AutoSchedule
mode, if the signals
cannot be found, no message about that appears. This is to keep the lack of a found signal
set from preventing the running of the schedule automatically.


