background image

Summary of Contents for 1SF034PEW

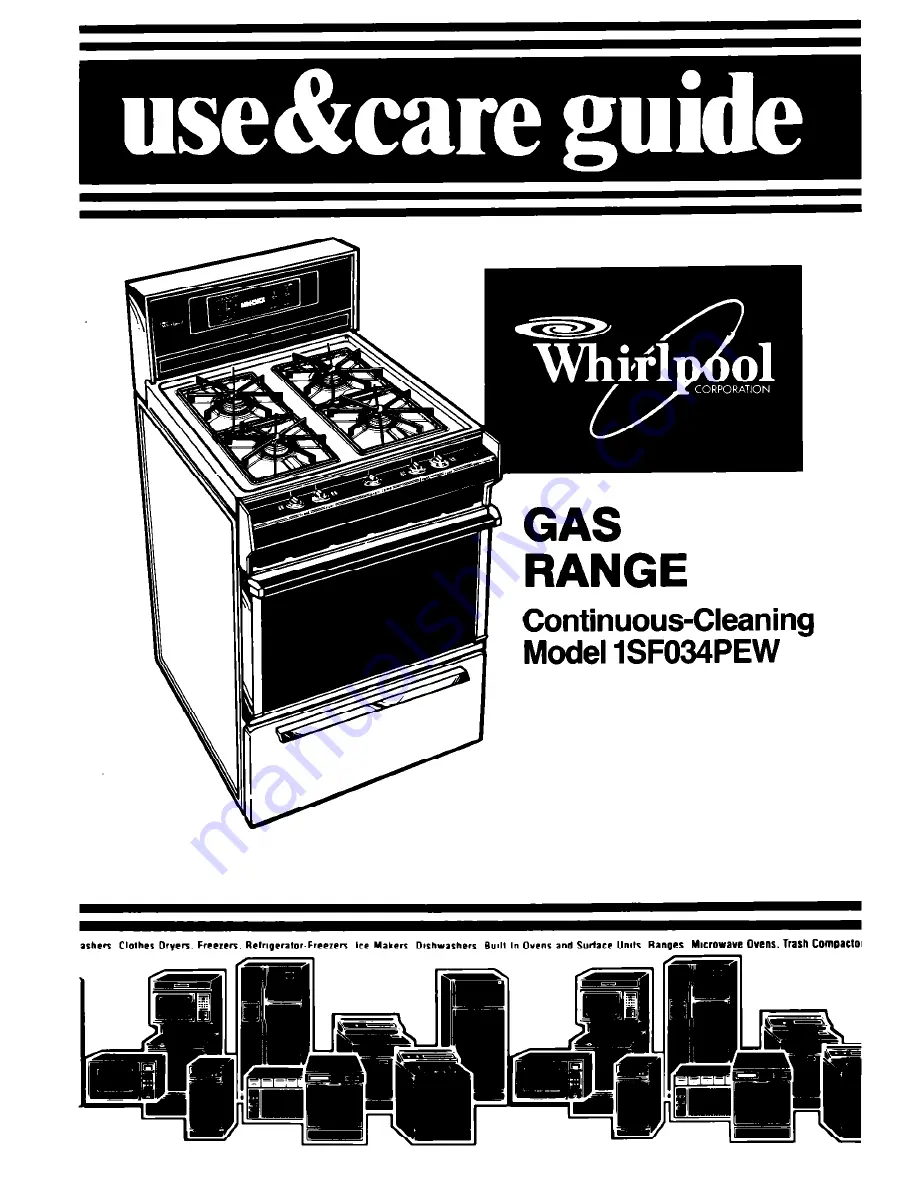
Page 1: ...GAS RANGE Continuous Cleaning Model lSF034PEW ...

Page 2: ...en Door 16 The Continuous Cleaning Oven 17 Cleaning Chart 19 Changing the Oven Light 20 IF YOU NEEDSERVICEOR ASSISTANCE 21 WHIRLPOOL RANGE WARRANTY 24 01989 Whirlpool Corporation Before you use your range You are responsible for l Reading and following all safety precautions in this Use and Care Guide l Installing and leveling the range on a floor strong enough to hold its weight and where it is p...

Page 3: ...TCHES 3 EXTINGUISH ANY OPEN FLAMES 4 IMMEDIATELY CALL YOUR GAS SUPPLIER IMPROPER INSTALLATION ADJUSTMENT ALTERATION SERVICE OR MAINTENANCE CAN CAUSE INJURY OR PROPERTY DAMAGE REFERTO THIS MANUAL FOR ASSIST ANCE OR ADDITIONAL INFORMATION CONSULT A QUALIFIED INSTALLER SERVICE AGENCY MANUFACTURER DEALER OR THEGAS SUPPLIER IMPORTANT Tothe Installer Please leave this instruction book with the unit Toth...

Page 4: ...g of flammable materials and spills due to bumping of the pan l Use only dry potholders Moist or damp potholders on surface burners may result in burns from steam Do not let potholder touch surface burners Do not use a towel or bulky cloth for a pot holder They could catch on fire l Check to be sure glass cooking utensils are safe for use on the range Only certain types of glass glass ceramic cera...

Page 5: ...ded in area where the any part of the oven range is in use They should never 0 Do not repair or replace any part be allowed to sit or stand on any of the range unless specifically part of the range They could be recommended in this manual All burned or injured other servicing should be referred l Never use a match or other flame to a qualified technician to look for a gas leak Explosion l Disconne...

Page 6: ...E KNOB CLOCK STOP TIME SURFACE BURNERS Y OVEN LIGHT SWITCH SURFACE BURNER GRATES AND CHROME REFLECTORPANS ONTROLS III OVEN RACK GUIDE REMOVABLE iN DOOR OVEN BURNER _ _ nor snolwn BROILER DRAWEd I CON TINUOUS CLEANING OVEN MODEL AND SERIAL NUMBER PLATE under cooktop 6 ...

Page 7: ...b has stops for HI and LO however it can be set anywhere be tween HI and LO Do not cook wlfh the control In the LITEposltlon 1 Bum Fire and Exploslon Hazard l Burner flame should not extend beyond the edge of the cooklng utensll The flame can burn you and cause poor cooklng resutts l Be sure all control knobs are turned to OFFwhen you are not cooklng Someone could be burned or a fire could start I...

Page 8: ...on Do not cook wlth the control In the LITEposl Non Use HI to start foods cooking or to bring liq uids to a boil Use a medlum setting to start cooking or to fry chicken or pan cakes for gravy puddings and icing or to cook large amounts of vegetables Use LOto keep foods warm until ready to serve Setting the Clock Push In and turn the Minute Timer Knob to set the Clock 1 Push In Mlnute Timer Knob an...

Page 9: ...ck to the setting you want When the tlme is up a buzzer will sound Tostop the buzzer turn the Minute Timer hand to OFF PUSHING IN AND TURNING THEMINUTE TIMER KNOB CHANGES THECLOCK SETTING Using the Oven Temp Control Baking The rack s should be placed so the top of the food will be centered in the oven Always leave at least lY2to 2 inches 4 5 cm between the sides of the pan and the oven walls and o...

Page 10: ...ls and door will be hot Do not place tood directly on oven bottom 5 When baking is done turn the Oven Temperature Control knob to OFF Broiling The Broiler Drawer is located below the oven door Always broil with the drawer and oven door completely closed 1 Pull the broiler drawer open and tilt the door panel down 2 Place broiler pan grid so grease can drain down sides info lower part of broiler pan...

Page 11: ...k is designed to turn the oven on and off at times you set even when you are not around Automatic baking is ideal for foods which do not require a preheated oven such as meats and casseroles Do not use the automatic cycle for cakes cookies etc undercooklng will result To start and stop baking automatically 1 Position the oven rack s properly and place the food in the oven 2 Make sure the clock Is ...

Page 12: ... to OFFand push in on the Stop Time Knob 6 NOTE After the cooklng cycle has ended It Is necessary to either reset the tlmer for addltlonal cooking operattons or return the timer to manual This Is done by pushlng in on the Stop Tlme Knob IMPORTANT IF THETIMER HAS NOT BEENRETURNEDTO MANUAL OR RESEfFOR ANOTHER COOKING OPERATION THEOVEN WILL NOT FUNCTION To avold sickness and food waste when uslng the...

Page 13: ...s ON Dans and pan handles left ned the oven vent can become hot enough to burn the user and to melt plastics Use potholders to move pans Never store plastics paper or other items that could melt or burn near the oven vent or any of the surface burners 1 L The vent is needed for air circulation Do not block the vent Poor baking can result ...

Page 14: ...e materlals gasollne and other flammable vapors and Ilqulds l Do not obstruct the flow of combustion and ventllatlon air Failure to follow these guldellnes could result In burns electrloal shock fire or exploslon 1 Pull control knobs straight off 3 Wash control knobs in warm soapy water Rinse well and dry Do not soak NOTE Do not use abrasive cleansers They could rub off the markings 2 Usewarm soap...

Page 15: ...y well Lift Up Cooktop 1 Lift front of cooktop at corners and swing up the support rod 2 Carefully lower the cooktop onto the support rod Personal InJury and Product Damage Hazard l Be sure the rod fits In the notch 3 Wipe surface under cook top with In the cooktop and Is held warm soapy water Use soapy securely Mlure to do so could plastic scrub pad on stubborn result In personal InJury trom the ...

Page 16: ...and insert a small bladed screwdriver into the end of the stem Turnthe screwdriver in either direction until the flame height isYein 3 2 mm or lower in size Flame must be large enough to malntaln a STABLEFLAME on all burner ports NEVERADJUST THEFLAME SIZEAT THEMEDIUM SEllING The Oven Door Removing the oven door will make it easier to clean the oven Burn and Electrlcal Shock Hazard Make sure all co...

Page 17: ... sugar or starchy spills from pies and casseroles use a piece of heavy duty aluminum foil or a shallow pan on the lower rack slightly larger than the cooking container Burn Electrlcal Shock and Product Damage Hazard l Make sure all controls are OFFand the oven Is cool before uslng foil Fallure to do so can result In burns or electrical shock l Do not use toll to cover oven floor or to completely c...

Page 18: ...and Cleaning WINDOW Keep clean with hot soapy water Use a plastic scrubbing Personal Injury Hazard pad for stubborn spots Rinse well Do not use steel wool or abrasive Do not use oven cleaning prod cleansers ucts Some can become trapped In the porcelain surface and glve off harmtul fumes LACKS Use a soapy steel wool jad for best cleaning results Rinse tell WALLS AND DOOR Wash with hot soapy water U...

Page 19: ...ner from manifold with phillips screwdriver l Soak in warm soapy water and wipe with a plastic scrubbing pad l Rinse and dry well l If ports are clogged clean with a straight pin Do not enlarge or dlstorl ports Do not use a wooden toothplck l Do not clean surface burner In dlshwasher Broiler drawer Warm soapy water or a pan and grtd plastic scrubbing pad l Clean atter each use l Wash pan and grid ...

Page 20: ...resentably clean condltlon durlng normal baklng or roastlng opemtlons Changing the Oven Light The oven light will only come on when you push the Oven Light switch on the control panel Push it again to turn off the light To Replace ElectrIcal Shock and Burn Hazard Make sure oven and light bulb are cool and power to the oven has been turned OFFbefore replaclng the light bulb Failure to do so could r...

Page 21: ...esigned to gradu ally reduce oven soll during normal baking or roasting It is not designed to keep your oven spotless only presenta bly clean l The door is cooler than the oven Walk Soil will be more visible on the door than other areas in the oven See page 18for how to clean l Sugar and starchy spills may leave stains See page 18 for hand cleaning tips Use toll on lower rack to catch these spills...

Page 22: ...Notes 22 ...

Page 23: ...Notes 23 ...

Page 24: ...Repairs when range product is used in other than normal single family household use C Pick up and delivery This product is designed to be repaired in the home D Damage to range product caused by accident misuse fire flood acts of God or use of products not approved by Whirlpool WHIRLPOOL CORPORATION SHALL NOT BELIABLE FOR INCIDENTAL OR CONSEQUENTIAL DAMAGES Outside the United States a different wa...

Reviews: