background image

4

DRYER USE

Loading

Load clothes loosely into the dryer. Do not pack the dryer. Allow space for clothes to tumble freely. The following charts show examples 
of balanced loads that would allow for proper tumbling.

Starting Your Dryer

This booklet covers several different models. Your dryer may not 
have all of the cycles and features described.
Before using your dryer, wipe the dryer drum with a damp cloth to 
remove dust from storing and shipping.

Starting Rotary Models

1. Load clothes loosely into the dryer and close the door. Do not 

pack the dryer. Allow space for clothes to tumble freely.

2. Turn the Cycle Control knob to the recommended cycle for the 

type of load being dried. Use the Energy Preferred setting to 
dry most heavy to medium weight fabrics.

3. If your dryer has a Temperature selector, set it to the 

recommended setting for the type of fabric being dried. See 
“Dryer Cycle Descriptions” (separate sheet) for temperature 
suggestions. On some models, temperature is included in the 
cycle selections.

4. (OPTIONAL) Your dryer may have a WRINKLE SHIELD™ 

feature selector. When you are unable to remove a load from 
the dryer as soon as it stops, wrinkles can form. This feature 
periodically tumbles, rearranges and fluffs the load without 
heat to help avoid wrinkling. 

5. (OPTIONAL) Your dryer may have an End of Cycle Signal. The 

signal is helpful when drying items that should be removed 
from the dryer as soon as it stops. 

On some models, the volume of the End of Cycle signal 
can be adjusted. Turn the selector to the desired volume.

On other models, the End of Cycle signal is part of the 
Start button and is selectable. Turn the START button to 
ON or OFF. The signal will sound only if the selector is set 
to On.

6. Select the desired Option. See “Dryer Cycle Descriptions” 

(separate sheet).

7. If desired, add fabric softener sheet. Follow package 

instructions. 

8. Push the START button.

Stopping and Restarting 

You can stop your dryer anytime during a cycle.
To stop your dryer

Open the dryer door or turn the Cycle Control knob to OFF.
NOTE: The Cycle Control knob should point to an Off area when 
the dryer is not in use.
To restart your dryer

Close the door. Select a new cycle and temperature (if desired). 
Push the START button.

ULTRA CAPACITY, SUPER CAPACITY and SUPER CAPACITY PLUS DRYERS

Heavy Work Clothes

4 pair of pants
4 pair of jeans
2 sweatshirts
2 sweatpants
4 shirts

Mixed Load

  3 sheets (1 king, 2 twin)
  4 pillowcases
  9 T-shirts
  9 pair of shorts
  3 blouses
10 handkerchiefs
  3 shirts

Towels

10 bath towels
10 hand towels

14 washcloths
  1 bath mat

Delicates

3 camisoles
1 robe
4 slips
8 undergarments


2 sets of sleepwear
1 child’s outfit

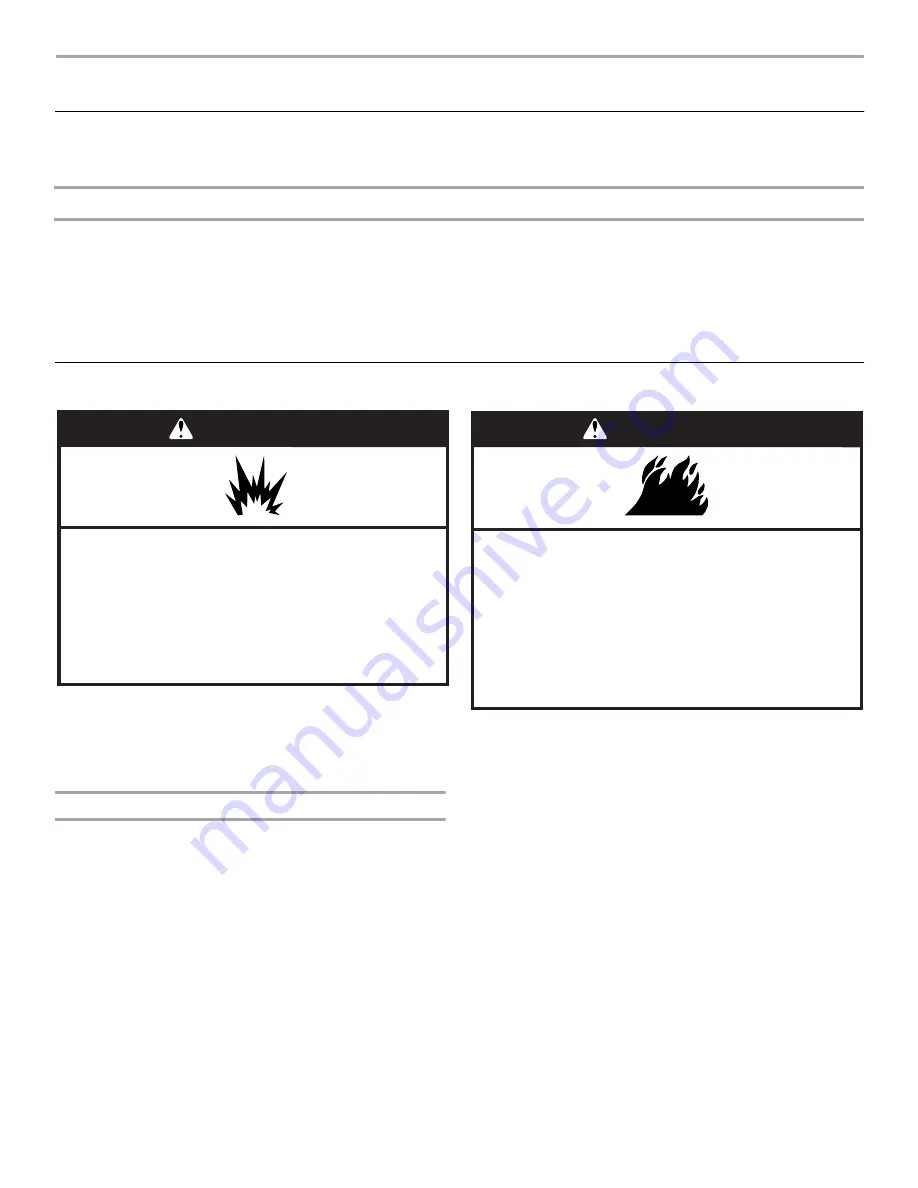
WARNING

Explosion Hazard

Keep flammable materials and vapors, such as
gasoline, away from dryer.

Do not dry anything that has ever had anything
flammable on it (even after washing).

Failure to follow these instructions can result in death,
explosion, or fire.

WARNING

Fire Hazard

No washer can completely remove oil.

Do not dry anything that has ever had any type of oil on
it (including cooking oils).

Items containing foam, rubber, or plastic must be dried
on a clothesline or by using an Air Cycle.

Failure to follow these instructions can result in death
or fire.

Summary of Contents for 8533772

Page 1: ...ion about your appliance to help you obtain assistance or service if you ever need it You will need to know your complete model number and serial number You can find this information on the model and serial number label located at the top inside dryer door well Dealer name____________________________________________________ Serial number __________________________________________________ Address _...

Page 2: ...t have been previously cleaned in washed in soaked in or spotted with gasoline dry cleaning solvents other flammable or explosive substances as they give off vapors that could ignite or explode Do not allow children to play on or in the dryer Close supervision of children is necessary when the dryer is used near children Before the dryer is removed from service or discarded remove the door to the ...

Page 3: ...tend into the interior of the vent to secure vent 5 Clean exhaust vent periodically depending on use but at least every 2 years or when installing your dryer in a new location When cleaning is complete be sure to follow the Installation Instructions supplied with your dryer for final product check WARNING For your safety the information in this manual must be followed to minimize the risk of fire ...

Page 4: ... the selector to the desired volume On other models the End of Cycle signal is part of the Start button and is selectable Turn the START button to ON or OFF The signal will sound only if the selector is set to On 6 Select the desired Option See Dryer Cycle Descriptions separate sheet 7 If desired add fabric softener sheet Follow package instructions 8 Push the START button Stopping and Restarting ...

Page 5: ...ormal tumbling Do not use the automatic cycle with the drying rack To use the drying rack 1 Place drying rack in dryer Style 1 Your drying rack has front legs Slide rear pegs into the dimples on the back wall of the dryer Lower the front legs to rest on the dryer opening Style 2 Your drying rack does not have front legs Do not remove the lint screen Slide drying rack over the bottom of the dryer d...

Page 6: ... right hand corner of the cover Remove the cover 3 Turn bulb counterclockwise Replace the bulb with a 10 watt appliance bulb only Replace the cover and secure with the screw 4 Plug in dryer or reconnect power TROUBLESHOOTING First try the solutions suggested here and possibly avoid the cost of a service call DryerOperation Message Codes Electronic models only For error message PF power failure che...

Page 7: ...d type Overdrying can cause lint attracting static electricity See Dryer Cycle Descriptions separate sheet Was paper or tissue left in pockets Is pilling being mistaken for lint Pilling surface fuzz is caused by normal wear and laundering Stains on load or color change Was dryer fabric softener properly used Add dryer fabric softener sheets at the beginning of the cycle Fabric softener sheets adde...

Page 8: ... fire floods acts of God improper installation including but not limited to venting with plastic or flexible foil installation not in accordance with local electrical and plumbing codes or use of products not approved by Whirlpool Corporation 5 Replacement parts or repair labor costs for units operated outside the United States 6 Pickup and delivery This product is designed to be repaired in the h...

Page 9: ...adora Nombre del distribuidor _________________________________________ Número de serie ________________________________________________ Dirección_______________________________________________________ Número de teléfono_____________________________________________ Número del modelo _____________________________________________ Fecha de compra _______________________________________________ SEGURI...

Page 10: ...prendas a menos que lo recomiende el fabricante del suavizador de tejidoso las instrucciones del producto en uso No utilice calor para secar prendas que contengan espuma de caucho o materiales de caucho con textura similar Limpie el filtro de pelusa antes o depués de cada carga de ropa Mantenga el área alrededor de la apertura de ventilación y las áreas adyacentes a esta apertura sin pelusa polvo ...

Page 11: ... para conductos tornillos ni otros dispositivos de fijación que se extiendan dentro del ducto de escape para fijar el ducto 5 Limpie el ducto de escape por lo menos cada 2 años o periódicamente según el uso que le dé a la secadora o cuando instale la secadora en un nuevo lugar Cuando termine la limpieza revise por última vez el producto asegurándose de seguir las Instrucciones de instalación que a...

Page 12: ... de la secadora o gire la perilla de control de ciclos a OFF NOTA La perilla de control de ciclos debe apuntar hacia un área de apagado cuando no esté en uso Para volver a poner en marcha su secadora Cierre la puerta Seleccione un nuevo ciclo y temperatura si lo desea Oprima el botón de START Puesta en marcha de los modelos electrónicos 1 Cargue la ropa holgadamente en la secadora y cierre la puer...

Page 13: ...e en un tendedero o usando un ciclo de aire Consulte el cuadro a continuación 4 Ponga la secadora en marcha Si lo necesita vuelva a fijar el ciclo para completar el secado CUIDADODE LASECADORA Limpiezadellugardondeestálasecadora Mantenga el área donde está la secadora despejada y libre de artículos que pudieran obstruir el flujo de aire para la combustión y la ventilación Limpiezadelfiltrodepelusa...

Page 14: ... la secadora o reconecte el suministro de energía SOLUCIÓNDE PROBLEMAS En primer lugar pruebe las soluciones sugeridas aquí y posiblemente se evite el gasto de una llamada de servicio técnico Funcionamientodelasecadora Mensajes codificados Sólo en los modelos electrónicos Para el mensaje de error PF corte de energía revise lo siguiente Está la secadora conectada al suministro de energía Se ha cone...

Page 15: ...exceso puede dar lugar a la electricidad estática que atrae pelusa Vea Descripción de los ciclos de la secadora hoja aparte Se dejó papel o pañuelo de papel en los bolsillos Se están confundiendo las motitas con la pelusa Las motitas en la superficie de la ropa son causadas por el desgaste normal y el lavado Manchas en la carga o cambio de color Se usó de modo apropiado el suavizante de telas para...

Page 16: ...de ductos de escape de plástico u hoja de aluminio flexible instalación que no sea de conformidad con los códigos de electricidad y plomería locales o el empleo de productos no aprobados por Whirlpool Corporation 5 Piezas de repuesto o gastos de reparación para electrodomésticos que se empleen fuera de los Estados Unidos 6 Recogida y entrega Este producto está diseñado para ser reparado en el hoga...

Reviews: