5
I M P O R T A N T
NOTE: To operate this range with natural gas, is
required a kit according to the chart:
This kit is available at your nearest Authorized
Service Center.
Range Model Kit Number
MF12120 98016197
This range is adjusted at the factory
for use with L.P. gas.
To use this range with natural gas,
you must replace the surface and
oven burner orifices, call Servicio
Acros-Whirlpool, the phone number
is shown in the last page. The
technician must make sure that the
connections have no leaks and the
gas pressure in the range is the
same as shown in the charts.
LP GAS OPERATING PRESSURE
11 in WATER COLUMN
(6,36 oz/squared inch)
BURNER
UPPER
OVEN
NUMBER
69
62
INCHES
0,741
0,965
BTU/h
6 500
10 000
ORIFICE
DIAMETER
THERMAL
CAPACITY
ORIFICE
NATURAL GAS OPERATING
PRESSURE 7 in WATER COLUMN
(4,04 oz/squared inch)
BURNER
UPPER
OVEN
NUMBER
56
53
INCHES
1,181
1,511
BTU/h
6 500
10 000
ORIFICE
DIAMETER
THERMAL
CAPACITY
ORIFICE
How to Use Your Range
Because of different altitudes above sea level and variations
in the supply of gas, you may need to adjust the main air
intake to the burners. This will result in a better air-gas mixture
and thus of better operation.
Check surface burners and oven burner for proper flame,
flame must be steady and blue, if not follow below instructions
for flame adjustment.
Surface Burners
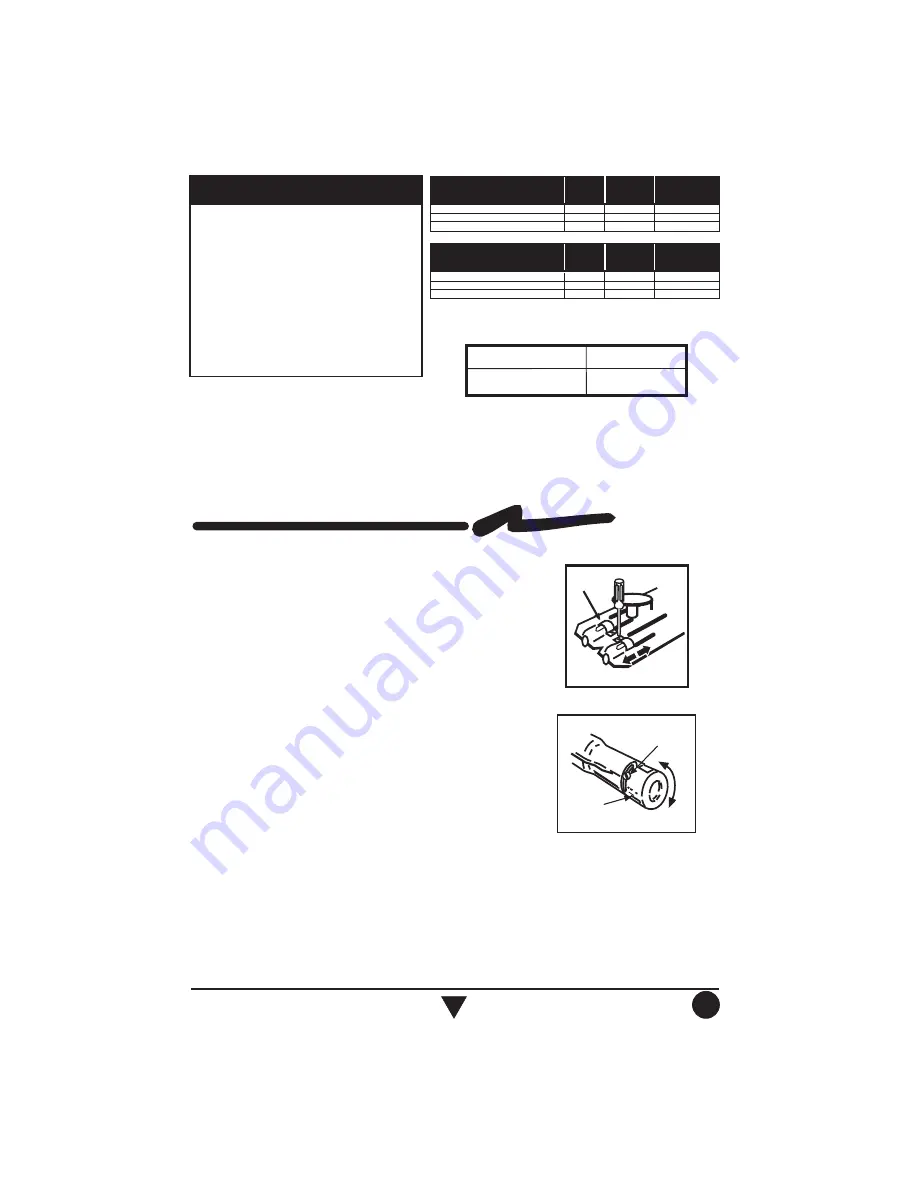
1. - Remove cooktop as shown on page 4.
2.- Adjust air by loosing air shutter screw, move air shutter
forward or backwards (if flame is yellow, move air shutter
forward; if flame is blowing, move air shutter backwards).
3. - Replace cooktop and surface burners, check burner for
proper flame, if the flame is still not properly adjusted, wait
for the burner to cool down and repeat steps 1 and 2 until
flame is properly adjusted.
Oven Burner
1. - Remove oven tray (see page 8), remove screw on front
frame and then remove oven burner from range.
2.- Adjust air by loosing air shutter screw and turn air shutter
to open or close opening (if flame is yellow, open burner
opening; if flame is blowing, close opening)
3. - Replace oven burner and tighten shutter screw, check
burner for proper flame, if the flame is still not properly
adjusted, wait for the burner to cool down and repeat steps
1 and 2 until flame is properly adjusted.
AIR
SHUTTER
Top Burner
AIR
SHUTTER
SCREW
Oven Burner


