
5019 318 33259
Control panel special functions
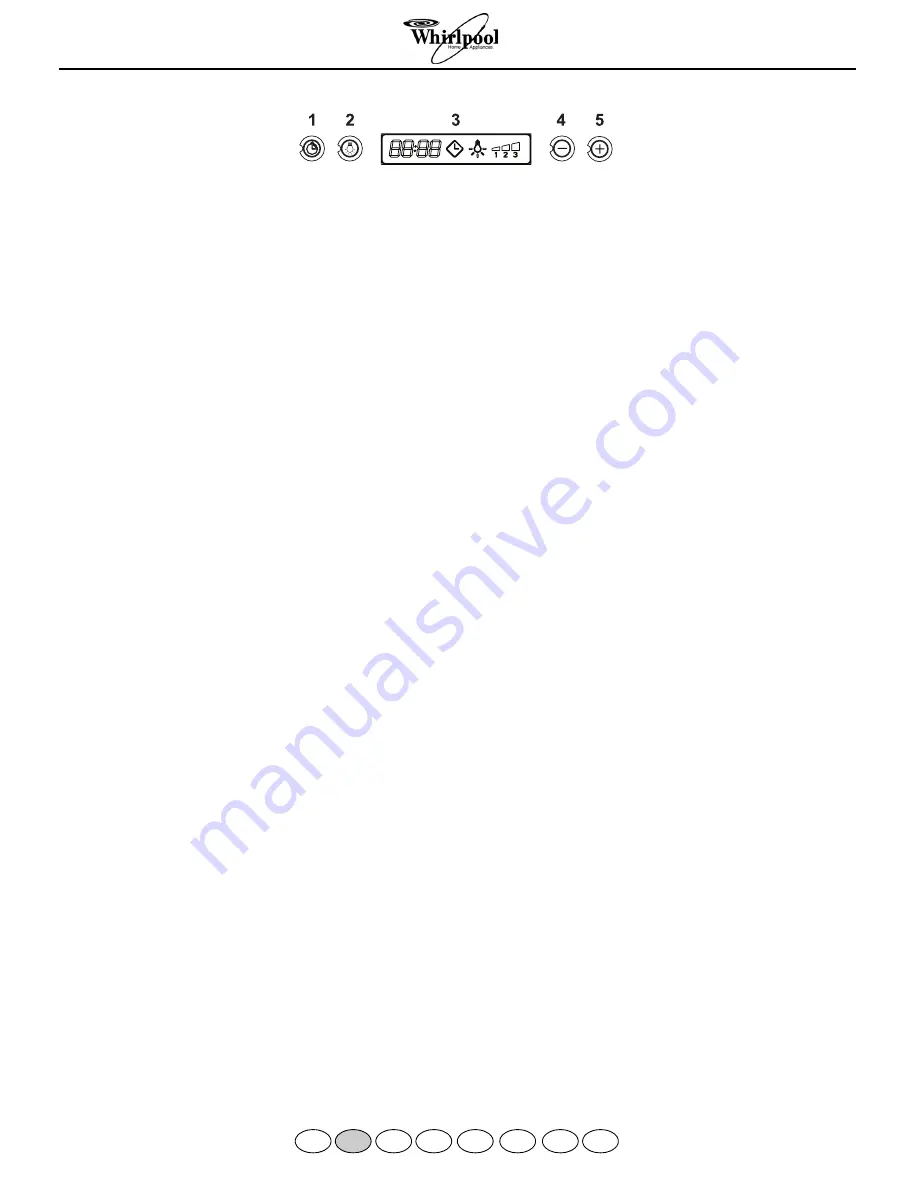
Setting the clock
The clock can be set at any moment except when the timer
function is in use.
The clock can be displayed in the standard 12 hour clock
version with a display from 1:00 to 12:59.
To set the clock, press the “Timer” button for 5 seconds,
then use the “+” and “-” buttons to set the time.
The time can be adjusted with 1 minute increases/decreases,
but if the “+”/ “-” buttons are pressed for 1 second, the time
is increased/decreased in 5 minute steps. During this option,
the appliance rounds off to the nearest 5 minutes.
To complete the time-setting procedure, press the “Timer”
button.
If after 1 minute no button is pressed, the set value is
accepted, the appliance adds 1 minute to this and starts
counting.
Grease Filter Indicator
After
40
hours of motor operation, the display shows
“Grease Filter”. When this indication appears on the display,
the filter needs to be washed.
To reset the grease filter indicator, the user must press the
“+” button for 5 seconds: after this, the “Grease Filter”
warning disappears, resetting is confirmed by a “beep“, and
the display shows the normal operation functions.
After this procedure, the grease filter counter returns to
zero.
Carbon Filter Indicator
After
160
hours of motor operation, the display shows
“Charcoal Filter”. When this indication appears on the
display, the filter needs to be replaced.
To reset the carbon filter indicator, the user must press the “-
” button for 5 seconds:
after this, the “Charcoal Filter” warning disappears, resetting
is confirmed by a “beep“, and the display shows the normal
operation functions.
After this procedure, the carbon filter counter returns to
zero.
“Enabling/Disabling” the Carbon Filter Indicator
The carbon filter indicator can be enabled or disabled by
pressing the “-” and “+” buttons at the same time for 5
seconds. The motor and light must be switched off in order
to disable or enable the carbon filter.
Carbon Filter excluded: the filter alarm is disabled.
Enabling/ Disabling the Acoustic Signal
The acoustic signals can be activated or disactivated by
pressing the “Light” button for 5 seconds.
When the acoustic signal is activated, a tone is emitted and
the symbol “Snd” appears on the display for 2 seconds.
When the acoustic signal is disactivated, the symbol “Snd”
appears on the display for 2 seconds but no sound is emitted.
Temperature alarm
The hood is equipped with a temperature sensor that
activates the motor at speed 2 if the ambient temperature
around the display area exceeds 70° C (the system monitors
the temperature read by the sensor every 250 ms).
If the motor is switched OFF or is operating at speed 1 and
the temperature alarm is tripped, the motor switches to
speed 2 and the display shows “care”. During this alarm
condition the user can only increase the motor speed (3rd
and 4th speed). When the hood temperature returns below
the alarm threshold, the motor reverts to the pre-alarm
operating condition. 3 minutes after the alarm is tripped, the
system again verifies the ambient temperature around the
display area: if below 70° C, the pre-alarm operating
conditions are restored.
I
F
NL
E
P
GB
D
GR


