background image

GB6

The appliance does not work:

Check for the presence of mains electrical power and if the appliance is connected to the electrical supply;

Turn off the appliance and restart it to see if the fault persists.

The hood's suction level is not sufficient:

Check the suction speed and adjust as necessary;

Check that the filters are clean;

Check the air vents for any obstructions.

The light does not work;

Check the light bulb and replace if necessary;

Check that the light bulb has been correctly fitted.

Before calling the After-Sales Service:

1.

See if you can solve the problem yourself with the help of the suggestions given in the "Troubleshooting guide".

2.

Switch the appliance off and back on again it to see if the fault persists.

If after the above checks the fault still occurs, get in touch with the nearest After-Sales Service.

Always specify:

A brief description of the fault;

The exact type and model of the appliance;

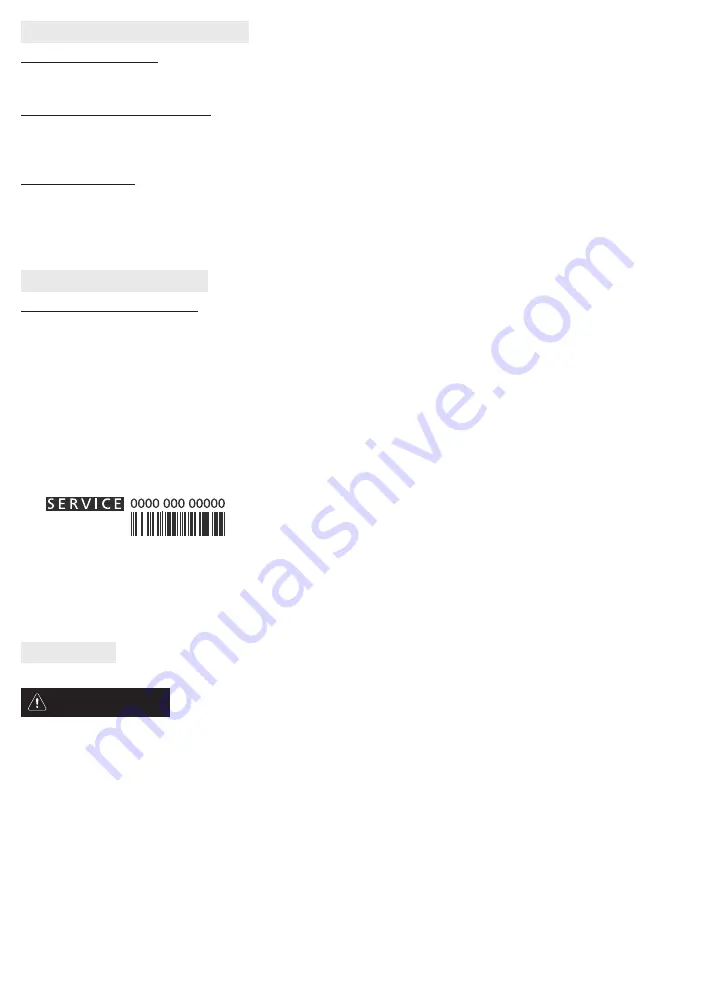
The service number (number after the word "Service" on the rating plate), located on the inside of the appliance. The service number is also indicated on
the guarantee booklet;

Your full address;

Your telephone number.

If any repairs are required, please contact an 

authorised After-sales Service

(to guarantee that original spare parts will be used and repairs carried out

correctly).

TROUBLESHOOTING GUIDE

AFTER-SALES SERVICE

- Never use steam cleaning equipment.
- Disconnect the appliance from the power supply.

IMPORTANT: do not use corrosive or abrasive detergents. If any of these products accidentally comes into contact with the appliance, clean
immediately with a damp cloth.

Clean the surfaces with a damp cloth. If it is very dirty, add a few drops of washing up detergent to the water. Finish off with a dry cloth.

IMPORTANT: do not use abrasive sponges or metallic scrapers or scourers. Over time, these can ruin the enamel surface.

Use detergents specifically designed for cleaning the appliance and follow the manufacturer instructions.

IMPORTANT: clean the filters at least monthly to remove any oil or grease residuals.

WARNING

CLEANING

Summary of Contents for AKR8551IX

Page 1: ...User and maintenance manual GB ...

Page 2: ......

Page 3: ...class II hoods identified by the symbol on the specifications label The power supply cable must be long enough to permit connecting the appliance to the mains socket outlet Do not pull the power supply cable in order to unplug the appliance The electrical components must no longer be accessible to the user after installation Do not touch the appliance with any wet part of the body and do not opera...

Page 4: ...for cleaning the hood and replacing the filters may result in a fire The fume extractor hood must never be opened without the grease filters installed and it should be kept under constant supervision Gas appliances must be used under the extractor hood only with pans resting When using more than three gas cooking points the hood should be operating at power level 2 or greater This will eliminate h...

Page 5: ... the recycle symbol The various parts of the packing must therefore be disposed of responsibly and in full compliance with local authority regulations governing waste disposal Scrapping the product This appliance is marked in compliance with European Directive 2002 96 EC Waste Electrical and Electronic Equipment WEEE By ensuring this product is disposed of correctly you will help prevent potential...

Page 6: ...service number number after the word Service on the rating plate located on the inside of the appliance The service number is also indicated on the guarantee booklet Your full address Your telephone number If any repairs are required please contact an authorised After sales Service to guarantee that original spare parts will be used and repairs carried out correctly TROUBLESHOOTING GUIDE AFTER SAL...

Page 7: ... the hood from the power supply 2 Open the extraction panel and remove it 3 Remove the grease filters 4 Fit one carbon filter each side covering both protection grilles of the motor impeller Turn the filters clockwise to secure them to the middle pins Proceed in reverse order to remove Re fit the grease filters and extraction panel REPLACING LAMPS The hood is equipped with a lighting system based ...

Page 8: ...ough the carbon filter s and recycled into the surrounding environment IMPORTANT Check that air recirculation is ensured If the hood does not have the carbon filter s order one them and fit before use Install the hood away from very dirty areas windows doors and heat sources The hood comes with all the materials necessary for installation on the majority walls ceilings However a qualified technici...

Page 9: ...and the 2 screws in the wall making sure they protrude about 5 mm insert the third plug in the bottom hole 5 Fit the plastic grille on the hood air outlet hole 6 Hook the hood on the fixing screws through the special rear perforation 7 Remove the extraction panel a twist the panel upwards b push the panel upwards firmly c remove the panel completely 8 Remove the grease filters 9 Insert the washer ...

Page 10: ... maintenance is required c Timer d Active carbon filter saturation comes on when filter maintenance is required Note this function is normally disabled and should only be activated if he hood is used as a filter version with carbon filter fitted To do so proceed as follows switch off the hood press and hold buttons 1 and 3 at the same time until the indicator stops flashing indicator disabled and ...

Page 11: ...1 2 3 5mm 3 x Ø 8 x 40mm 2 x Ø 5 x 45mm 4 5 6 ...

Page 12: ...7 8 9 10 11 ...

Page 13: ...13 14 15 12 ...

Page 14: ......

Page 15: ......

Page 16: ...400011235019 GB Whirlpool Registered trademark TM Trademark of Whirlpool group of companies Copyright Whirlpool Europe s r l 2014 All rights reserved http www whirlpool eu Printed in Italy 03 2018 ...

Reviews: