2
INSTALLATION
PRIOR TO CONNECTING
E
NSURE
TH
A
T
THE
A
PPLI
A
NCE
IS
NOT
D
AMA
GED
.
Check
that the oven door closes firmly against the
door support and that the internal door seal is
not damaged. Empty the oven and clean the
interior with a soft, damp cloth.
AFTER CONNECTING
T
HE
FIRST
TI
M
E
THE
OVEN
IS
S
W
ITCHED
ON
,
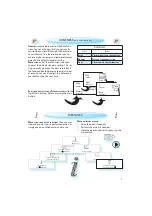
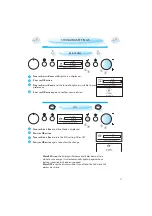
you will be
asked to set the language and current time.
Follow the instructions under the headline
“Changing settings” in this instructions for use.
The appliance is ready to use after these two
steps have been taken.
The manufacturers are not liable for any
problems caused by the user’s failure to ob-
serve these instructions.
D
O
NOT
OPER
A
TE
THIS
A
PPLI
A
NCE
if it has a damaged
mains cord or plug, if it is not working proper-
ly, or if it has been damaged or dropped. Do
not immerse the mains cord or plug in water.
Keep the cord away from hot surfaces. Electri-
cal shock, fire or other hazards may result.
D
O
NOT
RE
M
OVE
THE
M
ICRO
WA
VE
INLET
PROTECTION
PL
A
TES
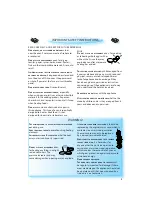
located on the side
of the oven cavity wall.
They prevent grease & food
particles from entering the
microwave inlet channels.
E
NSURE
the oven cavity is
empty before mounting.
C
HECK
TH
A
T
THE
VOLT
A
GE
on the rating plate corre-
sponds to the voltage in your home.
T
HE
OVEN
C
A
N
BE
OPER
A
TED
ONLY
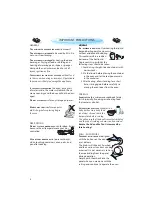
if the oven door is
firmly closed.
T
HE
E
A
RTHING
OF
THIS
A
PPLI
A
NCE
is compulsory. The
manufacturer will accept no responsibility for
injury to persons, animals or damage to ob-
jects arising from the non-observance of this
requirement.
MOUNTING THE APPLIANCE
F
OLLO
W
THE
SUPPLIED
separate mounting in-
structions when installing the appliance.
D
O
NOT
USE
EXTENSION
CORD
:
I
F
THE
PO
W
ER
SUPPLY
CORD
IS
TOO
SHORT
,
have
a qualified electrician or serviceman in-
stall an outlet near the appliance.


