Page 8
6.
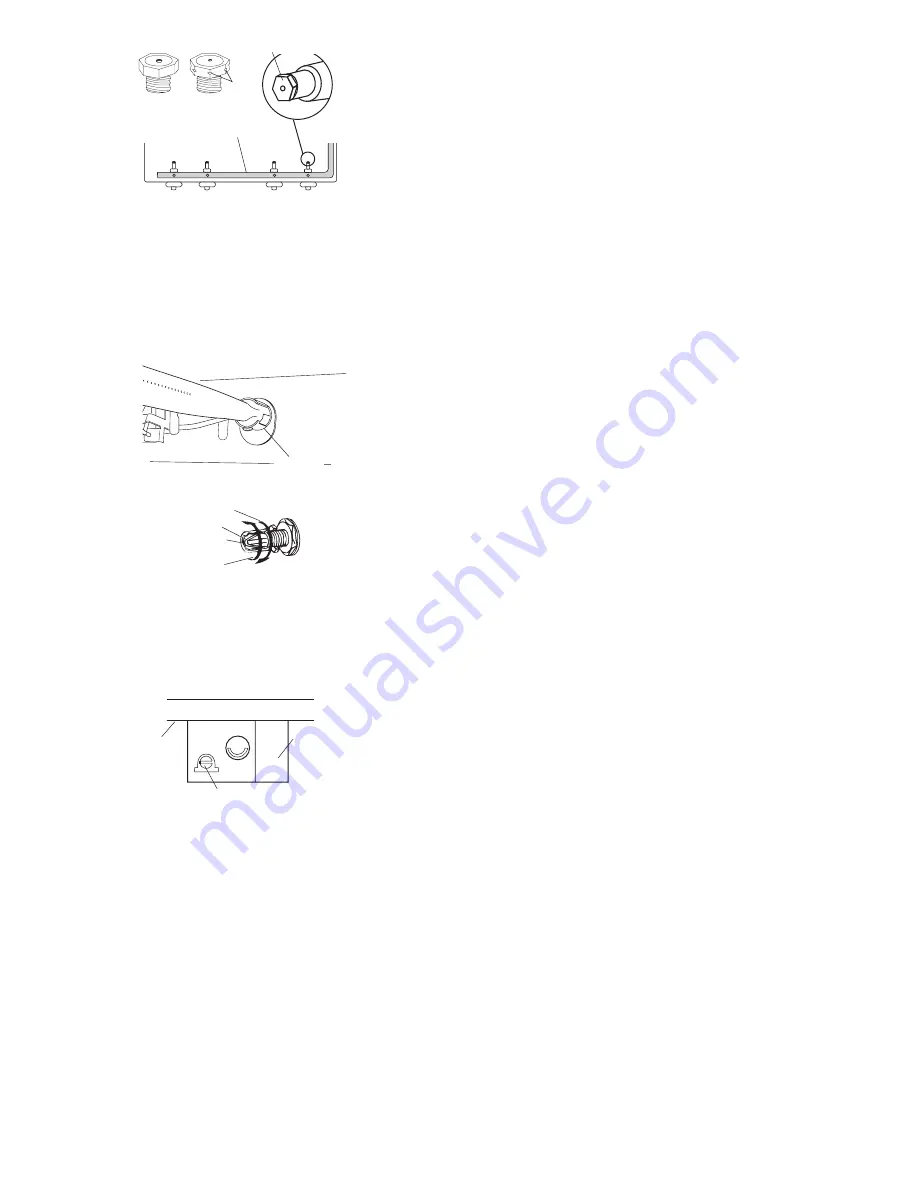
Oven burner:
Use 1/2" combination
wrench to loosen the orifice hood away from the
pin (approximately 2 to 2-1/2 turns). The burner
flame cannot be properly adjusted if this
conversion is not made.
7.
Locate selector key on oven thermostat and
turn counterclockwise to the Natural position.
8.
Lower cooktop. Reinstall screws to secure
burner tubes to cooktop. Reinstall burners and
grates.
9.
Complete section E “Check operation,”
Page 6. Check for proper flame. Natural gas
flames do not have yellow tips.
L
P
N
A
T
thermostat
gas
manifold
selector
key
5.
Locate Natural gas orifice spuds in
literature package included with the range. All
Natural gas spuds are stamped with “145”.
Remove L.P. gas orifice spuds using a 3/8"
combination wrench. Install Natural gas orifice
spuds to replace the L.P. gas orifice spuds.
Place L.P. gas orifice spuds in plastic parts bag
for future use and keep with literature package.
Reinstall burner tube and bracket assemblies.
Do not lower cooktop.
orifice spuds
NAT
L.P.
L.R.
L.F.
R.R.
R.F.
gas
manifold
notches
Remove and replace
orifice spuds.
Note: Burner tube and
brackets not shown.
hood
pin
L.P. gas
decrease gas
decrease flame size
Natural gas
increase gas
increase flame size
pre-set at factory for Natural gas
oven burner
orifice behind
air shutter


