Quick Reference
Table of Contents:
Pages
2
2
2
3
3
4 - 6
7 - 8
Installation Instructions
IMPORTANT:
Installer:
Leave Installation Instructions with the homeowner.
Homeowner:
Keep Installation Instructions for future reference.
Save
Installation Instructions for local electrical inspector's use.
Part No. 8273169 Rev. A
CLOCK
8.8:88
TIMER
TIMER
IMPORTANT:
Read and save these instructions.
If you need assistance:
Check your Use and Care Guide for a toll-free number to call or call
the dealer from whom you purchased this range. The dealer is listed
in the Yellow Pages of your phone directory under “Appliances —
Household — Major — Service and Repair.”
Call when you:
Have questions about range installation or operation.
Need to obtain the name and number of an authorized
service company.
When you call, you will need:
The range model number.
The range serial number.
Both numbers are listed on the model/serial rating plate located on
the frame behind the storage drawer.
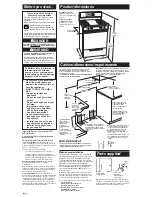
Before you start
Product dimensions
Cabinet dimensions/requirements
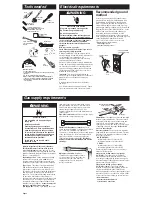
Electrical requirements
Gas supply requirements
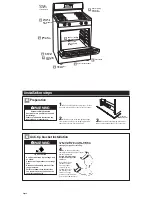
Installation steps
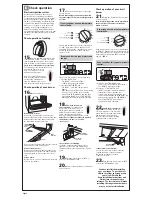
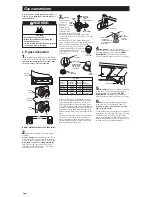
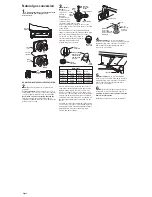
Gas conversions
If range does not operate
If you need assistance/service
Moving the range
Back cover
Back cover
Back cover
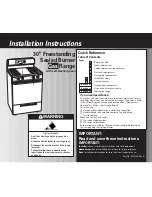
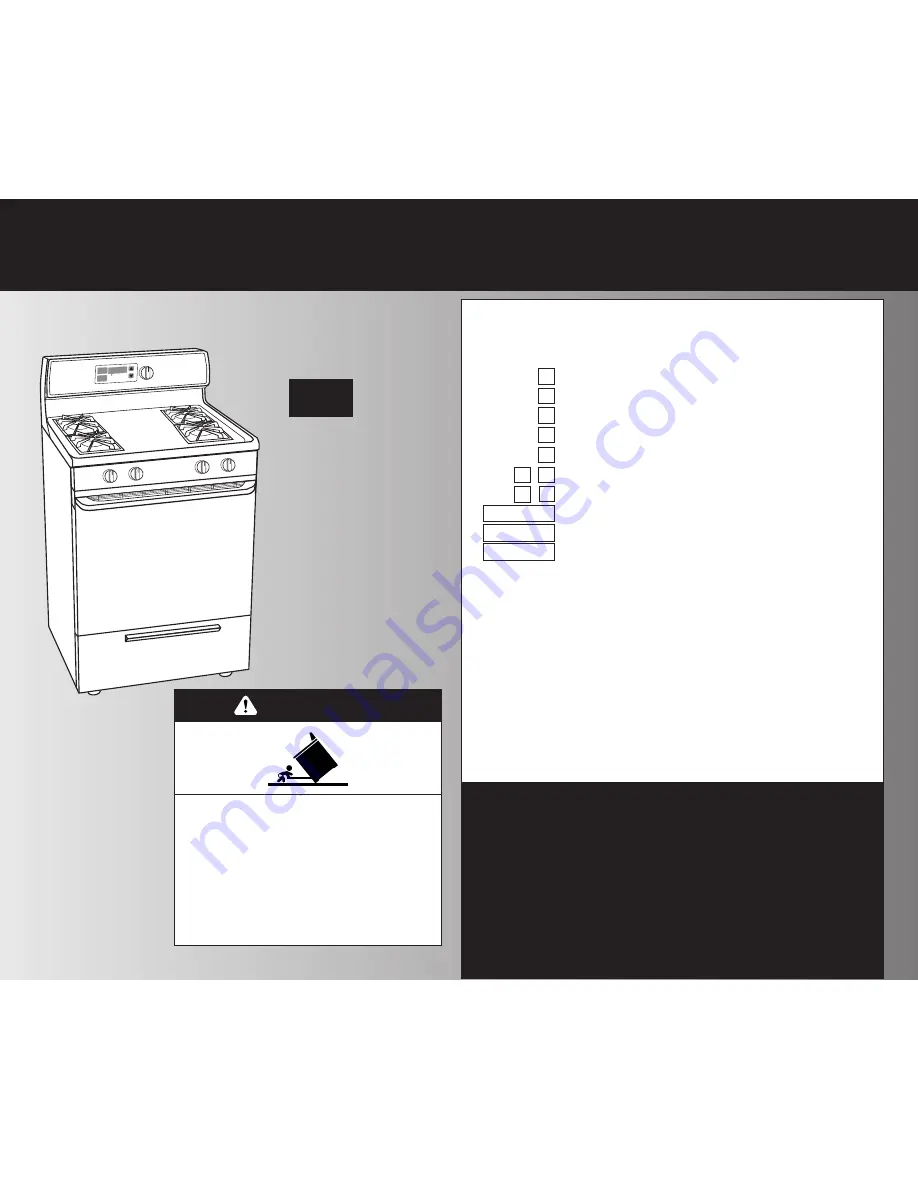
30" Freestanding
Sealed Burner
Gas
Range
with self-cleaning oven
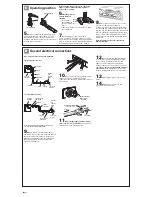
Tip Over Hazard
A child or adult can tip the range and be
killed.
Connect anti-tip bracket to rear range foot.
Reconnect the anti-tip bracket, if the range
is moved.
Failure to follow these instructions can
result in death or serious burns to children
and adults.
WARNING


