13
Cancel
The CANCEL control stops all functions except for the Timer and
Learning Mode, and cancels programming in progress.
The oven will also turn off when the door is opened. Close the
door and touch START control or “Continue” on the touch screen
to resume the cycle. A sensor cooking cycle may not be resumed
if interrupted by opening the door.
Clear
During manual cooking programming the CLEAR control changes
the programming values (minutes, seconds, cook power, etc.)
that are acitve in the display to their default value. For example,
while entering a cook time, touching CLEAR will change the time
you have already entered to “0:00.” The CLEAR control is only
available during manual cooking programming, and gives an
invalid signal (See “Tones” section) if touched during cooking.
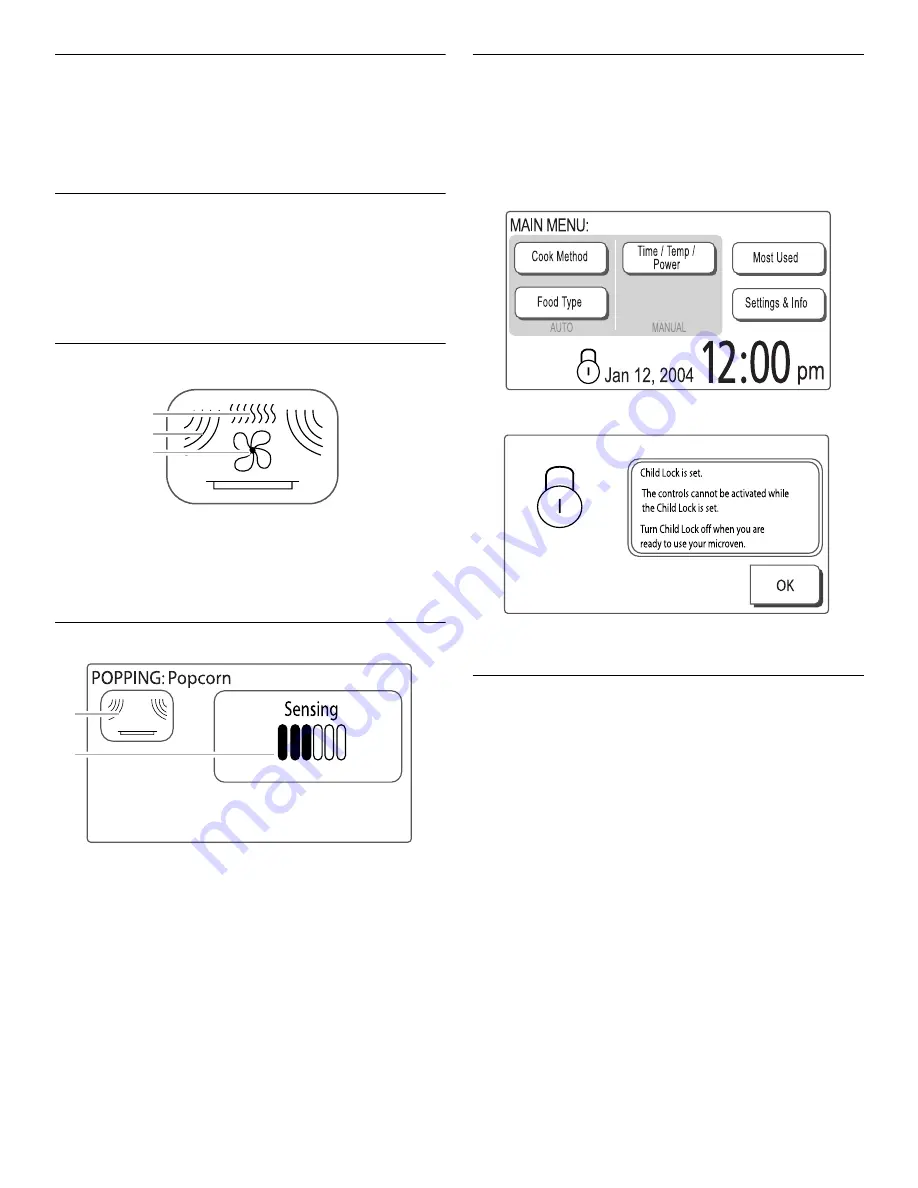
Cooking Animation
The cooking animation appears during any cooking cycle,
whether automatic or manual. The animation shows what type of
cooking is taking place.
Progress Bar
The progress bar is a visual picture of the estimated running time
of a cooking cycle. It will appear during sensor cooking functions.
Lines appear below the word “Sensing,” and show progress by
the darkening of the lines left to right. After the sensor is finished
sensing, the remaining cook time replaces the word “Sensing” at
the top of the display, but the progress bar continues to be
displayed until the end of the cycle.
Child Lock
The Child Lock disables all controls to prevent unintended use of
the oven. The only control that will function while the Child Lock
is active is the CANCEL pad on the control panel.
Child Lock activation is only possible when the oven is not in use.
To Activate Child Lock: Touch and hold the CANCEL control for
5 seconds. Two tones will sound, and the display will show the
padlock icon.
If any controls are touched while the Child Lock is active, the
“Child Lock is set” reminder screen appears for 5 seconds.
To Deactivate Child Lock: Touch and hold the CANCEL control
for 5 seconds. Two tones will sound, and the padlock icon will be
removed from the display.
Clock
This is a 12-hour clock, showing a.m. and p.m., or a 24-hour
clock. When power is first supplied to the oven, or after a power
failure, the “Welcome” screen will appear, asking whether you
would like to set the clock. If you choose to set the clock at that
time, the display will take you directly to the Clock screen. If you
choose not to set the clock, the time of day will default to 12:00
p.m., and the clock will be displayed and continue to keep time.
The clock format defaults to 12-hour, and to Daylight Savings.
To Set Clock:
1. On Main Menu, touch “Settings & Info.”
2. On Settings & Info screen, touch “Clock.”
3. On Clock screen, touch “Adjust Time,” and follow the
instructions to set the time of day.
To Change Format/Daylight Savings Settings: On Clock
screen, select either “12 Hour Format” or “24 Hour Format,” and/
or select “Daylight Savings ON” or “Daylight Savings OFF,” then
touch “OK.”
To Hide Clock: On Clock screen, touch “Adjust Time,” and then
touch “Hide Clock.” The display will immediately return to the
Main Menu.
A. Cooking with grill element
B. Cooking with microwaves
C. Cooking with convection
A. Cooking animation
B. Progress bar
A
B
C
A
B
Summary of Contents for GH7208XR - 1-03-07
Page 35: ...35 Notes ...


