background image

Summary of Contents for GH7208XRB4

Page 1: ...rowave Oven 9 Install Filters 10 Complete Installation 10 VENTING DESIGN SPECIFICATIONS 11 ASSISTANCE 12 Replacement Parts 12 Accessories 12 MICROWAVE HOOD COMBINATION SAFETY Your safety and the safety of others are very important We have provided many important safety messages in this manual and on your appliance Always read and obey all safety messages This is the safety alert symbol This symbol...

Page 2: ...mensions illustration Minimum one 2 x 4 50 8 x 101 6 mm wood wall stud and minimum 3 8 10 mm thickness drywall or plaster lath within cabinet opening Support for weight of 150 Ibs 68 kg which includes microwave oven and items placed inside the microwave oven and upper cabinet Grounded electrical outlet inside upper cabinet See Electrical Requirements section NOTES If installing the microwave oven ...

Page 3: ... Recommended A time delay fuse or time delay circuit breaker A separate circuit serving only this microwave oven GROUNDING iNSTRUCTiONS For all cord connected appliances The microwave oven must be grounded In the event of an electrical short circuit grounding reduces the risk of electric shock by providing an escape wire for the electric current The microwave oven is equipped with a cord having a ...

Page 4: ...system See Venting Design Specifications section NOTE Skip this section if you are using recirculation installation Keep the damper assembly in case the venting method is changed or the microwave oven is reinstalled in another location where wall or roof venting may be used To prepare the microwave oven for wall or roof venting the vent deflector L shaped metal bar must be installed and the approp...

Page 5: ... of venting method in the future 4 Position the damper assembly so that the long tab slides into the slot on the right side of the damper vent opening as shown Then secure with mounting screw A B C A Mounting screw B Damper assembly C Long tab inside slot Roof Venting Installation Only To Remove Roof Damper Vent Cover 1 Locate the roof damper vent cover on the top of the microwave oven 2 Using dia...

Page 6: ...how examples of preferred installation configurations with the mounting plate No Wall Studs at End Holes Figure 1 No Wall Studs at End Holes Figure 2 _ i D B _ Wall Stud at One End Hole Figure 3 i B i o o o o o o o o o o o o o o o o o o o o o o E _ Yi _7 i ii I i F C NOTE If wall stud is within 6 15 2 cm of the vertical centerline see Mark Rear Wall section only recirculation or roof venting insta...

Page 7: ...urations in Locate Wall Stud s section The blackened holes in the shaded areas are ideal hole locations 7 Set the mounting plate aside Wall Venting Installation Only Upper cabinet bottom _ 1 cm 8 9 10 11 12 13 14 f f 4 10 2 cm Centerline I 6 15 2 cm 6 15 2 cm Mark the centerline 3 8 1 cm down from the bottom edge of the upper cabinet Using measuring tape measure out 6 15 2 cm on both sides of the ...

Page 8: ... and finger tighten the bolt to make sure toggle nut has opened against drywall 5 6 Insert a lag screw into the remaining end hole If installing on a second wall stud insert a lag screw into the other hole drilled in Step 2 of Installation for Wall Stud at One End Hole in the Drill Holes in Rear Wall section 7 Check alignment of mounting plate making sure it is level 8 Securely tighten the lag scr...

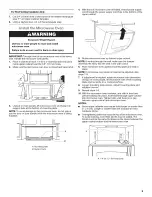
Page 9: ...ole in the bottom of the upper cabinet 5 Rotate microwave oven up toward upper cabinet NOTE If venting through the wall make sure the damper assembly fits easily into the vent in the wall cutout 6 Push microwave oven against mounting plate and hold in place NOTE If microwave oven does not need to be adjusted skip steps 7 9 7 If adjustment is required rotate microwave oven downward Using 2 or more ...

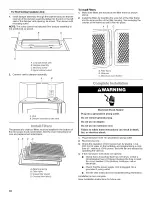
Page 10: ...rame into the inner portion of the filter housing then swinging the outside of the frame up until it fits into place A B C A Filter frame B Wide tab C Microwave oven bottom Complete nstaHation Electrical Shock Hazard Plug into a grounded 3 prong outlet Do not remove ground prong Do not use an adapter Do not use an extension cord Failure to follow these instructions can result in death fire or elec...

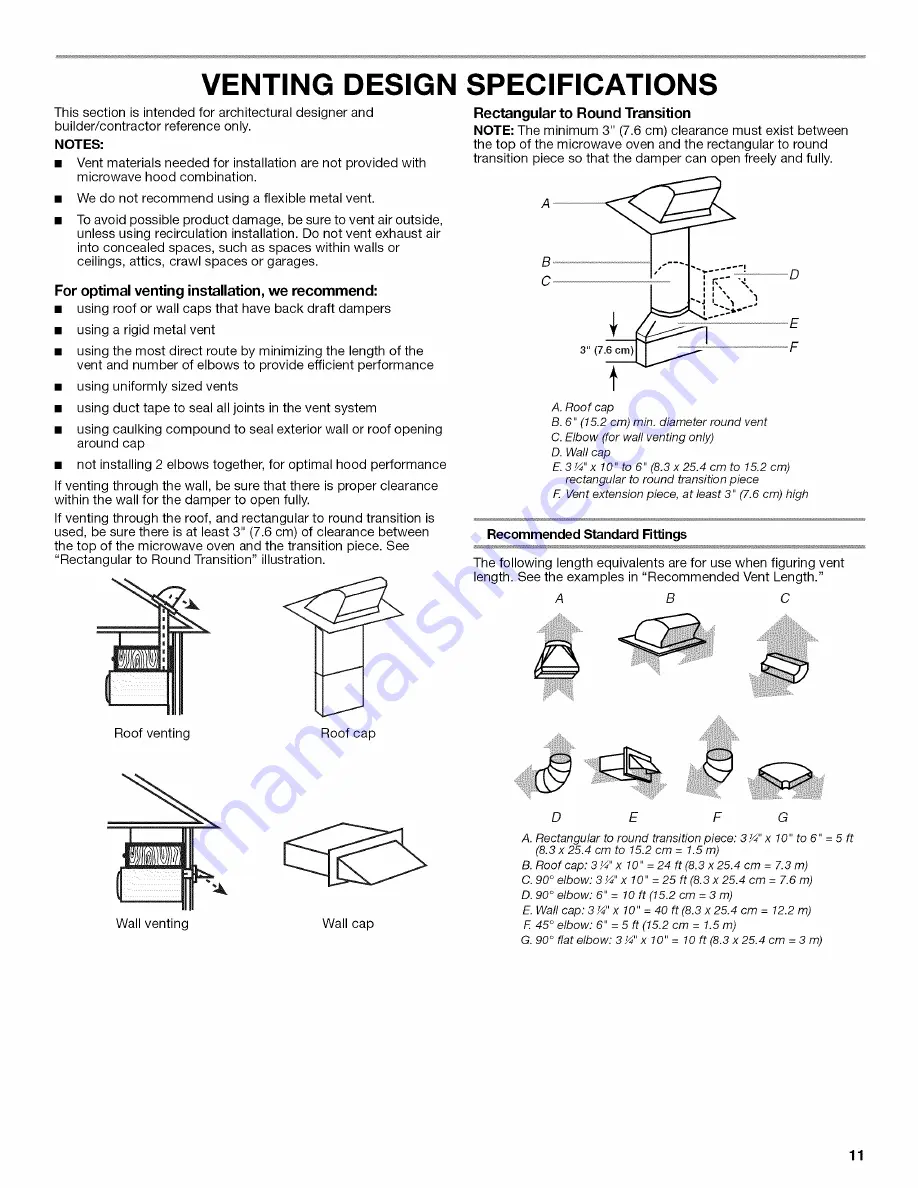
Page 11: ...g compound to seal exterior wall or roof opening around cap not installing 2 elbows together for optimal hood performance If venting through the wall be sure that there is proper clearance within the wall for the damper to open fully If venting through the roof and rectangular to round transition is used be sure there is at least 3 7 6 cm of clearance between the top of the microwave oven and the ...

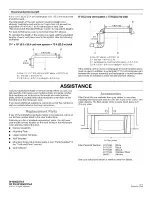
Page 12: ...he damper from sticking ASSISTANCE Call your authorized dealer or service center When you call you will need the microwave oven model number and serial number Both numbers can be found on the model and serial number plate which is located behind the microwave oven door on the front frame of the microwave oven If you need additional assistance call us at our toll free number or visit our website li...

Reviews: