2-3
Tip Over Hazard
Do not use clothes vitalizer until com-
pletely installed.
Install lag bolts securely into wall studs.
Use two or more people to move and
install clothes vitalizer.
Failure to follow these instructions can
result in death or serious injury.
WARNING
MOUNTING THE CLOTHES
VITALIZER
1.
Lay the carton with the clothes vitalizer on
its back.
2.
Open the carton so you can access the
front doors.
3.
Remove the tape from the doors.
4.
Open the doors and remove the contents
from inside the unit.
Important:
Before
the clothes vitalizer is installed on the wall,
do not open the doors more than 90
°
to
avoid damaging the door hinges.
5.
Close the doors and reapply the tape to
hold them closed. Leave the clothes
vitalizer in the carton until you are in-
structed to remove it.
6.
Remove the mounting bracket, nuts, and
lag bolts from the accessory box.
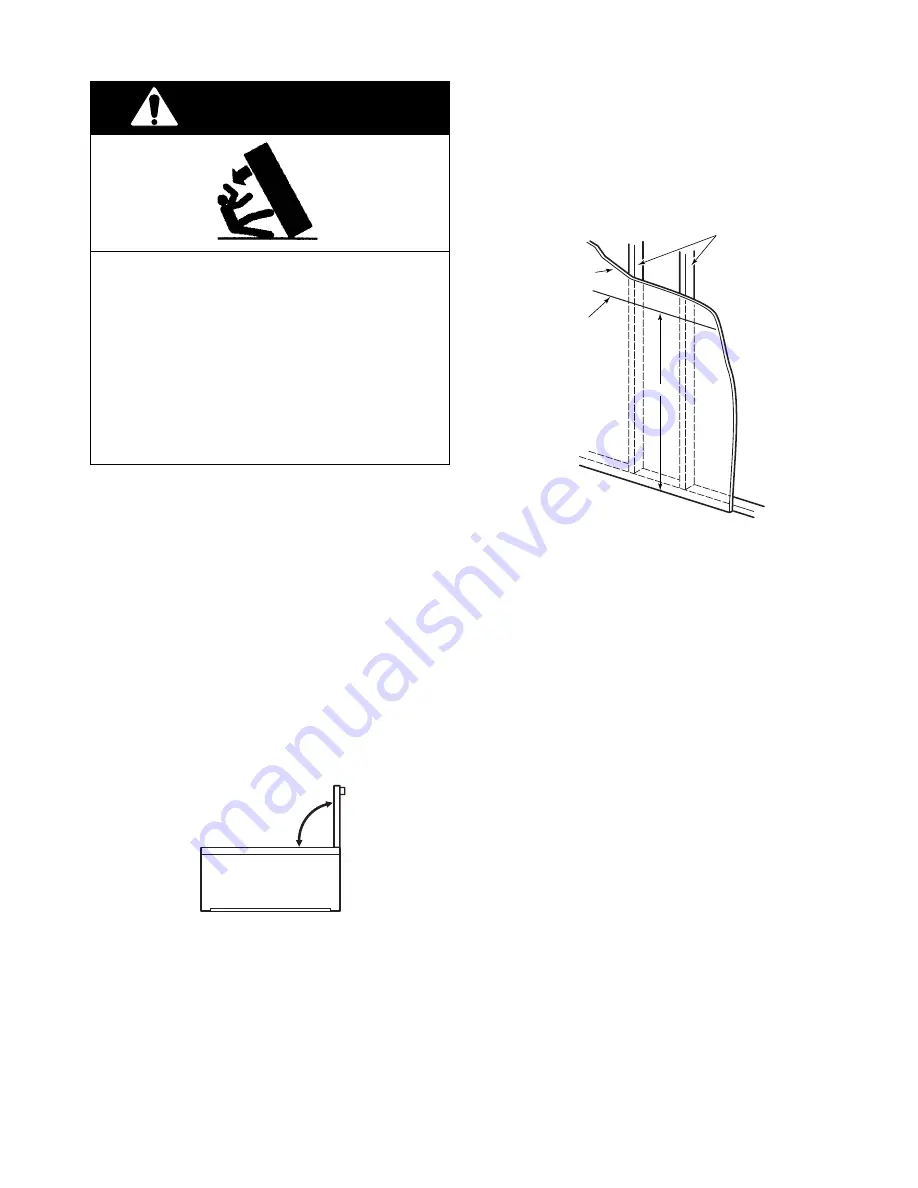
90˚ Maximum
IMPORTANT:
For wood stud installations, each
lag bolt must be installed in a wood stud. If
there are not two studs in the mounting area,
do not
install the vitalizer.
Do not use toggle
bolts through dry wall to support the clothes
vitalizer.
NOTE: If you are installing the mounting bracket
assembly for the clothes vitalizer to wood studs,
proceed with step 9. If you are installing the
bracket on a concrete, or a concrete block wall,
proceed to step 10 on the next page.
9.
To mount the clothes vitalizer to wood
studs:
a) Locate and mark the centers of each
wall stud. Make these marks about 72
″
from the floor.
70-3/4
″
wood studs
wall
line
(must be level)
7.
With the washer sides of the nuts facing
the mounting bracket assembly, start the
nuts onto the threaded studs of the bracket.
8.
Mark a horizontal line at least 24
″
long,
70-3/4
″
minimum from the floor.
Impor-
tant:
The line must be level.
Continued on the next page.
Summary of Contents for Personal Valet PVBN600
Page 16: ...2 6 NOTES ...
Page 22: ...3 6 NOTES ...
Page 54: ...8 2 NOTES ...
Page 56: ...CORPORATION ...


