5-9
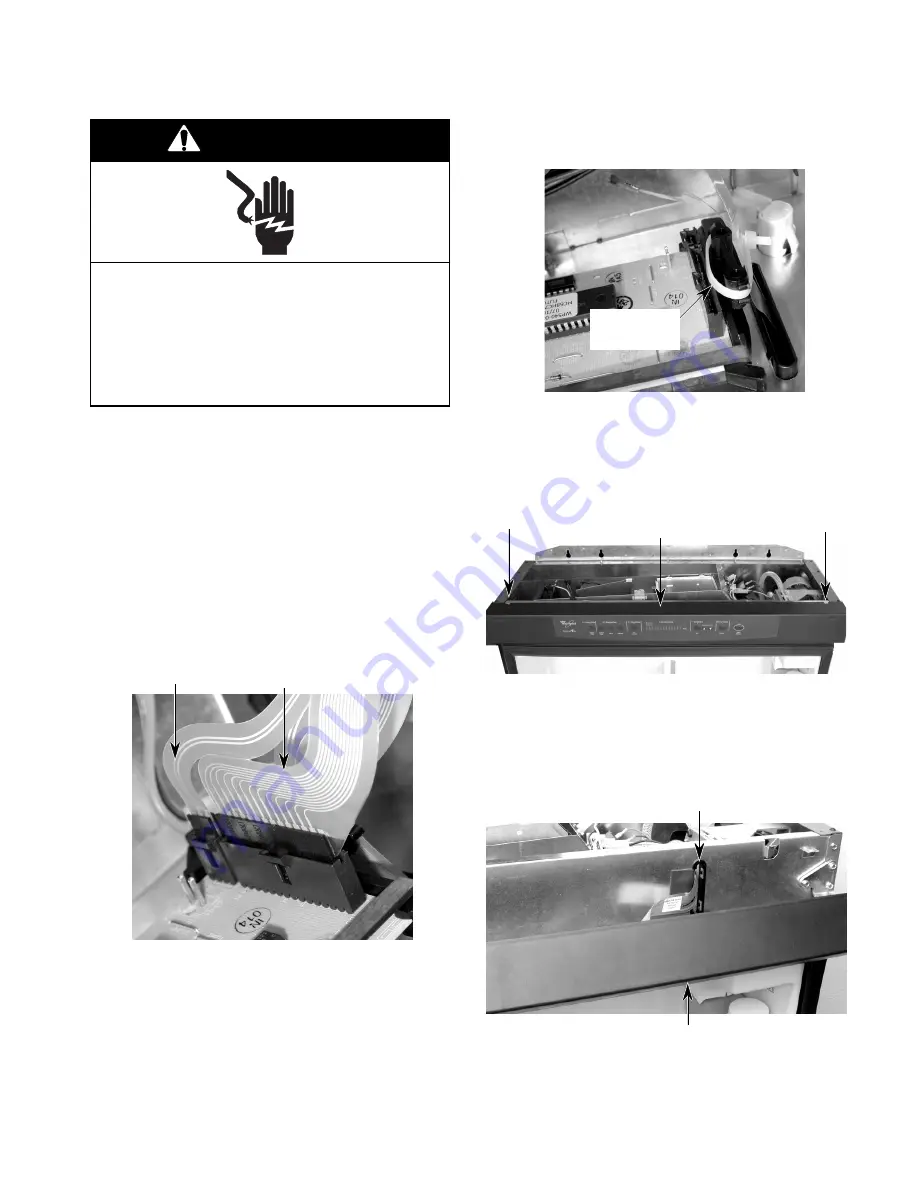
REMOVING THE CONTROL PANEL ASSEMBLY
NOTE:
Sharp edges may be present.
1.
Unplug the clothes vitalizer or disconnect
the power.
NOTE: The control panel and membrane switch
are replaced as an assembly.
2.
Remove the twelve T-15 Torx screws from
the top component cover and remove the
cover from the unit (see page 5-2).
3.
Pull the two ribbon cables out of the elec-
tronic control board connectors.
2 Ribbon Cables
5.
Remove both doors from the cabinet (see
page 5-8 for the procedure).
6.
Remove the two hex screws from the top
of the control panel assembly.
4.
Cut the wire tie and remove it from around
the ribbon cables.
Cut Ribbon
Cable Tie
Screw
Screw
7.
Pull the top of the control panel assembly
forward and pull the ribbon cables out of
the slot in the frame, and remove the
assembly.
Pull Cables Through Slot
Pull Top Of Control Panel
Assembly Forward
Electrical Shock Hazard
Disconnect power before servicing.
Replace all panels before operating.
Failure to do so can result in death or
electrical shock.
WARNING
Control Panel Assembly
Summary of Contents for Personal Valet PVBN600
Page 16: ...2 6 NOTES ...
Page 22: ...3 6 NOTES ...
Page 54: ...8 2 NOTES ...
Page 56: ...CORPORATION ...


