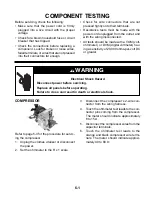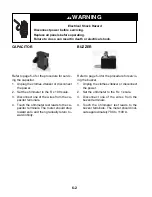
5-3
REMOVING THE COMPRESSOR
NOTE:
Sharp edges may be present.
1.
Unplug the clothes vitalizer or disconnect
the power.
2.
Remove the twelve T-15 Torx screws from
the top component cover and remove the
cover from the unit (see page 5-2).
The component described on this page is
shown below.
6.
Mark the top hose of the compressor with
pieces of tape, or use a marker, for iden-
tification.
7.
Cut the two hose clamps and pull the
hoses off the compressor fittings.
8.
Loosen the four T-15 Torx mounting
screws.
9.
Slide the compressor brackets so the large
openings in the two keyhole slots are over
the screw heads, and remove the com-
pressor.
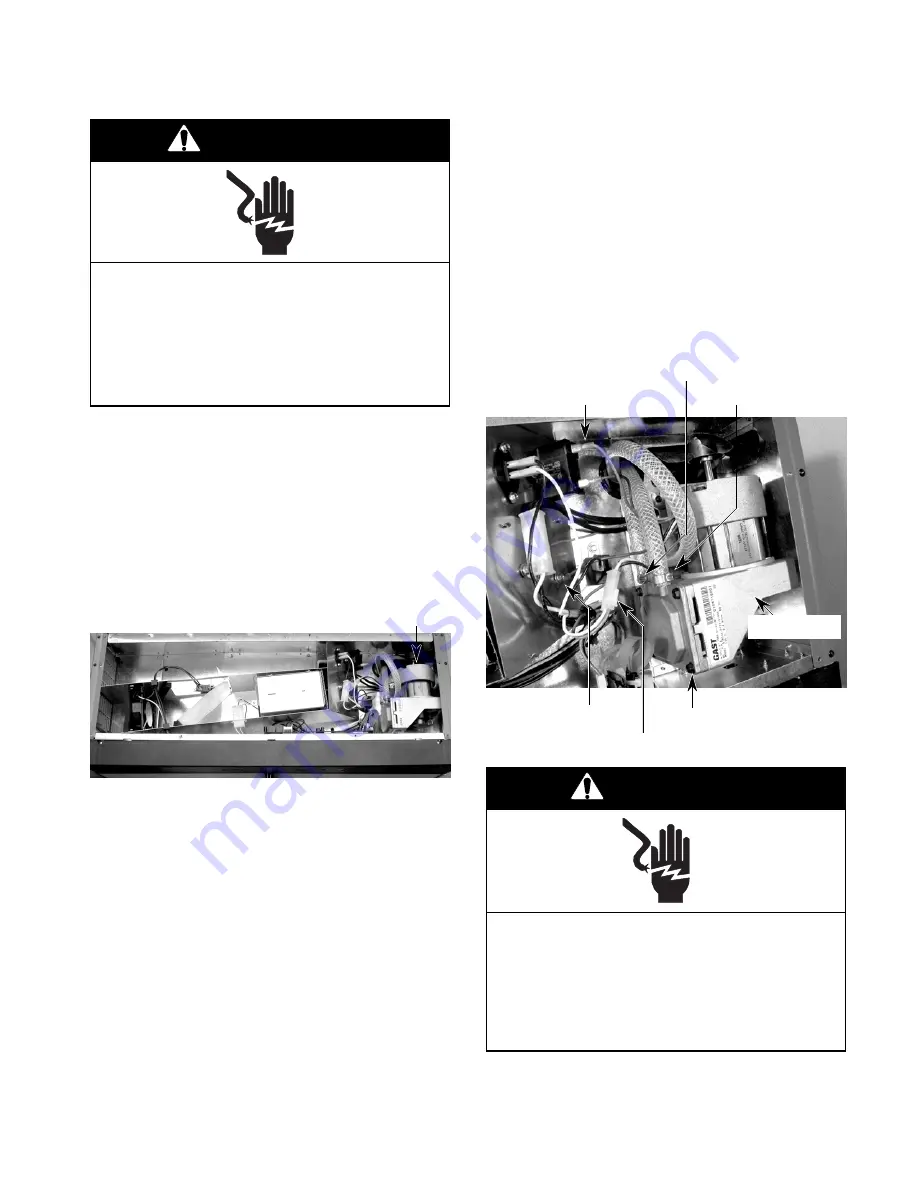
Compressor
Torx Screw (1 of 4)
Orange Capacitor Wire
Compressor
2-Wire Power Connector
Green Ground Wire
Bottom Hose Clamp
Electrical Shock Hazard
Disconnect power before servicing.
Replace all panels before operating.
Failure to do so can result in death or
electrical shock.
WARNING
Top Hose Clamp
3.
Disconnect the 2-wire power connector
from the wiring harness (see the photo to
the right).
4.
Disconnect the orange wire from the ca-
pacitor terminal.
5.
Remove the mounting screw from the
green ground wire.
Electrical Shock Hazard
Connect green ground wire to ground
screw.
Failure to do so can result in death or
electrical shock.
WARNING
Summary of Contents for Personal Valet PVBN600
Page 16: ...2 6 NOTES ...
Page 22: ...3 6 NOTES ...
Page 54: ...8 2 NOTES ...
Page 56: ...CORPORATION ...


