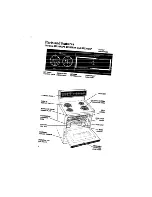
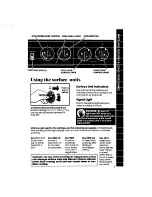
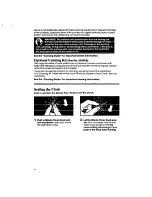
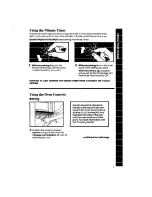
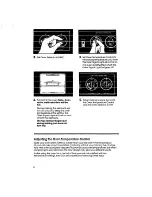
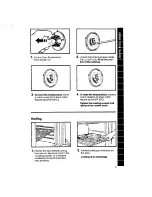
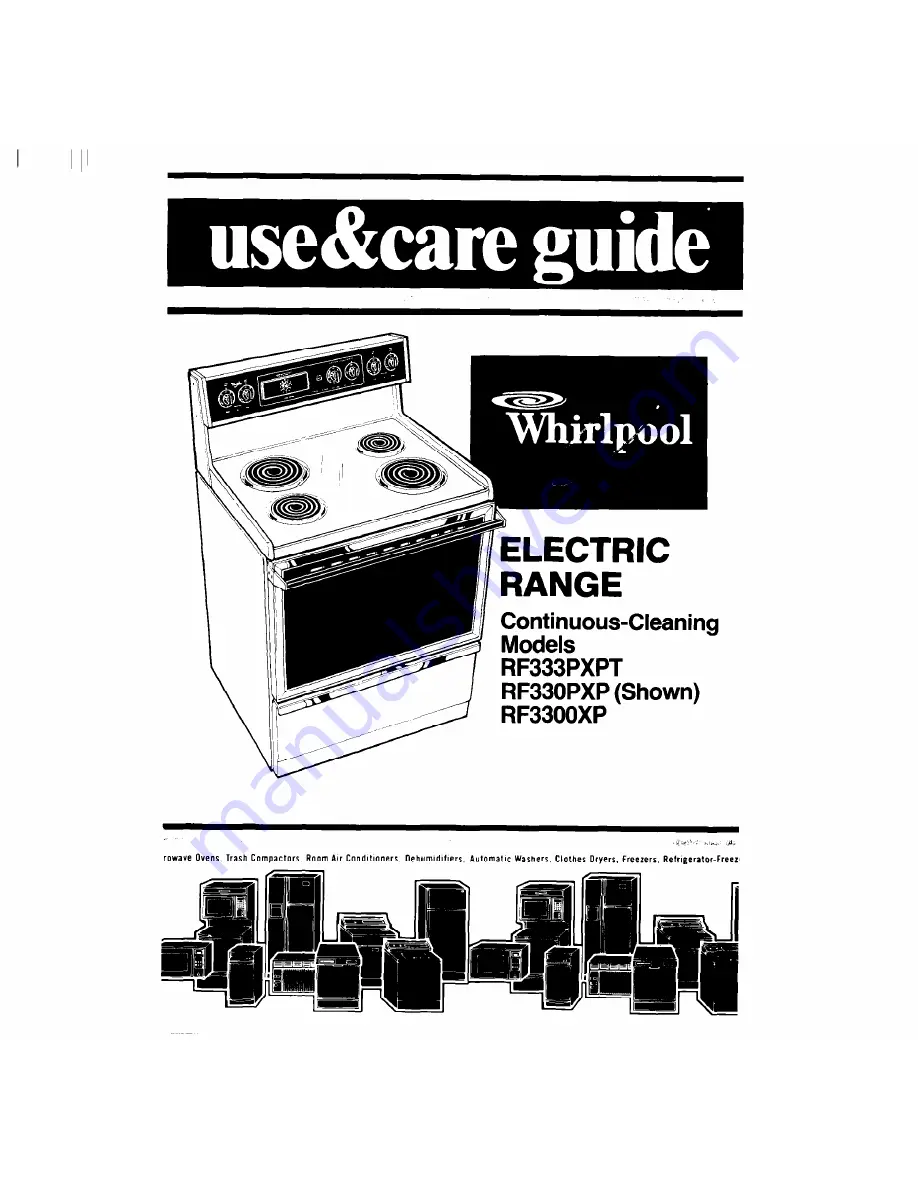
background image

Summary of Contents for RF3300XP

Page 1: ...TRIC RANGE Continuous Cleaning Models RF333PXPT RF330PXP Shown RF3300XP si d 1 rowave Ovens Trash Compactors Room Air Conditioners Oehumldlllers Automatic Washers Clothes Dryers Freezers Refrqerator Free11 ...

Page 2: ...e or Assistance 1B 01986 Whirlpool Corporation Before you use your range Read thls Use Care Gulde and The Cooklng Guide for Important safety lniormatlon You are personally responsible for l Reading and following all safety precautions in this Use 81Care Guide and the Cooking Guide l Installing the range where it is protected from the elements and on a floor strong enough to support Its welght l Pr...

Page 3: ...oktop 9 DO NOT heat unopened containers and oven walls racks and door They could explode The hot con can get hot enough to cause tents could burn and container par burns titles could cause injury 5 DO NOT use the range to heat a 10 When adding or removing room Persons in the room could food MAKE SUREto open the be burned or injured or a fire oven door all the way to could start prevent burns 9 FOR...

Page 4: ...Parts and features Models RF333PXPT RF330PXP and RF3300XP OVENVEI UT REMOVABLE STORAGE ORAWFQ c LmcAWRE PAC not shown 4 ...

Page 5: ...gs use the following as a guide For best results start cooking at the high settings then turn the control knob down to continue cooking Use HI to start Use MED HI Use MED Use MED LO foods cook to hold a for gravy to keep food ing to bring rapid boil to puddings cooking after liquids to a fry chicken and icing to starting it boil or pancakes cook large on a higher amounts of setting vegetables CAUT...

Page 6: ...can shorten the life of regular surface units and cause damage to the cooktop If you plan to use the cooktop for canning we recommend the installation of a Canning Kit Order the kit from your Whirlpool Dealer or Tech Care Service Company See the Cooking Guide for important canning information Setting the Clock Push in and turn the Minute Timer Knob to set the Clock 1 Push in Minute Timer Knob and ...

Page 7: ... setting you want When the time is up a buzzer will sound To stop the buzzer turn the Minute Timer hand to OFF PUSHING IN AND TURNING THE MINUTE TIMER KNOB CHANGES THE CLOCK SETTING Using the Oven Controls Baking Rack s should be placed so the top of the food will be cen tered In the oven Always leave at IeastlYz to 2 inches 4 5 cm between the sides of the pan and the oven walls and other pans For...

Page 8: ...s preheated when the Oven Signal Light first goes off 5 When baking is done turn both the Oven Temperature Control and the Oven Selector to OFF Adjusting the Oven Temperature Contml Does your oven seem hotter or colder than your old oven The temperature of your old oven may have shifted gradually without your noticing the change Your new oven is properly adjusted to provide accurate temperatures B...

Page 9: ...O Each notch equais aboutlO F 5 C 4 To raise the temperature move a notch closer to HI Each notch equals aboutlO F 5 C Tighten the locking screws and replace the control knob Broiling 1 Position the rack before turning the oven on See broil chart in the Cooking Guide or a reliable cookbook for recommended 2 Put the broiler pan and food on the rack continued on next page rack positions ...

Page 10: ...off l If you want the food to broil slower from the start set the Oven Temperature Control between 150 and 325 F 65 5 and 162 7C The lower the temperature the slower the cooking The Oven Selector must be on BROIL for all broiling tempemtures CAUTION Leaving the door open allows the oven to malntaln proper tempemres and prevents wlndow glass tram cmcklng The Oven Vent Hot air and moisture escape fr...

Page 11: ...r slide rails into the drawer guides on both sides of opening 2 Lift back slightly and slide drawer all the way out 2 Lift drawer front and push in until metal stops on drawer slide rails clear white stops on drawer guides Lift drawer front again to clear second stop and slide drawer closed Use Care Guide stomge Store this booklet along with your Cooking Guide sales slip and warranty in the Litera...

Page 12: ...range Control Panel 1 Pull knobs straight off 2 Use warm soapy water and a soft cloth or spray glass cleaner to wipe the control panel Rinse and wipe dry 3 Wash control knobs in warm soapy water Rinse well and dry 4 Push control knobs straight back on Make sure they point to OFF Surface Units and Reflector Bowls 2 Lift the edge of the unit opposite the receptacle just enough to clear the reflector...

Page 13: ...ill fit into the reflector bowl Line up opening in the reflector bowl with the surface unit receptacle CAUTION Reflector bowls reflect heat back to the utenslb on the surface units They also help catch splits When they am kept clean they reflect heat better and look new longer If a reflector bowl gets dlscolored some of the utensils may not be flat enough or some may be too large for the surface u...

Page 14: ...r the outer glass and frame can be removed for cleaning DO NOT TAKEAPART A BLACK GLASS DOOR To remove the outer window 1 With the door closed remove the screws from the top of the outer window frame To replace the outer window 2 Slightly tip the window and frame out from the top With both hands lift up on both sides of the frame 1 Fit the bottom tabs of the frame into the bottom of the window open...

Page 15: ...nges correctly The Continuous Cleaning Oven Standard oven walls are coated with smooth porcelain enamel Your continu ous cleaning oven walls are coated with a special rougher porcelain enamel A fat spatter beads up on the smooth surface but spreads out on the rougher surface The bead of fat chars and turns black The spread out fat gradually burns away at medium to high baking tempemtures 350 475 F...

Page 16: ...bottom baie e lement s II feet rest solldly on the foil CAUTION Do not let foll touch the bake element It could damage the element Make sure foil Is ftat on the oven bottom and away from the 1t bake element land Cleaning WINDOW Keep clean with hot sudsy water Use a plastic scour ing pad for stubborn spots Rinse well Do not use steel wool or abmslve cleansers ACKS Use soapy steel wool ad for best c...

Page 17: ...l Do not use abraslve or harsh cleansers Broiler pan Warm soapy water or steel l Wash with other cooking utensils and grid wool pad Control knobs Warm soapy water and l Wash rinse and dry well sofl cloth l Do not soak Control panel Warm soapy water or l Wash rinse and dry well spray glass cleaner l Follow directions provided with cleaner Oven racks Warm soapy water or l Wash rinse and dry Use soap...

Page 18: ... not operate Is the Oven Selector turned to a set ting BAKE or BROIL l Is the Oven Temperature Control turned to a temperature setting If surface unlts will not opemte l Have you checked the main fuse or circuit breaker box l Are surface units plugged in all the way l Do the control knobs turn If surface unit control knob s will not turn l Did YOU push in before trying to turn If soil is vlsible o...

Page 19: ...all Whirlpool COOL LINE service assistance telephone number Dial free from Continental U S 800 253 1301 Michigan 800 632 2243 Alaska Hawaii 800 253 1121 and talk with one of our trained Con sultants The Consultants can instruct you in how to obtain satisfactory oper ation from your appliance or if serv ice is necessary recommend a qualified service company in your area 0 FSP 8 FSP IS o regIstered ...

Page 20: ...Making your world a llttle easier Part No 313286 Rev B G1986 Whirlpool Corporation Printed in U S A omatic Washers Clothes Dryers Freezers Refrigerator Freezers Ice Makers Chshwashers Built In Ovens and Surface IJnlts Ranges MIC ...

Reviews: