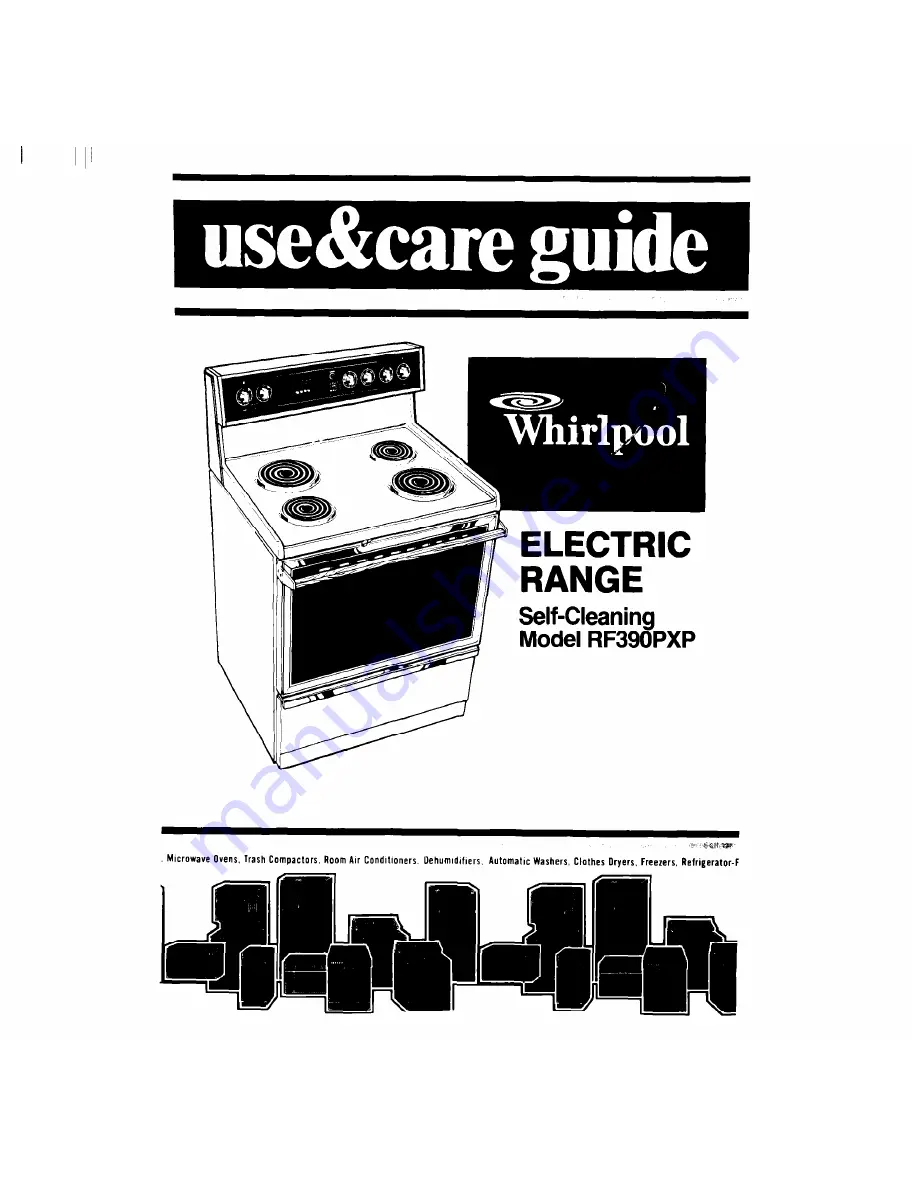
background image

Summary of Contents for RF390PXP

Page 1: ...7 wrJ e Microwave Ovens lrash Compactors Room Air Condllloners Dehumldlflers Automatx Washers Clothes Dryers Freezers Relrigerator F ...

Page 2: ... WHIRLPOOL RANGE WARRANTY Page 15 15 16 17 17 17 17 19 20 24 25 26 27 Tmk 01987 Whirlpool Corporation Before you use your range Read thlr Usi 6 Care Gulde and The Cooking Guide for important safety Information You are personally responsible for l Reading and following all safety precautions in this Use Care Guide and the Cooking Guide l Installing the range where it is protected from the elements ...

Page 3: ... NOT heat unopened containers and oven walls racks and door They could explode The hot con can get hot enough to cause tents could burn and container par burns titles could cause injury 5 DO NOT use the range to heat a 10 MAKE SURE to open the oven door room Persons in the room could all the way when adding or remov be burned or injured or a fire ing food to prevent burns could start l FOR YOUR SA...

Page 4: ...ONTROL KNOB SIGNAL LIGHT CONTROL KNOB CLOCK MINUTE TIMER CONTROL PANEL SURFACE UNIT PORCELAIN ENAMEL AUTOMATIC OVEN REFLECTOR BOWL AND LIGHT SWITCH CHROME TRIM RING BROIL MODEL AND SERI NUMBER PLATE SELF CLEANING VEN RACK GUIDE REMOVABLE STORAGE DRAWER LITERATURE PAC not shown OVEN DOOR Tmk 4 ...

Page 5: ...o the settings use the following as a guide For best results start cooking at the high settings then turn the control knob down to continue cooking Use HI to start Use MED HI Use MED Use MED LO Use LO to foods cook to hold a for gravy to keep food keep food ing to bring rapid boil to puddings cooking after warm until liquids to a fry chicken and icing to starting it ready to boil or pancakes cook ...

Page 6: ...ning we recommend the installation of a Canning Kit Order the kit from your Whirlpool Dealer or Tech Care Service Company See the Cooking Guide for important canning information The Electronic MEALTIMER Clock The Electronic MEALTIMER Clock handles many different types of functions The following operating hints may be helpful when using the clock l The numbers on the display change rapidly when tur...

Page 7: ...d minutes imlllmlm Two hours and fifteen Eleven hours and fifty nine minutes minutes Other operating hints may be found on page 15 Setting the Electronic Clock When you first plug in the range or if your electricity goes off for a while each light in the display will flash in sequence Then 4 eights and the MinlSec Timer and Bake Hours signal lights will flash The flashing means that the clock is r...

Page 8: ...show the time you set in hours and minutes Using the Electronic Minute Timer The Minute Timer does not start or stop the oven It works like a kitchen timer It can be set in minutes and seconds up to 99 minutes You will hear beeps when the set time is up 1 Push in the Min SecTimer Button The Signal Light will come on and the Display will show 0 OO 2 Turn the Set Knob until the de sired time shows i...

Page 9: ...ime i hear a beeping sound Push the Min Sec Timer Button to stop the beeping The beeping will auto maticallv stop afterl 2 minutes Rack s should be placed so the top of the food will be cen tered in the oven Always leave at leastlY2 to 2 inches 4 5 cm between the sides of the Dan 2 Set Oven Selector to BAKE 3 Set Oven Temperature Control to the baking temperature you want The Oven Signal Light wil...

Page 10: ...fted gradually without your noticing the change Your new oven is properly adjusted to provide accurate temperatures But when compared to your old oven the new design may give you different results If after using the oven for a period of time you are not satisfied with the temperature settings they can be adjusted by following these steps 1 Pull the Oven Temperature Control Knob straight off 3 To l...

Page 11: ...Oven Selector and the Oven Temperature Control to OFF Custom Broil l If food is cooking too fast turn the Oven Temperature Control counterclock wise until the Oven Signal Light goes off l If you want the food to broil slower from the start set the Oven Temperature Control between 150 and 325 F 65 5 and 142 C The lower the temperature the slower the cooking The Oven Selector must be on BROIL for al...

Page 12: ... on TIMED BAKE 2 Make sure the clock is set to the right time of day 4 Set the Oven Temperature Control on the baking temperature you want 5 Set the clock for the length of baklng tlme you want Push in the Bake Hours Button and turn the Set Knob until the length of baking time you want shows in the Display This example shows 2 hours 15 minutes Bake Hours can be set for up toll hours 59 minutes 12 ...

Page 13: ...FF Delay start and automatic shut off 1 Position the oven rack s properly and 2 Make sure the clock is set to the rig1 3 Set the Oven Selector on TIMED BAKE 4 Set the Temperature Control on the bc 5 Set the clock for the time of day you want the food to be done StopTime Push in the Stop Time Button then turn the Sei Knob until the time of day you want the food to be done shows on the Display This ...

Page 14: ...e clock automatically calcu lates the time to turn the oven on At that time the Oven Signal Light and Auto Oven Light will come on and the oven will heat This example shows the oven on at 45 minutes past 3 o clock To stop the oven before the preset ttme Push in the Bake Hours Button and turn the Set Knob counterclockwise until the Display shows 0 OO Turn the Oven Selector and Oven Temperature Cont...

Page 15: ...he display will show the time of day l A rapidly flashing signal light indicates an error in programming Cancel any entries and begin again The Oven Vent The oven vent Is located under the right rear surface unit When the oven is on hot air and moisture escape from the oven through thls vent Poor baklng can result if this vent Is blocked When using the oven do not use oversized pans or other Items...

Page 16: ...Fit ends of drawer slid ails into the drawer guides on both sides of opening 2 Lift back slightly and e drawer all the way out 2 Lift drawer tront and push in until metal stops on drawer slide rails clear white stops on drawer guides Lift drawer front again to clear second stop and slide drawer closed Use Care Guide storage Store this booklet along with your Cooking Guide sales slip and warranty i...

Page 17: ...l knobs are set to OFF then pull knobs straight off 2 Use warm soapy water and a soft cloth or spray glass cleaner to wipe the control panel Rinse and wipe dry 3 Wash control knobs in warm soapy water Do not soak Rinse well and dry 4 Push control knobs straight back on Make sure they point to OFF Surface Units and Reflector Bowls 2 Lift the edge of the unit opposite the receptacle just enough to c...

Page 18: ...s 2 Line up opening in the reflector bowl and notch in the trim ring with the surface unrt receptacle 3 Hold the surface unit as level as possible with the terminal just started into the receptacle 4 Push the surface unit terminal into the receptacle When the terminal is pushed into the receptacle as far as it will go the surface unit will fit into the trim ring 18 ...

Page 19: ...r and look new longer If a frtm ring gets dlscolored some of the utensils may be not be flat enough or some may be too large tor the surface unit In either case some of the heat that s meant to go Into or around a utensil goes down and heats the trim ring lhls extra heat can discolor it See Cooking Guide for further Information 3 Wipe with warm soapy water Use soapy steel wool pad on stubborn spot...

Page 20: ...ng Cycle they will darken and become harder to slide See tips on page 22 If you want the oven racks to remain shiny clean them by hand I 1 w Clean Door Clean Frame The porcelain reflector bowls may be cleaned in the oven l Put the oven racks on the second and fourth guides l Wipe the reflector bowls of loose soiled and grease l Place 2 bowls upside down on each rack For best results they should no...

Page 21: ...l Cleaning I Self Cleanlng cycle Thls will help 3r from the room as aulcklv as Dosslble 2 Move the Lock Lever to the Clean Position The Clean Light will come on only when the lever is all the way to the right 4 The Lock Light will come on when the oven temperature exceeds normal baking temperatures The Lock Lever must not be moved and the door can t be opened when the light is on I NOTE The Stop T...

Page 22: ... set long enough or you may not have prepared the oven properly Set the cleaning time longer the next time and hand clean areas noted on page 20 Clean the oven before it gets heavily soiled Cleaning a very soiled oven takes longer and results in more smoke than usual Oven racks lose their shine dis color and become harder to slide on their guides when they are left in the oven during the cleaning ...

Page 23: ... for baking or broiling approximately 875 F 468C This heat breaks up grease and soil and burns it off The graph shows approximate temperatures and times during a self cleaning cycle for 3 hours 1 SELF CLEANING CYCLE THREE HOUR SEITING Approximate Temperatures and limes 1000 F 530 C 000 F 427 600 F 316 C 400 F 204 200 F A r I I 1 I I I I I I SIART Lz hr 1 hr lh hrs 2 hrs 2 h hrs 3 hrs 3 b hrs STOP ...

Page 24: ... grid Control knobs Warm soapy water or steel l Wash with other cooking utensils wool pad Warm soapy water and l Wash rinse and dry well soft cloth l Do not soak Control panel Warm soapy water or spray glass cleaner l Wash rinse and dry well l Follow directions provided with cleaner Oven racks Self Cleonfng Oven cycle l Leave in oven during Self Cleaning warm soapy water or cycle soapy steel wool ...

Page 25: ... light 4 7 Remove the light bulb from its socket Replace the bulb with a snap Remove the bulb cover in the back of the oven by pulling out and push Turn the power back on at the ing the wire holder to the side main power supply CAUTION The bulb cover must be in place when Wing the oven The cover protects the bulb tram breaking NOTE The Oven light will not work during the self cleaning cycle ...

Page 26: ...e l Are the Oven Selector and the Oven Temperature Control set on CLEAN l Did you push the Self Clean Button l Is the Lock Lever all the way to the right The Clean Light will come on If cooking results are not what you expected Is the range level Are you using pans recommended in the Cooking Guide If baking have you allowed 1 to 2 inches 4 5 cm on all sides of the pans for air circulation Have you...

Page 27: ...Stanley Division Vice President Whirlpool Corporation 2000 M 63 Benton Harbor Ml 49022 5 If you need FSP replacement parts FSP is a registered trademark 01 Whirlpool Corporation for quality parts Look for this symbol of quality whenever you need a replacement part for your Whirlpool appliance FSP replacement parts will fit right and work right because they are made to the same exacting specificati...

Page 28: ... single family household use C Pick up and delivery This product is designed to be repaired in the home D Damage to range product caused by accident misuse fire flood acts of God or use of products not approved by Whirlpool E Any labor costs during the limited warranty WHIRLPOOL CORPORATION SHALLNOT BELIABLEFOR INCIDENTAL OR CONSEQUEN TIAL DAMAGES Some states do not allow the exclusion or limitati...

Reviews: