19
USING THE SELF-CLEANING CYCLE
S
ETTING THE CONTROLS
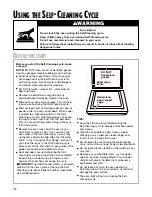
YOU SEE
OVEN ON light goes
on. DOOR
LOCKED/CLEAN-
ING light flashes
until you close door,
then is solid. HEAT-
ING light goes on
when oven starts
heating.
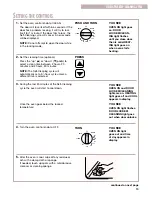
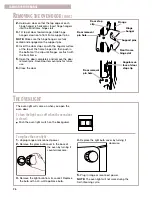
1.
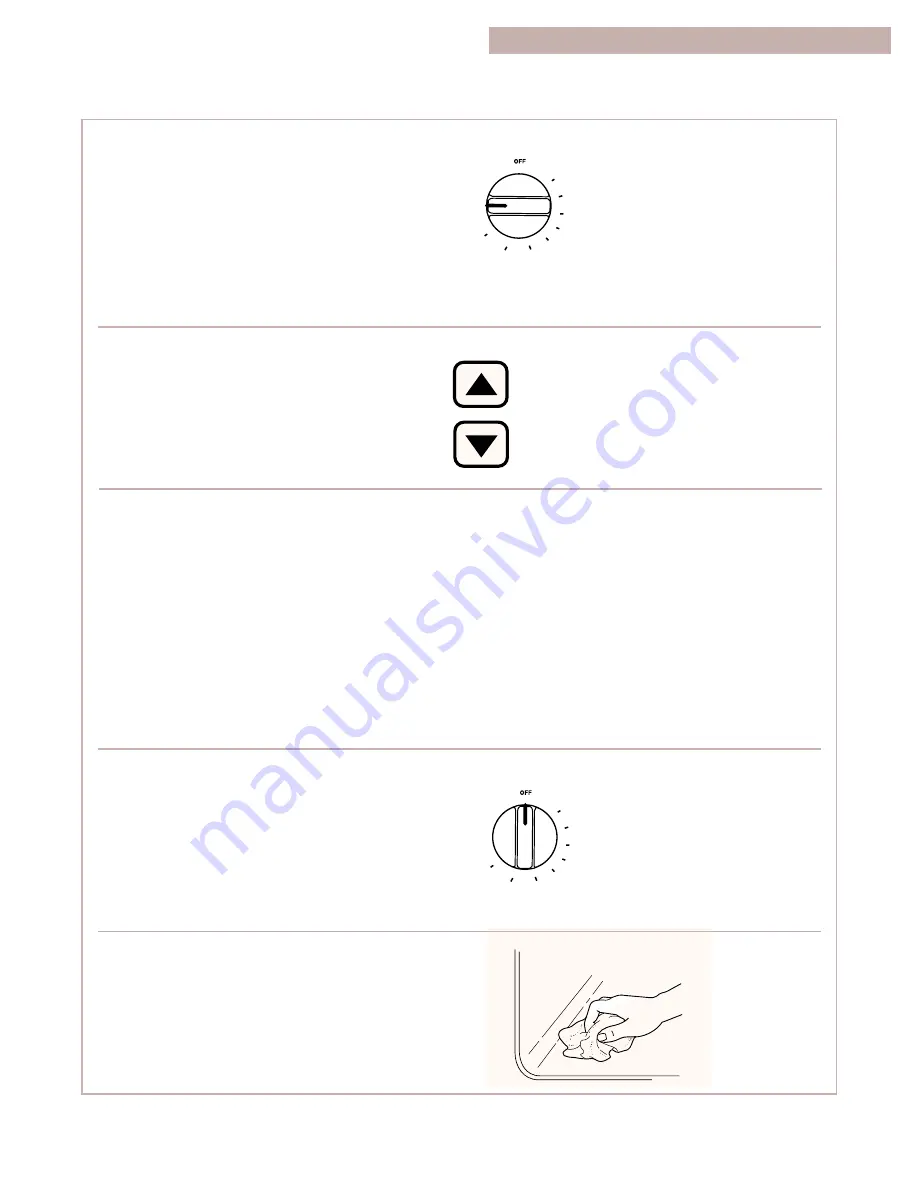
Set the oven control knob to CLEAN.
The door will lock itself within 6 seconds. If the
door has a problem locking, it will try to lock
itself for 1 minute. If the door fails to lock, the
Self-Cleaning cycle will cancel. An error code
will be displayed.
NOTE: Do not attempt to open the door while
in the locking mode.
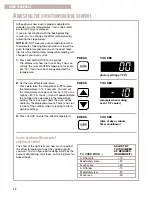
2.
Set the cleaning time (optional).
Press the “up” (
s
) or “down” (
t
) pad(s) to
select a clean time between 2 hours, 30
minutes and 4 hours, 30 minutes.
NOTE: The Self-Cleaning cycle will
automatically set a 3
1
⁄
2
hour cycle unless a
different time is selected.
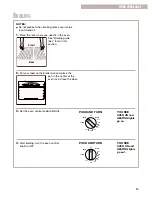
3.
During the last 30 minutes of the Self-Cleaning
cycle the oven will start to cool down.
Once the oven goes below the locked
temperature:
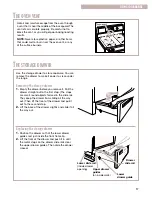
4.
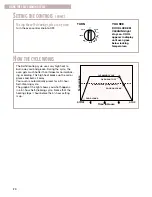
Turn the oven control knob to OFF.
5.
After the oven is cool, wipe off any residue or
ash with a damp cloth or sponge.
If needed, touch up spots with a mild abrasive
cleanser or cleaning sponge.
YOU SEE
OVEN ON and DOOR
LOCKED/CLEANING
lights are on. HEATING
light goes off and COOL
appears in display.
YOU SEE
OVEN ON light flashes.
DOOR LOCKED/
CLEANING light goes
out when door unlocks.
PUSH AND TURN
TURN
YOU SEE
OVEN ON light
goes out and time
of day appears in
display.
WARM
BROIL
CLEAN
200
250
300
350
400
450
500
WARM
BROIL
CLEAN
200
250
300
350
400
450
500
PRESS
continued on next page

