background image

Summary of Contents for SS63OPER

Page 1: ...RANGE Continuous Cleaning Model SS63OPER Microwa e o cns Gash CompacforS Room Air Conditioners Oehumldifiers Automatic Washers Clothes Oryers RefriEerator ...

Page 2: ...i Page Caring for Your Range 12 Control Panel 12 Surface Burner Grates 12 LiRUp Cook top 13 Surface Burners 13 OvenDoor 14 Continuous Cleaning Oven 14 Cleaning Chart 16 Changing the Oven Light 17 If You Need Service or Assistance 18 Whlrlpool Range Warranty 20 Tmk 01986 Whirlpool Corporation Before you use your range Read and carefully follow the lINSTAUATION INSTRUCTIONS packed with your ttmge Re...

Page 3: ...2 DO NOT store things children might want above the range Children could be burned or injured while climbing on it 3 DO NOT allow anyone to touch a hot surface burner oven burner or areas around them They could be hot enough to burn severely 4 KEEPchildren away from the range when it is on The cooktop oven wails racks and door can be hot enough to cause burns 5 DO NOT use a range to heat a room Pe...

Page 4: ...ally recom mended in this manual All other servicing should be referred to a aualified service technician high heat settings Boilovers and greasy spillovers could cause 17 DO NOT use oven for Storage steam smoke and could ignite Stored items and range could be and burn you damaged if oven is turned on accidentally 9 FOR YOUR SAFETY l DO NOTSTORE ORUSEGASOLINEOROTHERFLAMMABLEVAPORSAND LIQUIDS IN TH...

Page 5: ...Parts and features Model SS63OPER ...

Page 6: ...on by that knob sound is the ignitor sparking Tostop the clicking sound after the burner lights turn the control knob back to a desired setting The con trol knob has stops at HI and LO how ever as on any model the control knob can be set anywhere between Hi and a low sefflng Do not cook wllh the control In the LITEposllion In Case of a PMonged Power Failure Surface burners with electronic ignitors...

Page 7: ...ng liq uids to a boil Use a medium setting to start cooking or to fry chicken or pan cakes for gravy puddings and icing or to cook large amounts of vegetables use LO to keep foods warm until ready to serve Setting the Clock Push In and turn the Minute llmer Knob to set the Clock 1 Push In Minute llmer Knob and turn In either dlrectlon until clock shows the right time of day 2 let the Minute Timer ...

Page 8: ...to the setting you Want When the flme Is up a buzzer will sound Tostop the buzzer turn the Minute Timer hand to OFF PUSHING IN AND TURNING THEMINUTE TIMER KNOB CHANGES THECLOCK SElTING Using the Oven Control Baking Racks should be placed so the top of the food will be centered In the oven Always leave at leastlY2 to 2 Inches 4 5 cm between the sides of the pan and the oven walls and other pans For...

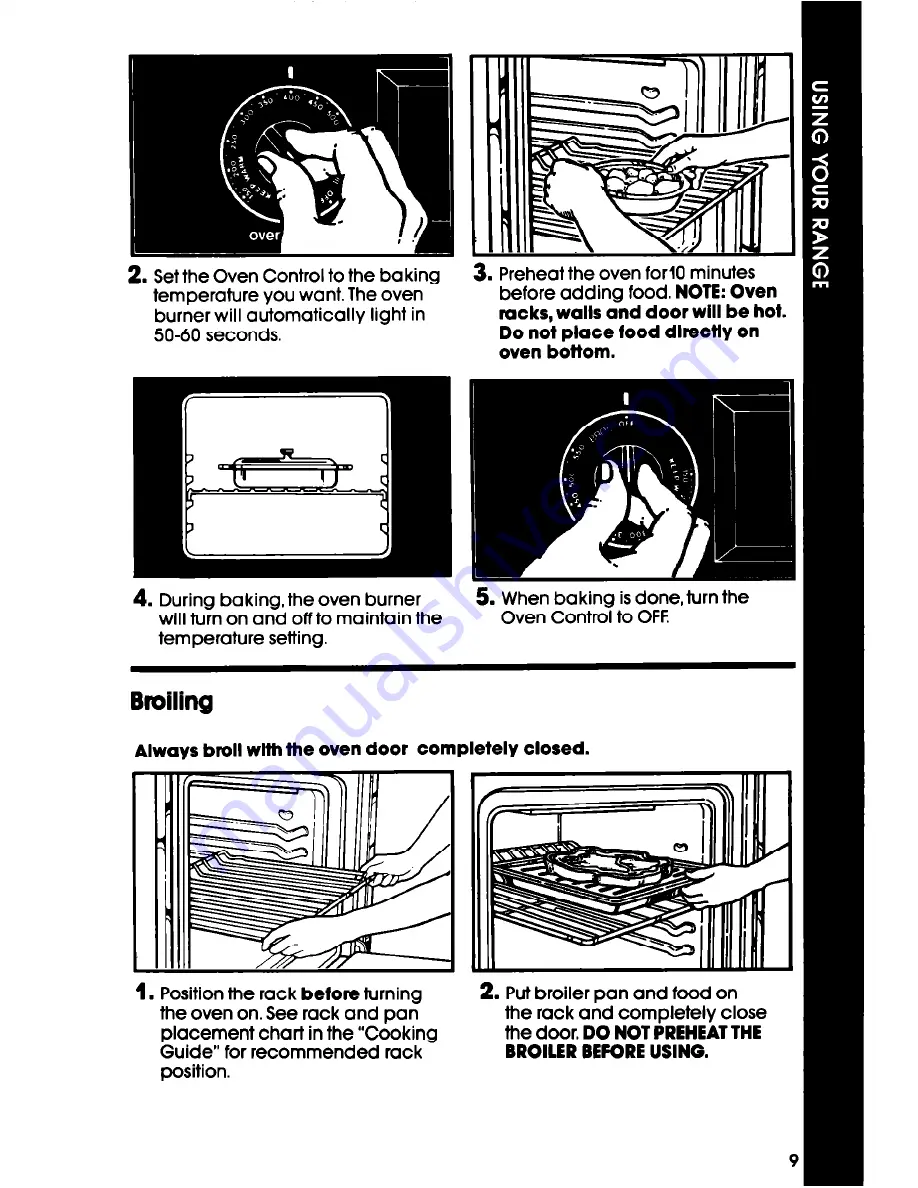
Page 9: ...n bottom 4 During baking the oven burner 5 When baking is done turn the will turn on and off to maintain the Oven Control to OFF temperature setting Bmiling Always broil with the oven door Completely closed 1 Position the rack betore turning the oven on See rack and pan placement chart in the Cooking Guide for recommended rack position 2 Put broiler pan and food on the rack and completely close th...

Page 10: ...ou are not around Automatic baking is ideal for foods which do not require a preheated oven such as meats and casseroles Do not use the automatic cycle for cakes cookies etc undercooklng will result Tmk To start and stop baklng automattcally 1 Position the oven rack s properly 2 Make sure the clock Is set to the and place the food in the oven correct time of day 3 Push in and turn the Start Tlme K...

Page 11: ... 3 Push in and turn the Stop Time Knob clockwlse to the time you want the oven to shut off 4 Set the Oven Control on the baking temperature you want 5 After baking Is done or to stop the oven before the preset time turn the Oven Control to OFF For manual operations 1 Push in the Stop Time Knob 2 Turnthe Start Time Knob until it pops out 3 Setthe Oven Control on the baking temperature you want The ...

Page 12: ...da and a damp soft cloth or follow directions provided with glass cleaner Rinse well and dry dry CAUTION Do not soak or use abrasive cleansers They could Nb off the marklngs 4 Push the knobs straight back on Make sure they point to OFF Surface Burner Grates 2 Lift off me surface burner grates 3 Wash the grates in automatic dish washer or use warm soapy water and plastic scrub pad Rinse and dry wel...

Page 13: ...asionally check surface burner flames for size and shape as shown If flames do not burn properly you may need to remove the surface burners for cleaning see pageM or call a qualified technician for burner adjustments To adJust the LO sefflngs on the control knobs 1 Turn on the surface burners then set the controls on LO 2 Wlthout changing the burner rettlngs remove the control knobs 3 Firmly grasp...

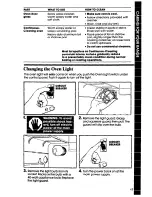
Page 14: ...l rougher porcelain A fat spat ter beads up on the smooth surface but spreads out on the rougher surface The bead of fat on the smooth surface chars and turns black The spread out fat on the rough surface gradually burns away at medlum to high baklng temperatures so the oven can return to a presentably clean condition Using Foil Tocatch sugar or starchy spills from pies and casseroles use a piece ...

Page 15: ...pan according to instructions Spill avers do not burn away and may stain the bottom Hand Cleaning WINDOW Keep clean with hot sudsy water Use a plastic scouring pad for stubborn spots Rinse well Do not we steel wool or abraslve cleaners RACKS Use soapy steel wool pad WALLS AND DOOR Wash wlth hot for stubborn stains Rinse well soapy water Use a soapy steel w l pad for stubborn ots Rinse well ...

Page 16: ...s and 2 tablespoons of l Remove burner from manifold DIP IT with phlllips screwdrlver l Soak In warm soapy water and wipe wlth plastic scrubbing pad and dishwashing detergent H stain h still there soak 20 minutes In bolllng water and DIP lT solullon Be sure the solution ooven the whole burner l Rinse and dry well l If ports are clogged clean with a straight pin Do not enlarge or dlsiorl pork Do no...

Page 17: ...ower rack to catch splllovers l Do not use commercial cleaners Most tat spatters on Contlnuour Cleaning porcelain Interior surtace gradually reduce to a presentably clean condltlon durlng normal baking or roartlng opemtlons Changing the Oven Light The oven light will only come on when you push the Oven Light switch under the control panel Push it again to turn off the light I i I 3 Remove the ligh...

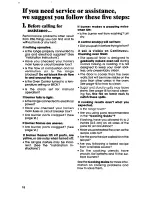
Page 18: ...n structionsl If burner makes a popplng noise when ON l Is the burner wet from washing Let dry If control knob s will not turn l Did you push in before trying to turn If soil Is visible on Contlnuous Cleaning oven finish l The special finish is designed to gradually reduce oven roll during normal baking or roasting It is not designed to keep your oven spot less only presentably clean l The door is...

Page 19: ...our Consultants or if you prefer write to Mr Robert Stanley Division Vice President Whirlpool Corporation 2000 US 33 North Benton Harbor MI 49022 If you must call or write please pro vide model number serial number date of purchase and a complete description ot the problem This intor mation is needed in order to better respond to your request for assistance 5 If you need FSP replacement parts FSP ...

Page 20: ... household use C Pick up and deliver Thls product Is deslgned to be repaired in the home D Damage to range product caused by accident misuse fire flood acts of God or use of products not approved by Whirlpool E Any labor costs during the limited warranty WHIRLPOOL CORPORATION SHALLNOT BELIABLEFOR INCIDENTAL OR CONSEQUEN TIAL DAMAGES Some states do not allow the exclusion or llmltation of incidenta...

Reviews: