background image

Summary of Contents for TA07002F0

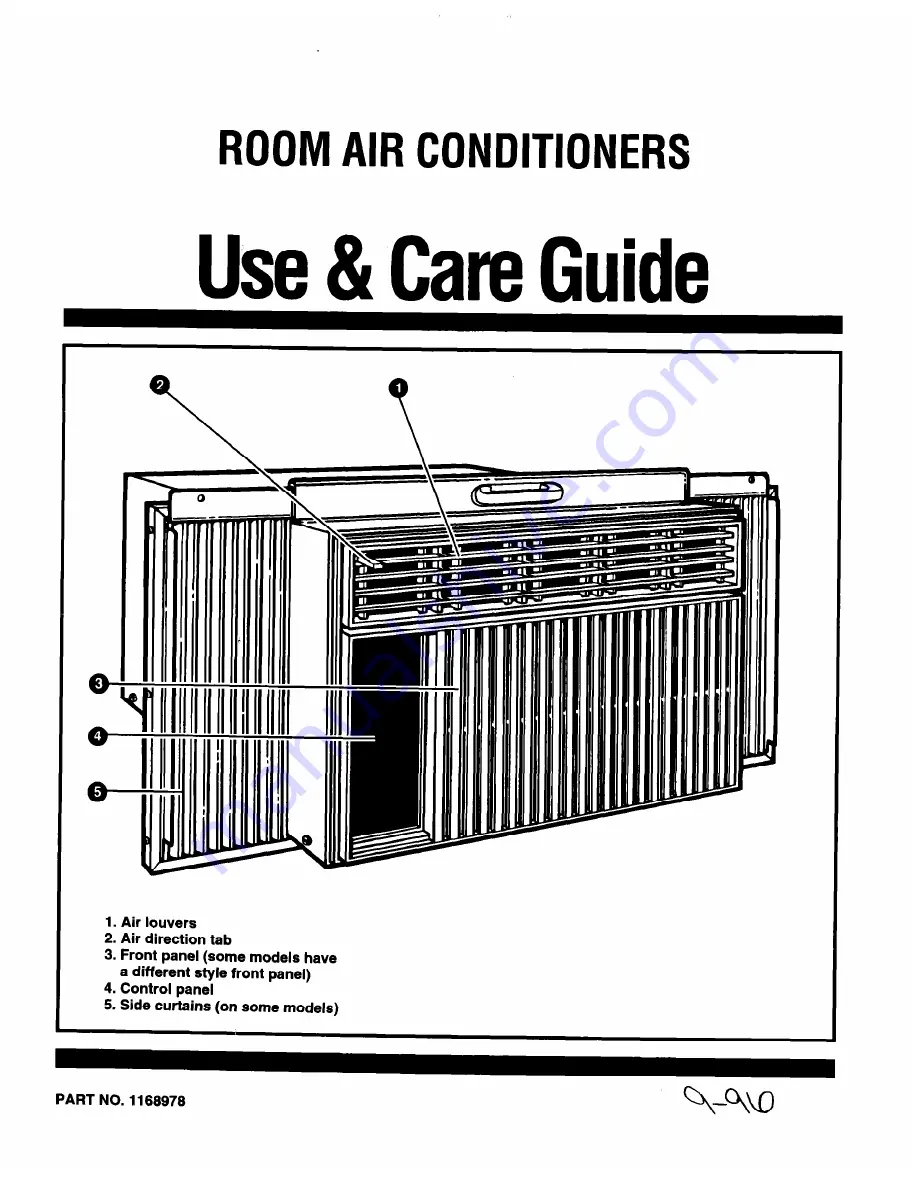
Page 1: ...ROOM AIRCONDITIONERS Use Care Guide 1 Air louvers 2 Air direction tab 3 Front panel some models have a different style front panel 4 Control panel 5 Side curtains on some models PART NO 1166976 ...

Page 2: ... your appliance Page Cleaning Instructions 6 Cleaning the front panel 6 Cleaning the air filter 6 Performing Annual Maintenance 7 Repairing paint damage 6 Normal operating sounds 6 Troubleshooting 9 Requesting Assistance or Service 11 Ordering accessories 1 i Warranty 12 Please record your model s information Whenever you call to request service on your appliance you need to know your complete mod...

Page 3: ... into a grounded 3 prong outlet l Unplug air conditioner before servicing l Do not remove ground prong l Use two or more people to move or install l Do not use an adapter air conditioner l Do not use an extension cord l Do not drink water collected inside the cabinet SAVE THESE INSTRUCTIONS It is your responsibility to l Install the unit in a window that will hold the weight and secure it accordin...

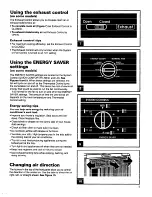
Page 4: ...leeping comfort FAN ONLY on some models for circulating air without cooling The Fan or System Control settings determine the amount of cool air coming from the louvers NOTES l Set the Exhaust Control on some models to CLOSED or maximum cooling l Set the control switch to COOL on some models for cooling 2 Turn the Thermostat to a mid setting For maximum cooling turn the Thermostat clockwise For les...

Page 5: ...n on and off in the ENERGY SAVER settings The amount of time the unit will be off depends on the room temperature and Thermostat Control setting Energy saving tips You can help save energy by reducing your air conditioner s work load l Improve your home s insulation Seal doors and win dows Close fireplace flue l Close blinds or drapes on the sunny side of your house Add awnings l Check air filter ...

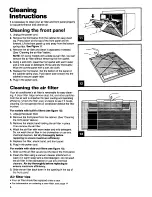
Page 6: ...from the air and is important for best cooling and operating efficiencv Check the filter everv 2 weeks to see if it needs cleaning Do not operate the ai conditioner without the filter in place For models with built in filters see figure 12 1 Unplug the power cord 2 Remove the front panel from the cabinet See Cleaning the front panel above 3 Remove the elastic band holding the air filter in place T...

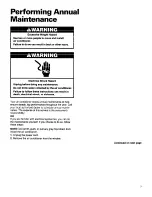
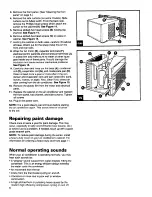
Page 7: ...hock or sickness Your air conditioner needs annual maintenance to help ensure steady top performance throughout the year Call your local authorized dealer to schedule annual mainte nance The expense of this service is the consumer s responsibility 068 If you are familiar with electrical appliances you can do the maintenance yourself If you choose to do so follow these steps NOTE Do not lift push o...

Page 8: ...r coming from the air conditioner SW Figure 15 10 Remove the plastic film from the motor and electrical parts 11 Replace the cabinet on the air conditioner and reattach the front panel top channel and side curtains Tighten all screws 12 Plug in the power cord NOTE It is a good idea to wait 24 hours before starting the air conditioner again This allows time for all areas to dry out Repairing paint ...

Page 9: ...local utility company for the correct capacity conditioner too soon The air conditioner seems to run too much Check if The current air conditioner replaced an older model Then The use of more efficient components may cause the air conditioner to run longer than an older model but the total energy consumption will be less Newer air conditioners do not emit the blast of cold air you may be accustome...

Page 10: ...eck if 1 Then The air conditioner is not properly leveled The air conditioner should slope slightly downward toward the outside Level the air conditioner to provide a 77 downward slope toward the outside l 2bubble on a carpenter s level or 1 l degrees to ensure proper drainage See the Installation Instructions for an illustration Reposition or shim the cabinet as necessary NOTE Do NOT drill a hole...

Page 11: ...on Program MACAP MACAP is a group of independent consumer experts that voices consumer views at the highest levels of the major appliance industry l Contact MACAP only when the Consumer Assistance Center and authorized service company have failed to resolve your problem Please write to MajorAppliance Consumer Action Program 20 North Wacker Drive Chicago IL 60606 l MACAP will in turn inform us of y...

Page 12: ... manual D The removal and reinstallation of your air conditioner if it is installed in an overhead or other inaccessible location or is not installed in accordance with published Installation Instructions E Repairs to parts or systems caused by unauthorized modifications made to the appliance e 6 WHIRLPOOL CORPORATION SHALL NOT BE LIABLE FOR INCIDENTAL OR CONSEQUENTIAL DAMAGES Some states do not a...

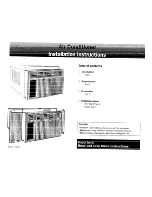
Page 13: ...ge3 Preparation Page3 Installation steps Filler board Page4 Curtain Page5 Important l Installer Leave InstallationInstructionswith thehomeowner l Homeowner KeepInstallationInstructionsfor future reference l Save InstallationInstructionsfor localelectricalinspector suse ...

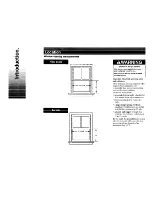
Page 14: ...hing necessary for correctinstallation Thelocationshouldprovide l Grounded electrical outlet within four feet of thewindow Donot useanextensioncord l Free movement of air to roomsto be cooled l A large enough opening for the air conditioner Installationpartsaresupplied for double hungwindowsup to 38 wide l Adequate wall support for weightof air conditioner Air conditionerweighsbetween 55and65pound...

Page 15: ...s gum type sealer 2 filler boards 2 side mounting angles 2 side mounting slides right and left 3 8 x 314 round head metal screws 4 8 x l 2 hex head metal screws 4 8 x 3 8 round head metal screws Tools needed utility knife r a 9 drill 3 32 or smaller bit y glasses Parts supplied 0 0 window lock bracket 3 8 x 3 4 round head metal screws ...

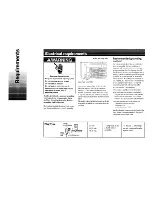
Page 16: ...plug To minimizepossible shockhazard thecord mustbepluggedinto a mating 3 pronggrounding type wall receptacle groundedin accordance with all local codes andordinances If amatingwall receptacleis not available it is thecustomer sresponsibility to haveaproperlygrounded i prong wdu receptacleinstalledbyalicensedinstaller It is thecustomer sresponsibility To contactaqualifiedefectricafinstaller l To a...

Page 17: ...leftsidesof air conditioner cabinet 3 n Placetheright side mounting angle oversealstrip sothatRange facescabinetfront lnsert 8 x 3 8 sheetmetalscrewsstartingwith bottomslot Slidemountingangledownward until screwsarein topof slots Tightenscrews Repeat for left side mounting angle making sureflangefacescabinetfront Note Side mountinganglesmaybefactory installed on somemodels Goto Page 4 for installa...

Page 18: ...edges offiller boardswill havescrewholes 3 n Apply3 K sealstripsto bottomand outsideedgesof filler boards ThetopseaI goeson backsideof filler boards Top view right filler board 1I hex headscrew filler left filler board 1 1 1 I g w Pullair conditionerpartwayoutof the 3 Insertleftfiller boardinto window window Attachright filler boardtofrontof a 2 n Placeair conditionerbackinto the channel Pushfille...

Page 19: ...lon leftsideand check If cabinetis not properlypositioned repositionor shimthe cabinetto providethepropertilt Tightenfiller boardandside mounting slide screws wi br NOTE Installwindow lock brackettoprevent air conditionerfromfalling outofwindow 3 w Insertwindowrail sealbehindtopof lowerwindowsashandagainstglassof upper window Placewindow lockbracketon topof lowerwindowand againsttheupperwindow sas...

Page 20: ...d to the outside so that water will run to the outside Placelevelon thetop right sideof air conditionercabinet Thereshouldbeatilt to the outsideof aboutl 2 bubble Placelevelonleft sideofair conditionerandcheck If cabinetis notproperlypositioned repositionor shim cabinettoprovidethepropertilt curtain Pull leftcurtain out until it fits into the windowchannel Repeat with right curtain alternatehole I...

Page 21: ...ndow Placewindow lock bracketon topof lowerwindowandagainst upperwindowsash Usea S 32 drill bit to drill astarterholethroughtheholein the bracket Attachwindow lockbracket Sea 1 smallopeningsaroundwindowwith gum type sealer Congratulations You have successfully installed your new air conditioner Toget the most efficient usefrom your new air conditioner read the Useand Care Guide section of this boo...

Reviews: