6
Range
COOKTOP USE
Cooktop Controls
The control knobs can be set anywhere between HI and LO. Push
in and turn to setting. On some models, the surface cooking area
locator shows which element is turned on. Use the following
chart as a guide when setting heat levels.
NOTE: On self-cleaning models, the cooktop will not operate
when the range is in a self-cleaning mode.
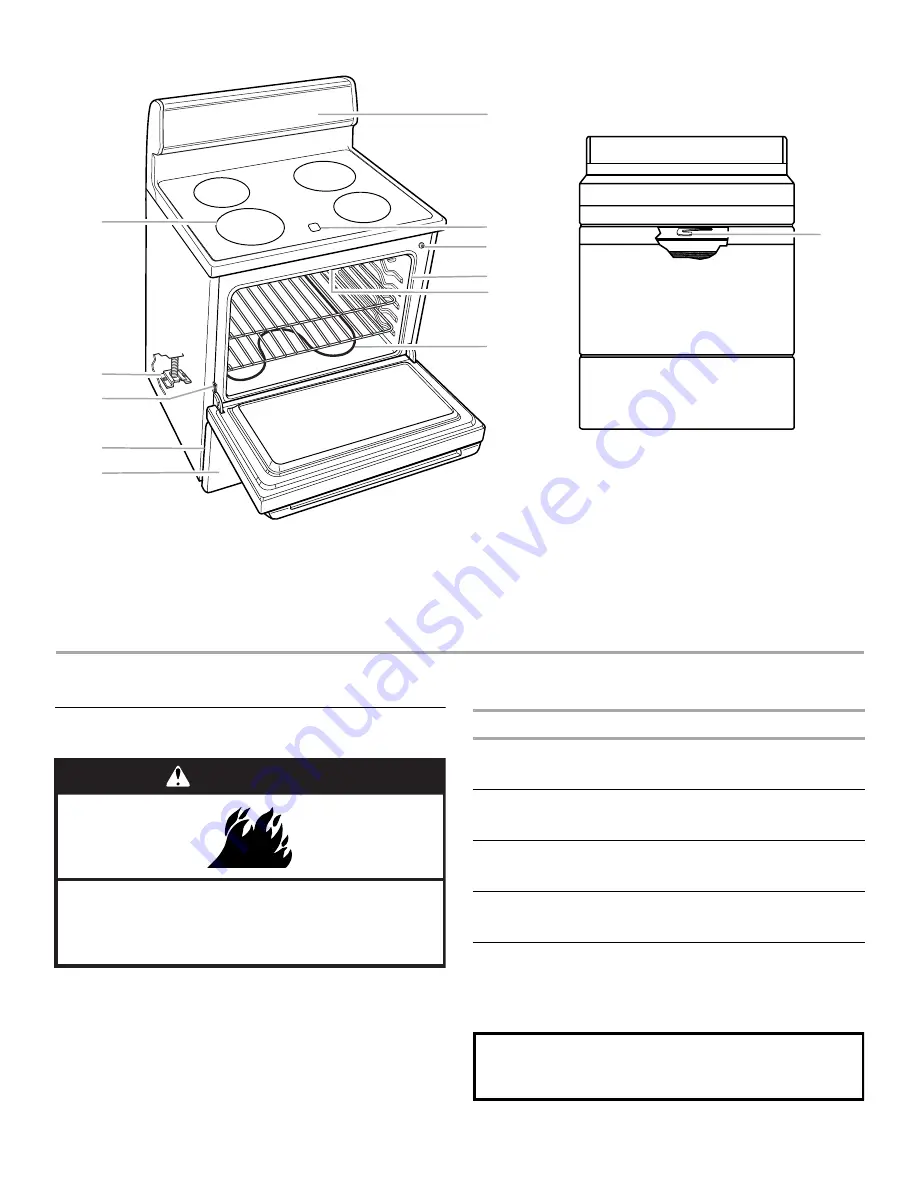
A. Surface cooking area or element
B. Anti-tip bracket
C. Door stop clip
D. Model and serial number plate
(behind left side of storage drawer)
E. Storage drawer
F. Control panel
G. Hot surface indicator light
(on ceramic glass models)
H. Automatic oven light switch
(on some models)
I. Gasket
J. Broil element (not shown)
K. Bake element
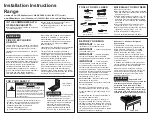
L. Self-clean latch (on some models)
Parts and Features not shown
(on some models)
Coil elements
Oven door window
Oven light
Manual oven light switch
L
A
B
C
D
E
F
H
G
I
J
K
WARNING
Fire Hazard
Turn off all controls when done cooking.
Failure to do so can result in death or fire.
SETTING
RECOMMENDED USE
HI
■
Start food cooking.
■
Bring liquid to a boil.
Medium High
6-8
■
Hold a rapid boil.
■
Quickly brown or sear food.
Medium
5
■
Maintain a slow boil.
■
Fry or sauté foods.
Medium Low
2-4
■
Cook soups, sauces and gravies.
■
Stew or steam food.
LO
■
Simmer.
■
Keep food warm.
■
Melt chocolate or butter.
REMEMBER: When range is in use or (on some models)
during the Self-Cleaning cycle, the entire cooktop area may
become hot.


