

11
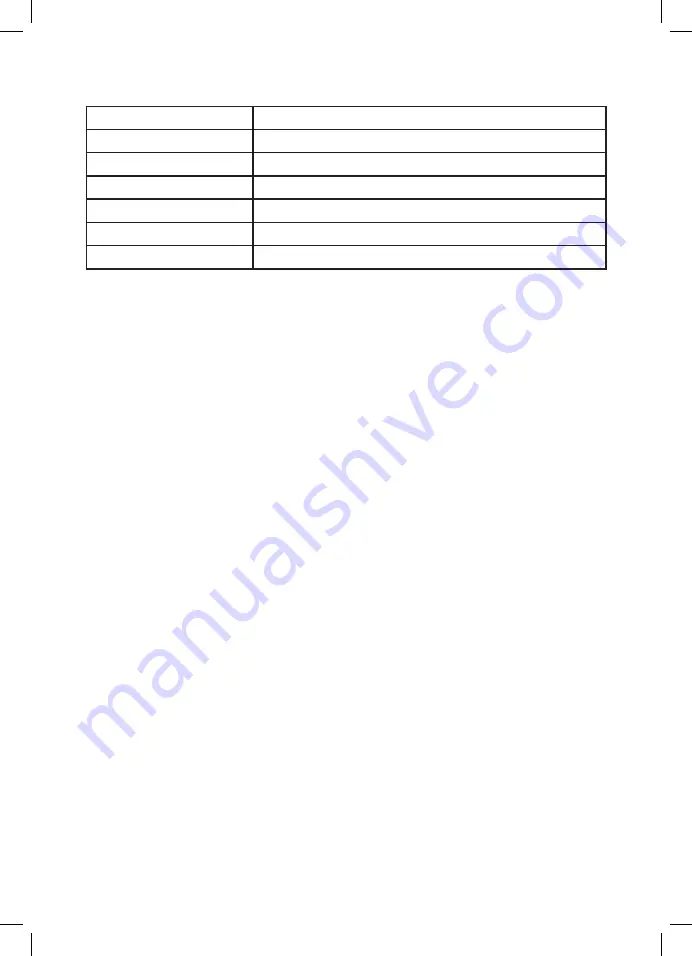
LED INDICATOR
Status
LED color
Power ON
Blue
Low battery
Blue flashing
Empty battery
Red flashing
Charging
Red
Charging complete
Blue
Bad battery
Red & Blue alternative flashing
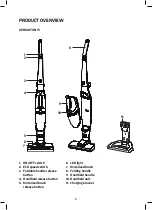
OPERATION
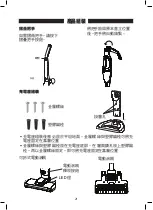
Make sure the battery is fully charged before use.
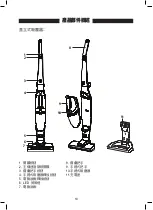
Operation of the upright vacuum cleaner
1. Press the ON/OFF switch to switch on the upright vacuum cleaner.
2. During the use, press the ECO Speed switch to shift between High
Speed and ECO Speed. In High Speed, the product suction power
will be in maximum while ECO Speed will be at relatively lower noise
level and with longer operation lead time.
3. During operation, the LED light on the floor brush will light up.
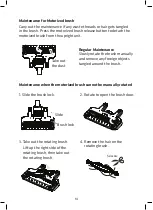
4. Always turn off the vacuum cleaner when the product is standing
upright on the ground because the brush bristles may damage the
floor or carpet.
5. When the product is not in used, it is recommended to store it
against the wall upright and children should be supervised to ensure
that they do not play with the appliance.
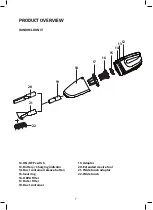
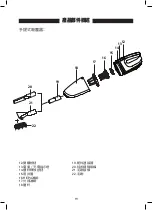
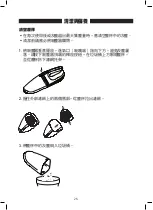
Operation of the handheld vacuum cleaner
1. Press the handheld button to detach the handheld vacuum cleaner
from the upright unit. Press the ON/OFF switch to turn on the
vacuum cleaner. The handheld vacuum cleaner will start to work.
2. Vacuum the surface in any direction until the area is clean.
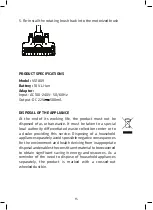
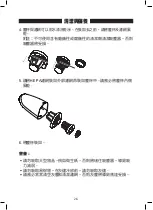
3. Press the ON/OFF switch to turn off the vacuum cleaner. Slightly lift
the vacuum clenaer head upward to avoid dust falling out from the
dust container before switching off.
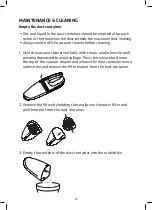
4. Empty the container before doing any more vacuuming and clean it
before putting it away.
5. Return the handheld vacuum cleaner to the upright unit.
Summary of Contents for VS1809
Page 1: ...產品安全指引及使用說明指南 VS1809 ...
Page 23: ...23 電量 充電指示燈 狀態 LED 顏色 電源開啟 藍色 電量低 藍光閃爍 電量耗盡 紅光閃爍 充電中 紅色 充電完畢 藍色 電池故障 紅光與藍光交錯閃爍 產品充電 ...
Page 29: ......
Page 30: ......


