background image

Summary of Contents for YGH7155XH

Page 1: ...osting tips 17 Using WARM HOLD 17 Using PERSONAL CHOICE 18 SENSOR cooking guide 18 Using SENSOR COOK 19 Using SENSOR REHEAT 19 Using SENSOR BAKED POTATO 20 Using SENSOR POPCORN 20 Using SENSOR PIZZA REHEAT 20 Using SENSOR VEGETABLE 21 Using ADD MINUTE 21 Adding or subtracting cook time 21 Cooking Guide 22 Caring for Your Microwave Oven 23 Caring for the filters 24 Replacing the cooktop and oven li...

Page 2: ...ed to know your complete Serial Number model number and serial number You can Purchase Date find this information on the model and serial number label plate see the diagram in the Dealer Name Getting to Know section Dealer Address Please also record the purchase date of Dealer Phone your appliance and your dealer s name address and telephone number Keep this book and the sales slip together in a s...

Page 3: ...to persons or exposure to excessive microwave energy Read all instructions before using the microwave oven Read and follow the specific PRECAUTIONS TO AVOID POSSIBLE EXPOSURE TO EXCESSIVE MICROWAVE ENERGY found in this section The microwave oven must be grounded Connect only to properly grounded outlet See GROUNDING INSTRUCTIONS found at the end of this section Install or locate the microwave oven...

Page 4: ...ntended to be used above ranges with maximum width of 36 inches 91 cm Clean Ventilating Hoods Frequently Grease should not be allowed to accumulate on hood or filter When flaming foods under the hood turn the fan on Use care when cleaning the vent hood filter Corrosive cleaning agents such as lye based oven cleaners may damage the filter SAVE THESE INSTRUCTIONS PRECAUTIONS TO AVOID POSSIBLE EXPOSU...

Page 5: ...crowave oven is equipped with a cord having a grounding wire with a grounding plug The plug must be plugged into an outlet that is properly installed and grounded WARNING Improper use of the grounding can result in a risk of electric shock Consult a qualified electrician or serviceman if the grounding instructions are not completely understood or if doubt exists as to whether the microwave oven is...

Page 6: ...wave oven into a different outlet so that the microwave oven and receiver are on different branch circuits Mica plate not shown on side Magnetron wall or top of cavity U Oven cavity Metal floor Glass turntable Microwaves pass through most glass paper and plastics without heating them so food absorbs the energy Microwaves bounce off metal containers so food does not absorb the energy A beige colore...

Page 7: ...from the oven to avoid possibly breaking it If your turntable cracks or breaks contact your dealer for a replacement When you use a browning dish the browning dish bottom must be at least _0in 5 mm above the turntable Follow the directions supplied with the browning dish Never cook or reheat a whole egg inside the shell Steam buildup in whole eggs may cause them to burst and possibly damage the ov...

Page 8: ...oks 4 Two Position Bi Level Cooking Rack Use for extra space when cooking in more than one container at the same time 5 Filter See Caring for the filters section 6 Cooktop Countertop Light Turn on to light your cooktop or countertop or to use as a night light 7 Turntable Fan and Cooktop Light Switches 8 Control Panel Touch the pads on this panel to perform all functions 9 Vent Grille 10 Cooking Gu...

Page 9: ...nel Formoreinformationon thesefeatures see Usingyour microwave oven section 1 DISPLAY The display includes a clock and indicators to tell you time of day cooking time settings cook powers quantities weights and cooking functions selected 2 REHEAT Touch this pad to reheat food with the SENSOR feature The oven s sensor will tell the oven how long to heat depending on the amount of humidity it detect...

Page 10: ...ay speed defrost weight and demo features 12 MORE Touch this pad to add 10 seconds of cook time each time you press it 13 LESS Touch this pad to subtract 10 seconds of cook time each time you press it 14 COOK TIME Touch this pad followed by Number Pads to set a cooking time 15 COOK POWER Touch this pad after the cook time has been set followed by a Number Pad to set the amount of microwave energy ...

Page 11: ...s heating and the fan stops but the light stays on To restart cooking close the door and Touch START ENTER The safety lock prevents unwanted use of the microwave oven by disabling the control panel Command Pads To lock or deactivate the control panel Touch and hold START ENTER for 4 seconds Two tones will sound and LOCKED will appear on the display To cancel the safety lock Touch and hold START EN...

Page 12: ...at 1 800 461 5681 Make sure to have your model number when ordering 2 Turn off fan when desired Touch FAN twice if on HIGH once if on LOW The pad on the bottom center of the control panel controls the cooktop countertop light Inserting the rack First position Insert the rack securely into the rack supports on the side walls of the oveR 1 Touch LIGHT once for high twice for low night light 2 Turn o...

Page 13: ... 99 seconds NOTES The oven can operate while the Minute Timer is in use To see the Minute Timer while the oven is cooking touch TIMER SET The Display will return to the cooking time countdown while touching To see the time of day while the timer is counting down touch CLOCK If you want to use other command pads while the timer is counting down touch TIMER OFF to cancel the Minute Timer 1 Touch TIM...

Page 14: ...0 offullpower Heating rice pasta orcasseroles 7 70 offullpower Medium High Cooking andheating foodsthatneeda CookPower lowerthanhigh forexample whole fish and meat loaf or when food is cooking too fast Reheating a single serving of food 6 60 of full power Cooking requiring special care such as cheese and egg dishes pudding and custards Finishing cooking casseroles 5 50 of full power Medium Cooking...

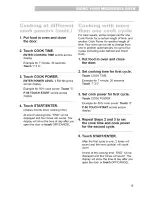
Page 15: ...uch COOK POWER ENTER POWER LEVEL 1 TO 10 scrolls across display Example for 50 cook power Touch 5 P 50 TOUCH START scrolls across display 4 Touch START ENTER display counts down cooking time At end of cooking time END will be displayed and four tones will sound The display will show the time of day after you open the door or touch OFF CANCEL Touch COOK TIME Example for 7 minute 30 seconds Touch 7 ...

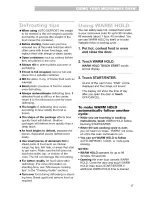
Page 16: ...displayed and four tones will sound The display will show the time of day after you open the door or touch OFF CANCEL This chart shows you how to choose a type of food and the weights you can set for each type For best results loosen or remove covering on food TOUCH WEIGHTS DEFROST YOU CAN SET THEN tenths of a FOOD TOUCH pound Meat 1 1 to 6 0 45 g 2 7 kg Fish 3 0 You are probably used to food weig...

Page 17: ...at start to get warm Make sure the foil does not touch the sides top or bottom of the oven The foil can damage the oven lining For better results let food stand after defrosting For more information on standing time see Microwave cooking tips in the Cooking Guide section Turn over food during defrosting or stand ing time Break apart and remove food as required You can safely keep hot cooked food w...

Page 18: ...termines the required cooking time for each food item When the internal sensor detects a certain amount of humidity coming from the food it tells the oven how much longer to heat The display shows the remaining cook time For best results from cooking by Sensor follow these recommendations 1 Turntable and outside of food container should be dry for best results 2 Foods should always be covered loos...

Page 19: ...n amount of humidity from food cooking time is displayed The display will show SENSING and the remaining cooking time At end of cooking time END will be displayed and four tones will sound The display will show the time of day after you open the door or touch OFF CANCEL 1 Put food in oven and close the door 2 Touch REHEAT SELECT MENU 1 TO 3 SEE COOKING GUIDE BEHIND DOOR scrolls across display Exam...

Page 20: ...ufacturer s instructions Cooking performance may vary with brand and fat content Try several brands to decide which gives best popping results For best results use fresh bags of popcorn 1 Place bag in oven and close the door 2 Touch POPCORN Four seconds later the oven will start When sensor detects a certain amount of humidity from popcorn popping time is displayed The display will show SENSING an...

Page 21: ...he remaining cooking time At end of cooking time END will be displayed and four tones will sound The display will show the time of day after you open the door or touch OFF CANCEL ADD MINUTE lets you cook food for 1 minute at 100 Cook Power or add an extra minute to your cooking cycle You can also use it to extend cooking time in multiples of 1 minute up to 99 minutes Example for cooking for 3 minu...

Page 22: ... dish and avoids overcooking at the outer edges of the food Cover food to Reduce splattering Several foods for example baked potatoes sausages egg yolks and some fruits are tightly covered by a skin or membrane Steam can build up under the membrane during cooking causing the food to burst To relieve the pressure and to prevent bursting pierce these foods before cooking with a fork cocktail pick or...

Page 23: ...ner Donotdocanning of foodsintheoven Closed glass jarsmayexplode resulting indamage to theoven Donotusethemicrowave ovento sterilize objects babybottles etc It is difficultto keeptheovenatthehigh temperature needed for safesterilization Caring for Your m M crowave Oven To make sure your microwave oven looks good and works well for a long time you should maintain it properly For proper care please ...

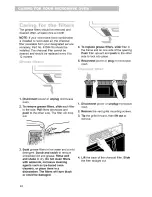
Page 24: ...sh to the other side to lock into place 5 Reconnect power or plug in microwave oven 1 Disconnect power or unplug microwave oven 2 To remove grease filters slide each filter to the side Pull filters downward and push to the other side The filter will drop out 1 Disconnect power or unplug microwave oven 2 Remove the vent grille mounting screws 3 Tip the grille forward then lift out to remove 3 Soak ...

Page 25: ...operate the hood without the grease filters in place 2 Remove the bulb cover mounting screws 3 We recommend replacing bulb s with candelabra base 30 watt bulb s available from your designated service company or by calling the Consumer Assistance Center at 1 800 461 5681 Make sure to have your model number when ordering 4 Reconnect power or plug in microwave oven 1 Disconnect power or unplug microw...

Page 26: ...ur designated service company or by calling the Consumer Assistance Center at 1 800 461 5681 Make sure to have your model number when ordering 7 Replace the bulb holder if damaged 8 Slide the top of the vent grille into place Push the bottom until it snaps into place Replace the mounting screws 9 Reconnect power or plug in microwave oven 26 ...

Page 27: ...metimes the door of my microwave This appearance is normal and does not oven appears wavy Is this normal affect the operation of your oven What are the humming noises that I hear You may hear the sound of the transformer when my microwave oven is operating when the magnetron tube cycles on Why does the dish become hot when I As the food becomes hot it will conduct the microwave food in it I though...

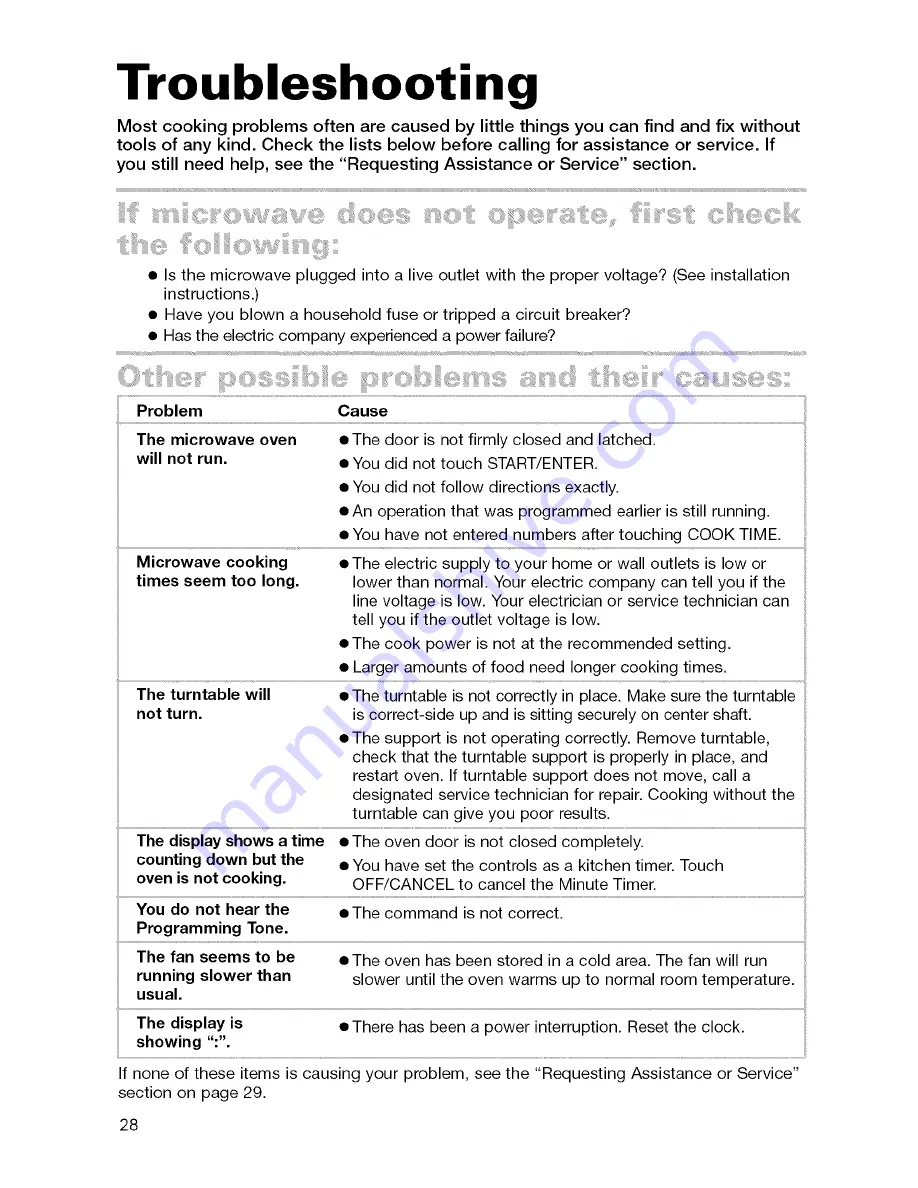
Page 28: ...Your electric company can tell you if the line voltage is low Your electrician or service technician can tell you if the outlet voltage is low The cook power is not at the recommended setting Larger amounts of food need longer cooking times The turntable will The turntable is not correctly in place Make sure the turntable not turn is correct side up and is sitting securely on center shaft The supp...

Page 29: ... to assist you When calling Please know the purchase date and the complete model and serial number of your appliance see the A Note to You section This information will help us better respond to your request Contact Inglis Limited Service from anywhere in Canada at 1 800 807 6777 If you need further assistance you can Please include a daytime phone number in write to Inglis Limited with any questi...

Page 30: ...E Any labor costs during limited warranty F Repairs to parts or systems resulting from unauthorized modifications made to the appliance G Replacement parts or repair labor costs for units operated outside Canada 2 99 WHIRLPOOL CORPORATION AND INGLIS LIMITED SHALL NOT BE LIABLE FOR INCIDENTAL OR CONSEQUENTIAL DAMAGES Some provinces do not allow the exclusion or limitation of incidental or consequen...

Reviews: