RECEIVING & INSPECTING THE SYSTEM
•
Use caution when lifting and check package for damage.
•
Lift only at the designated hand-hold locations on the shipping container, or fully support the unit from underneath. A
shipment may include one or more boxes containing accessories.
•
Before opening the container, inspect the packaging for any obvious signs of damage or mishandling.
•
Write any discrepancy or visual damage on the bill of lading before signing.
•
Allow the condensing unit to sit for 24 hours prior to start-up. The condensing unit can be placed in the installation
location, piped and evacuated during this time.
Note:
WhisperKOOL units are manufactured in the USA and tested prior to shipment.
•
Review the packing slip to verify contents.
•
Check the model number to ensure it is correct.
•
Check that all factory options ordered are listed.
If any items listed on the packing slip do not match your order information,
contact WhisperKOOL Customer Service immediately.
Check all shipped boxes for the following contents:
Please leave the unit in its original box until you are ready for installation. This will allow you to move the product safely without
damaging it. When you are ready to remove the product from the box, refer to the installation instructions.
TIP:
Save your box and all packaging materials. They provide the only safe means of transporting/shipping the unit.
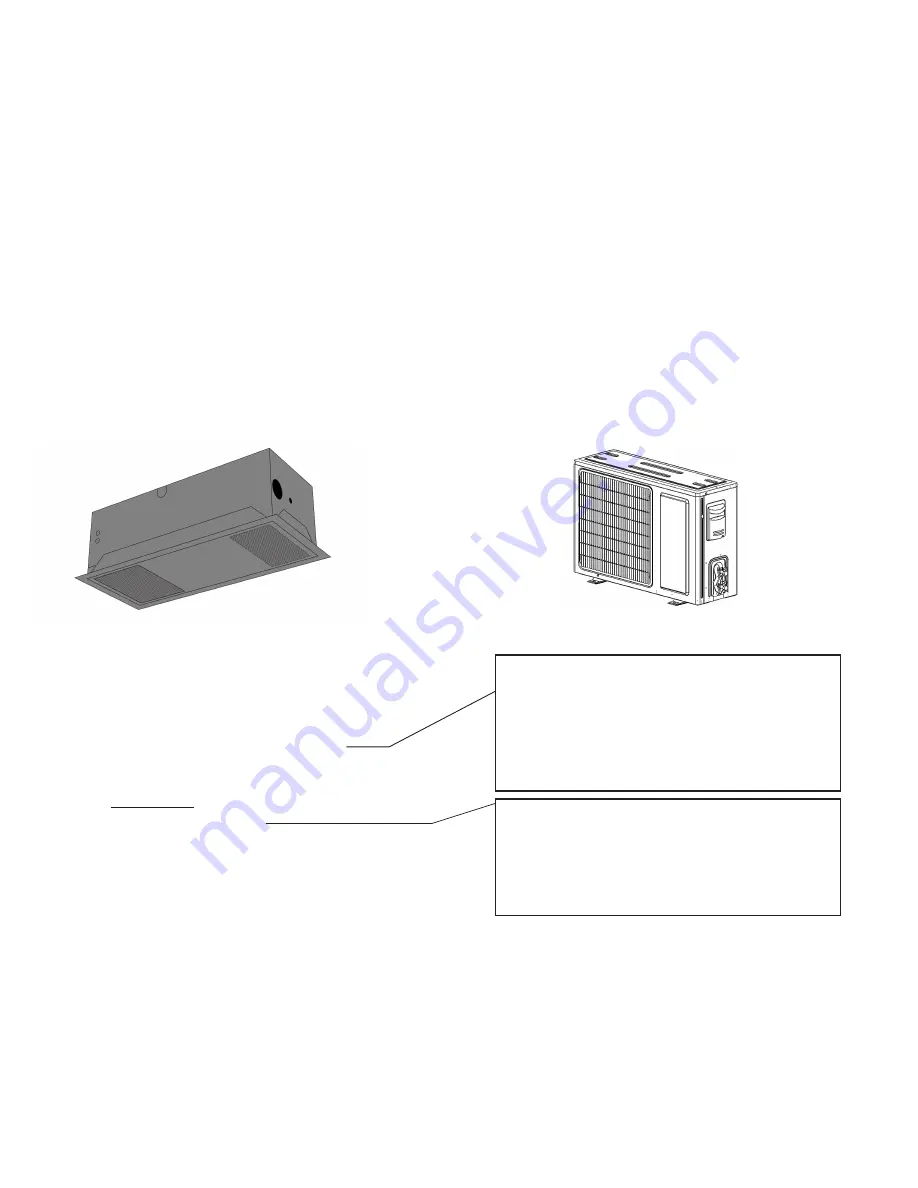
Evaporator Unit Box
Condensing Unit Box
Evaporator installation hardware bag
:
(1)
Ceiling Mount evaporator unit
Documentation bag
:
•
Ceiling Mount H.E. owner’s manual
•
R-134a
H.E.
split system warranty checklist
(1) Ceiling Mount condensing unit
KDT Plus hardware bag
:
Accessory kit bag
:
Ceiling Mount insulation blanket bag
:
•
Ceiling Mount insulation blanket
Single-piece mounting bracket
•
Evaporator installation hardware bag
(KDT and 24V unit)
KDT unit only
•
KDT Plus hardware bag
•
Stainless steel probe (50 feet)
•
KDT Plus display cable (50 feet)
•
KDT Plus wall mount bracket assembly
•
KDT Plus flush mount bracket assembly
•
KDT Plus display assembly
•
Flush mount template
•
(1) 11/16”
OD
grommet
•
(2) 1/2”
nylon hole plug
•
(4) #6 x 1” Phillips zinc Type A screw
•
(4) 8-10 x 7/8
" blue
plastic screw anchor
•
(12) 2
1/2” Phillips wood screws
•
(12) #8 3/8” Phillips pan-head screws
•
(1)
1/2" Conduit Clamp Connector
•
(1) 1/4”
B
arbed
C
oup
ling
Page 6
08/04/21


