5
11
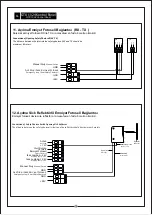
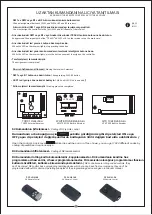
GTX 1024 Kontrol Panel
GTX 1024 Control Panel
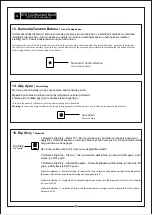
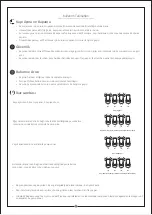
Otomatik Kapama Süresini Ayarlama
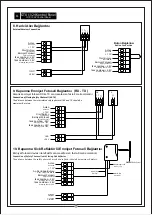
Tek Açıl Modunda Otomatik Kapama Süresini Ayarlama
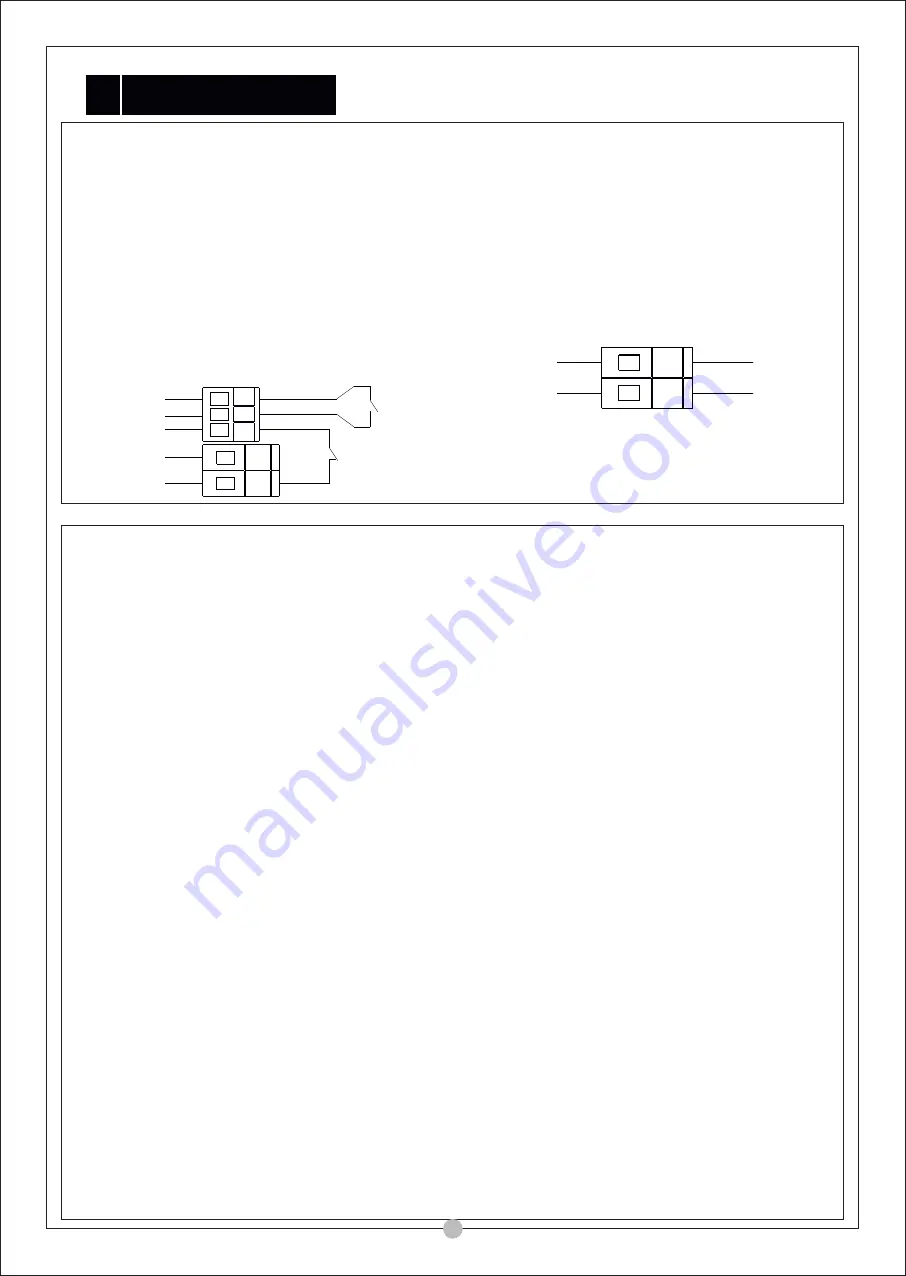
Anahtarlı sivicin açık kontaklarını aşağıda
ki şekilde
gösterildiği gibi bağlayın
.
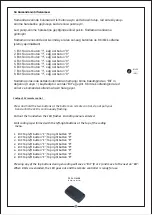
+24V
GND
Acil Stop
GND
Manuel Siviç
Acil Stop Butonu
Manuel Siviç
Acil Durum Dur Butonu
Acil dur butonunun kapalı kontak uçlarını aşağıdaki
bağlantıda görüldüğü gibi bağlayın. Buton
kullanılmayacak ise bu iki uc arasına köprü atın
.
+24V
GND
24V
DC ÇIKIŞ
24V Besleme Çıkışı
Alıcı, Fotosel
,
v.b. aksesuarları buradan besleyin.
5.
Manuele Alma Anahtarlı Siviç Bağlantısı
/
Switch Connec on with Manual Mode Switch
15
Connect open contacts of the switch with key as indicated in below Figure.
Emergency Case Stop Bu on
Connect the closed contact pins of the Emergency Case Stop
Bu on as in below given connec on. If the bu on is not to be
used, bridge these two ends.
24V Feeding Output
Feed receiver, photocell etc. Accessories from here.
Manual Switch
Emergency Stop
Manual Switch
Emergency Stop Bu on
24V DC OUTPUT
1. Kapı kapalı pozisyonda beklerken 3 numaralı dip
sivici ON konumuna alın.
2. Kapıyı kumanda veya buton ile açın.
3. Kapı açıldıktan sonra ikaz lambası 1'er sn. aralıklar
ile yanar. Her yanma ve sönme 1sn ye eşittir.
4. İstenilen süre kadar bekledikten sonra kumanda
veya butona basın, otomatik kapanma süresi hafızaya
alınmış olur.
Not: Otomatik kapama süresini değiştirmek için
kapı kapalı pozisyonda beklerken 3 numaralı dip
sivici OFF konumuna getirip 3 sn bekledikten
sonra yukardaki işlemleri tekrarlayın.
1. Kapı kapalı pozisyonda beklerken 2 numaralı dip
sivici ON konumuna alın.
2. Kapıyı kumanda veya buton ile açın.
3. Kapı açıldıktan sonra ikaz lambası 1sn. aralıklar ile
yanar. Her yanma ve sönme 1 saniyeye eşittir.
4. İstenilen süre kadar bekledikten sonra kumanda
veya butona basın, otomatik kapanma süresi hafızaya
alınmış olur.
Not: Tek açıl otomatik kapama süresini
değiştirmek için kapı kapalı pozisyonda beklerken
2 numaralı dip sivici OFF konumuna getirip 3 sn
bekledikten sonra yukardaki işlemleri tekrarlayın.
Setting Automatic Closing Time
1. When the gate waits at closed position, set dip switch number 3
to ON position.
2. Open the gate with controller or button.
3. After the gate is open, the warning lamp will flash at an interval
of 1 second. Each blinking and fading are equal to 1 second.
4. After having waited for the requested period, push the
controller or button, thus the automatic closing period will have
been stored.
Note: To change automatic closing period, change dip switch
number 3 to OFF position while the gate is in closed condition,
wait for 3 seconds and then repeat above given steps.
Setting Automatic Closing Period at Single Open Mode
1. While the gate waits at closed position, change the dip switch
number 2 to ON position.
2. Open the gate with controller or button.
3. After the gate opens, the warning lamp will flash at 1 second
intervals. Each blinking and fading are equal to 1 second.
4. After having waited the requested period, press the controller
or button to store the automatic closing period.
Note: To change the Single Opening Automatic Closing Period,
while the gate is waiting in closed position, take the dip switch
number 2 to OFF position, wait for 3 seconds and repeat above
given steps.


