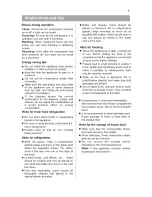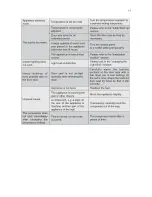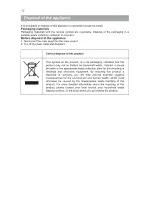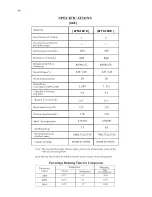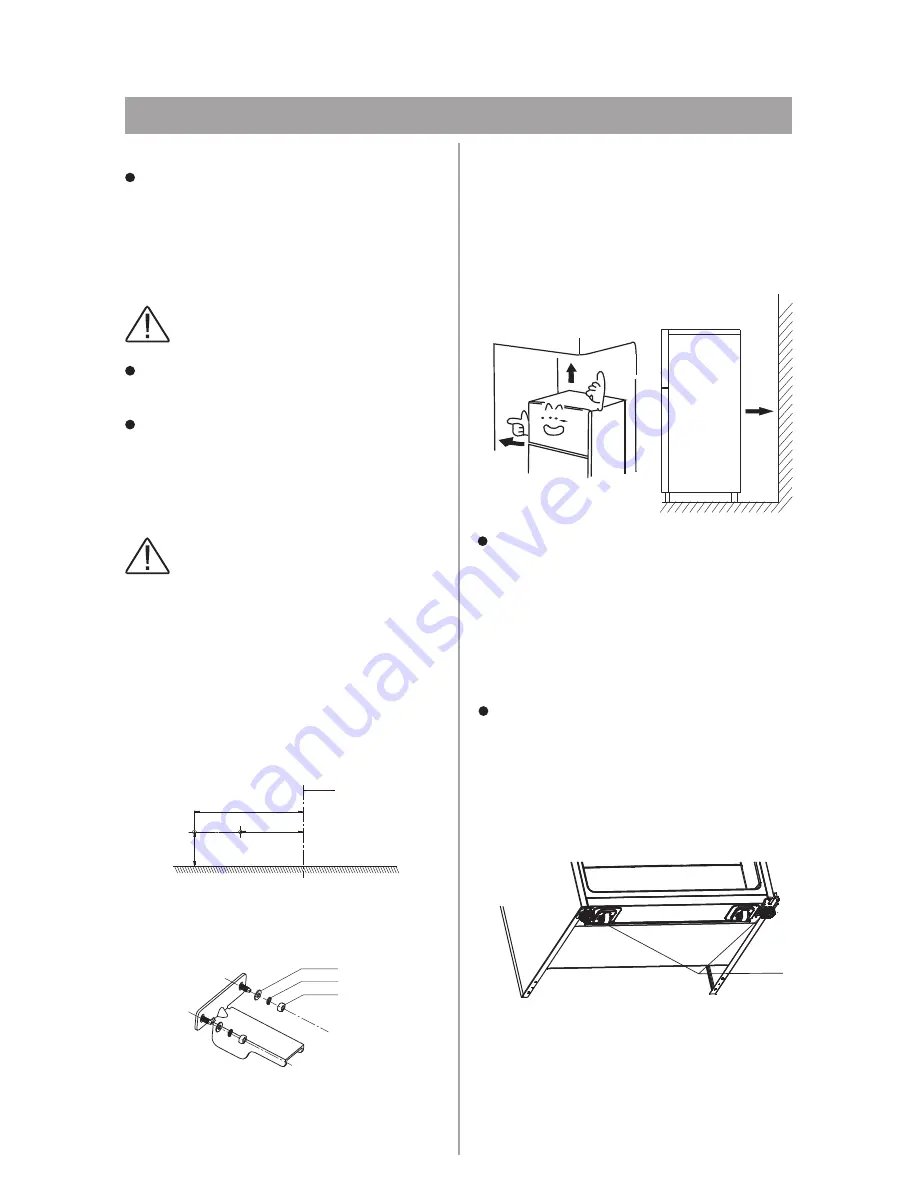
3. Insert expansion bolts in the hole and
remove nuts, shrapnel and washers.
4.Install it by following schematic diagram,
then tighten the nut.
Warning!
Before installing, read the
instructions carefully for your safety
and the correct operation of the appliance.
Position the appliance away from sources
of heat such as stoves, radiators, direct
sunlight, etc.
Maximum performance and safety are
guaranteed by maintaining the correct
indoor temperature for the class of unit
concerned, as specified on the rating
plate.
Before using the appliance for the first
time, wash the interior and all internal
accessories with lukewarm water and
some neutral soap so as to remove the
typical smell of a brand new product, then
dry thoroughly.
Leveling
the floor. You can also adjust the level by
the appropriate level
the front (use your fingers or a suitable
spanner).
unscrewing
adjustment
in
The appliance should be level in order to
eliminate vibration. To make the appliance
level, it should be upright and both
adjusters should be
with
in stable contact
First use and installation
Cleaning before use
Installation Positioning
7
adjustable
bottom feet
part
Warning!
The appliance must be
fastened to the wall for safety reason.
Take the bag located supplied with the
appliance. It contains the following
accessories:
1 fixed board
2 Expansion bolts
Proceed as follows to carry out the fastening:
1.Find the appliance's position center.
2.Measure 60mm from the floor. Drill two
holes with diameter of 8mm, depth of
40mm.One hole is 110mm from centerline,
another one is 190mm from centerline.
Fastening to the wall
5.Push the appliance to the wall.
Important!
It is necessary to have good
ventilation around the refrigerator to allow for
the dissipation of heat, high efficiency,
19cm
11cm
6
c
m
centerline
washer
shrapnel
nut
Appliances must not be exposed to rain.
Sufficient air must be allowed to circulate
in the lower rear section of the appliance,
as poor air circulation can affect perfor-
mance. Built-in appliances should be
positioned away from heat sources such
as heaters and direct sunlight.
75mm
100mm
100mm
and low power consumption.
sufficiently cleared
refrigerator
refrigerator
sides, a
height
For this
reason,
space should
be available around the
. It is
advisable for there to be 75mm separating
the back of the
to the wall at
least 100mm of space on its two
of over 100mm from its top and a
clear space in front to allow the doors to
open 160°.
Electrical connection
Caution!
Any electrical work required to
install this appliance should be carried out by
a qualified or
person.
authorized
Warning!
This appliance must be grounded.
The manufacturer declines any liability should
these safety measures not be observed.
Summary of Contents for WFG16CRPRA
Page 2: ......
Page 3: ......
Page 4: ......
Page 9: ......
Page 10: ......
Page 11: ......
Page 12: ......
Page 13: ...WFG16DR SASO WFG19DR...
Page 14: ...WFG16DR UAE WFG19DR...
Page 15: ...SASO W WFG19DR WFG16DR...
Page 16: ...W UAE WFG19DR WFG16DR...
Page 17: ......
Page 18: ......
Page 19: ......
Page 20: ......
Page 21: ......
Page 22: ......
Page 23: ...WFG16DR WFG19DR...
Page 24: ......
Page 25: ...select LED LED...
Page 26: ......
Page 27: ......


