background image


OPERATION AND USE: 


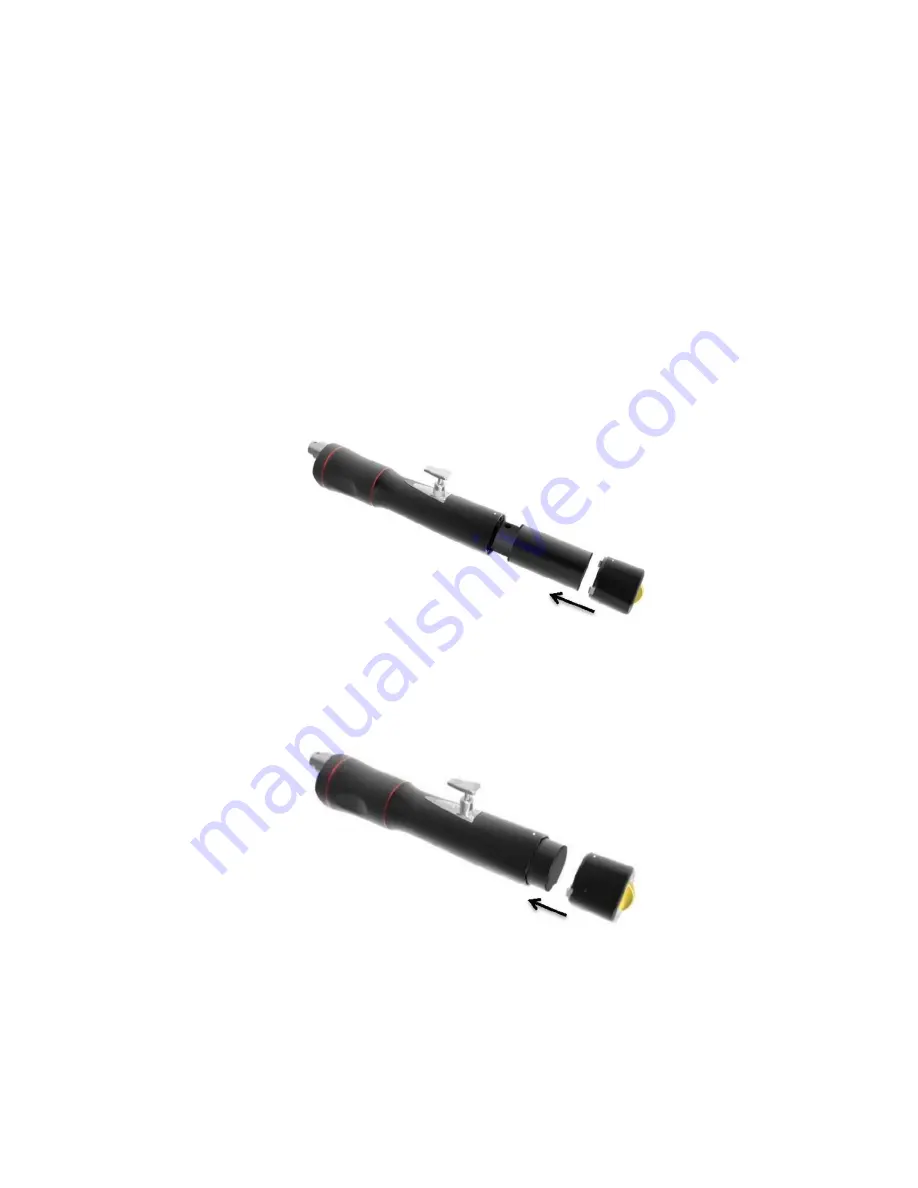
Installing and disassembling the hub and blade 


Lock the hub and blade assembly firmly into place with the hex screw. Ensure 

the blade being used is sharp. Remove the hub and blade prior to sterilization. 


Installing and removing the battery 


Installation: 


Step 1: After sterilization and prior to use, turn the knob switch counter-clockwise to 
take off the end cover. 


Step 2: Put the battery into the main unit. 


Fig.2 Insert the battery 


Step 3: Align the two points between the main unit and the end cover, then turn the 
lock knob clockwise. 


Fig.3 Install the end cover 


Summary of Contents for Push Cut TPLO

Page 1: ...1 Operating manual Push Cut TPLO Saw ...

Page 2: ...on and use 4 Cleaning and sterilization 8 Technical specifications 9 Troubleshooting 9 Notice Please read the entire manual prior to using the Whittemore battery operated push cut TPLO saw For service or repair contact Whittemore Enterprises at 909 980 2452 or 800 999 2452 ...

Page 3: ... in the saw for an extended period of time Remove the battery immediately if there is something wrong with the power during surgery Explosion hazard if batteries are exposed to flames Properly dispose of used batteries Stop using this device immediately if the main unit gets hot or makes an abnormal sound Contact your distributor and return the saw for repair Optimum speed is 16000r min Damage to ...

Page 4: ... and blade prior to sterilization Installing and removing the battery Installation Step 1 After sterilization and prior to use turn the knob switch counter clockwise to take off the end cover Step 2 Put the battery into the main unit Fig 2 Insert the battery Step 3 Align the two points between the main unit and the end cover then turn the lock knob clockwise Fig 3 Install the end cover ...

Page 5: ...5 Fig 4 Lock the end cover Disassembly Step 1 Rotate the knob counter clockwise to unlock and remove the end cover Fig 5 Take off the end cover Step 2 Remove the battery Fig 6 Remove the battery ...

Page 6: ...ging process is completed The battery should not be used immediately after charging It should be allowed to cool down first The charged battery can be used at full load for no less than 8 minutes The battery should be charged approximately every 15 days if the saw is not going to be used on a regular basis Normally the battery can be charged and discharged approximately 150 times After the charger...

Page 7: ...90 The saw is now locked The switch cannot be pressed and the saw will not operate Working mode Turn the switch 90 degrees counter clockwise as in Figure 8 below The saw will now run when the switch is pressed The actual speed is controlled by how far the switch is depressed Gentle pressure means low speed and firmer pressure will result in higher speed Fig 8 Mark on the switch ...

Page 8: ... sterilization equipment and possible pathogens These guidelines represent exposure time and not total cycle time The recommended sterilization parameters may be modified based on standard hospital sterilization protocol Table 3 Sterilization Method Temperature Time Dry time Quick wrapped 129 134 10min 8min Vacuum wrapped 129 134 4min 8min 100 ethylene oxide wrapped 49 57 150min Venting 8 hours 27...

Page 9: ...o 40 deg C Humidity 30 to 75 RH TROUBLESHOOTING Problem Possible cause Solution The saw does not work No charge in the battery Check the battery prior to use Replace with a fully charged battery if needed The saw works only for a short time or lacks power Check the battery Check the battery prior to use Replace with a fully charged battery if needed The blade does not cut well Blunt blade Check th...

Reviews: