P.O. Box 2827
Eugene, OR 97402 USA
Production Code:
06/14
Congratulations!
This fine piece of furniture will make a gorgeous addition to
your home. For the best results, read the Assembly
Instructions before you begin your project.
•
Before you begin your project, completely read the Assembly Instructions.
•
Store this item: 1- in its box; 2- in a dry place; 3- in temperatures that
range from 40°F to 90°F (not on a cold and possibly damp cement floor.)
•
Periodically inspect your furniture for any loose glue joints, screws or
any other problem that might affect the stability of your furniture.
Tighten or repair as needed.
WARNING
Notice to California Customers
California Prop 65 requires consumer goods to be labeled if any one of
850+ different chemicals or substances, including wood dust, is present
even in trace amounts. Drilling, sawing, sanding or machining wood
products generates wood dust, a substance known to the State of
California to cause cancer.
Warning
: This product contains a chemical
or substance known to the State of California to cause cancer, birth
defects or other reproductive harm.
California Health and Safety Code
Section 25249.6
DESIGN SUBJECT TO CHANGE WITHOUT NOTICE.
CALL US FIRST!
Do not return this item to the store
Service Policy:
We will replace any part that is defective,
missing or damaged during assembly. For a replacement
part, directly contact Whittier Wood Products customer
service department by phone, fax, mail or email.
Hours:
Our friendly customer service staff can be reached
Monday-Friday 7:00 a.m. to 5:00 p.m. (Pacific Time). You
may leave a message 24 hours a day, seven days a week.
To Order:
Provide the finish and furniture model number
(upper portion of this page), the part letter, production
code, quantity needed, reason for replacement and your
full name, address and telephone number.
Parts ship from our Eugene, Oregon factory within one or
two business days from the time we receive your request.
Please allow five to ten business days for delivery.
800-653-3336
• Outside the U.S. or Canada: 541-687-0213 • Fax: 541-687-2060
www.whittierwood.com • P.O. Box 2827 • Eugene, Oregon 97402, U.S.A.
IMPORTANT NOTES:
•
For normal household use only.
Not
recommended for commercial use.
•
Do not climb, sit or stand on this piece of furniture.
AEGAC = Glazed Antique Cherry finish; AEGSP = Glazed Spice finish;
AECAF = Caffè finish
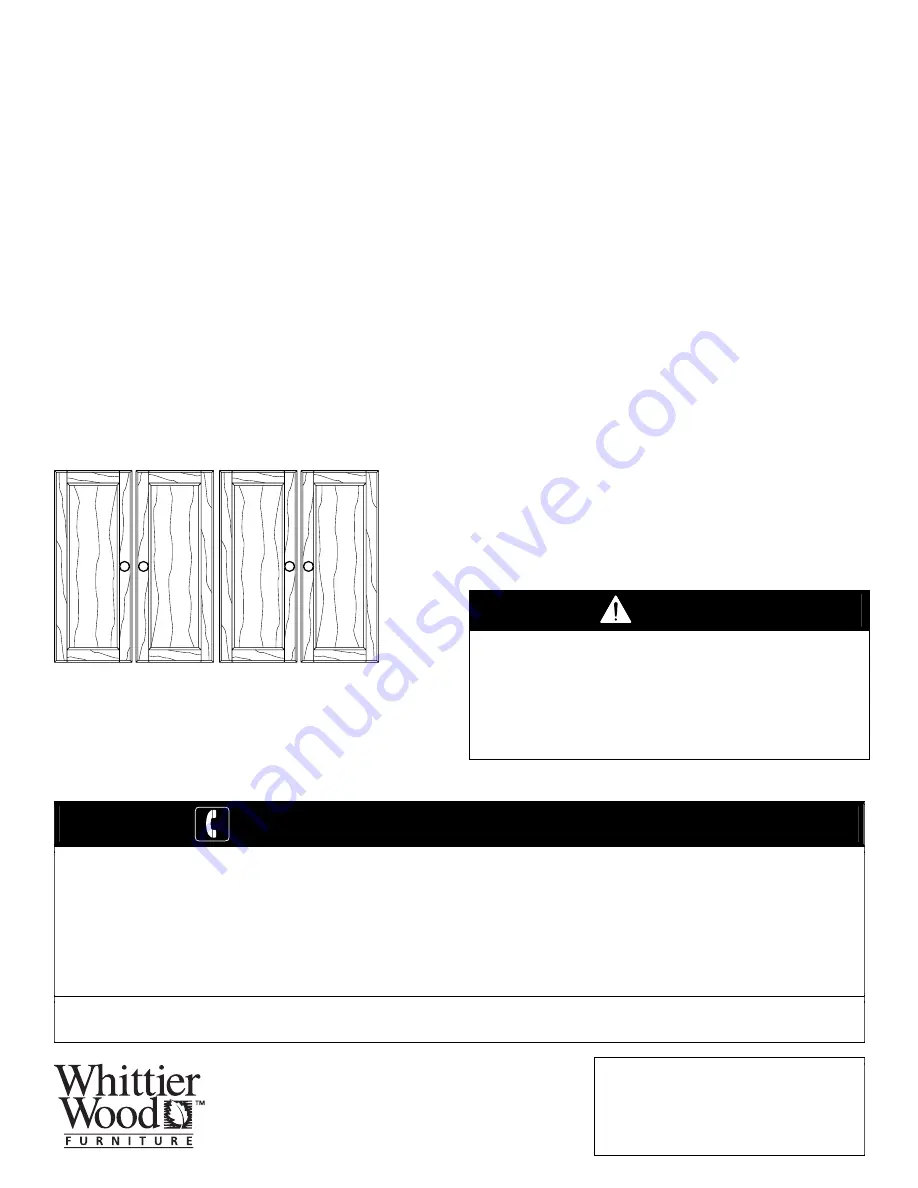
48"W McKenzie Alder Bookcase
Door Kit
Assembly Instructions
Model #
2002AEGACa;
2002AEGSPa;
2002AECAFa


