19
(e)
eyeSCREAM
TM
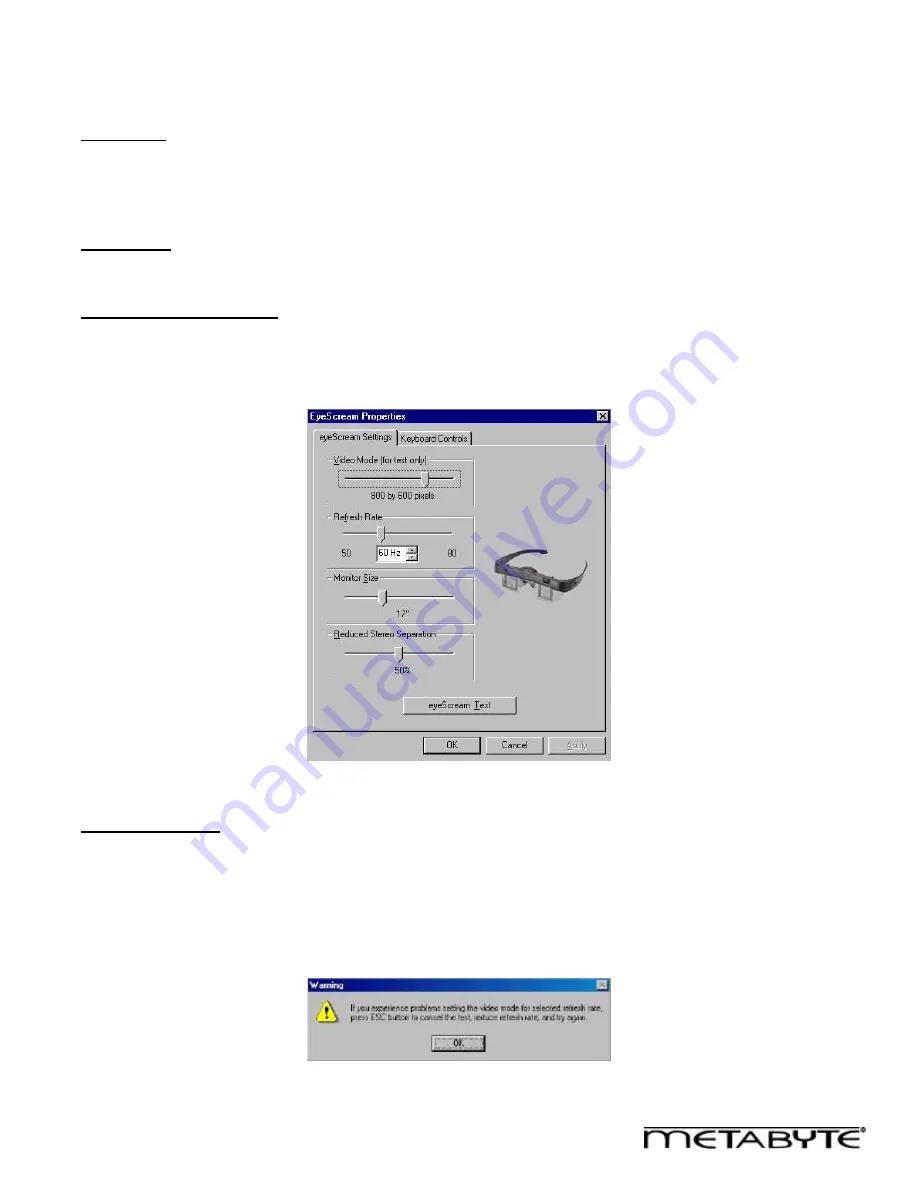
Settings Tab
Video Mode
Use this slider bar to select the mode that you want to test in stereo. If you want to try custom modes, you must first add the
custom mode using the
Custom Resolution Control Center
.
Note: Selecting a resolution using this slider bar will not select the actual resolution for the game. The game resolution is
controlled by the Re2Flex slider bar (when enabled).
Monitor Size
Move the slider bar to set the size of your monitor. This setting determines the pixel separation between the left and right
eye images. (You can use the dynamic adjustments to fine-tune the settings during gameplay.)
Reduced Stereo Separation
Given the selected monitor size, 100% stereo separation will give the most accurate, ideal stereo image. However, you may
find that 100% separation is too much for you eyes, causing you to see double. Use the Reduced Stereo Separation slider
bar to reduce the separation to a level that is comfortable to your eyes.
Figure 16: eyeSCREAM
TM
Properties, eyeSCREAM
TM
Settings tab
eyeSCREAM
TM
Test
Use the e
yeSCREAM
TM
Test
screen to fine tune your stereo and screen settings. The current mode is displayed on the lower
right hand corner of the screen. Use the <U> and <I> keys to adjust the vertical separation so that the text is readable. Use
the <O> and <P> keys to adjust the stereo separation to suit your preference. The wider the stereo separation, the more
depth you will see. However, if you see "double", reduce the separation to a comfortable amount for your eyes. Use the
arrow keys to adjust the position of the screen. Hold down shift and press the arrow keys to change the size of the screen.
Press <Enter> or <Z> to save these screen settings. The vertical separation and stereo separation values are saved when
you exit the Stereo Test. Press <R> to reset the stereo hardware, in case you see separate top and bottom images. Press
<Y> to toggle stereo On/Off.
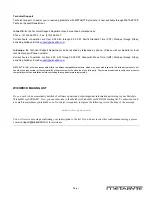
Figure 17: eyeSCREAM
TM
Test warning


