Ku nst sto ffschweißtec hni k
Starting and operating
Chapter 5
02.08.2011
Working Instructions WIDOS 4900 CNC 3.5
Page 27 of 68
5.11. Welding process
The basic machine is connected with the control unit
CNC 3.5
, the planer and the heating element.
The control unit
CNC 3.5
is switched on.
Now you can start the welding process. Please proceed as follows:
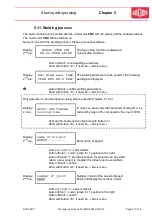
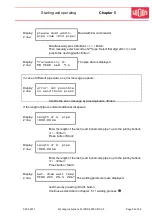
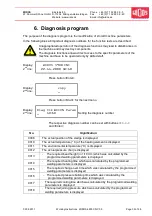
Display:
2
nd
line:
WIDOS 4900 CNC
22.11.2000 10:10
The type of the machine is displayed
Current date and time
button <Start>: menu welding parameters
Abort with button <C> if need be
→
basic menu
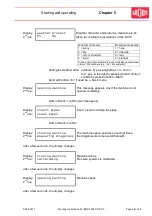
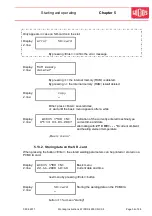
Display:
2
nd
line:
mat diam wall temp
PE80 225 20.5 206°
The welding parameters to be used for the following
welding are displayed
button <Start>: confirm welding parameters
Abort with button <C> if need be
→
basic menu
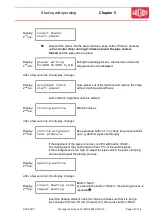
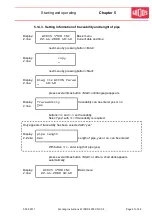
Only appears in case shortened cooling time is entered (Chapter: 5.14.4)
Display:
2. line:
Attn! shortened
cooling time
In case you have selected shortened cooling time, it is
reduced by appr. 40% compared to the one of DVS.
Activate the shortened cooling time with button <+>
Abort with button <C> if need be
→
basic menu
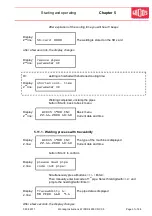
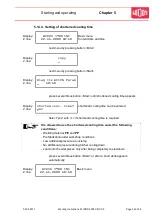
Display:
2
nd
line:
name of project
WIDOS .........
Enter name of project
button <+> and <->: select letters
button <Enter>: cursor jumps for 1 position to the right
button <Planer>: 5 storage locations for projects can be called
(when a new project is created, the oldest one is overwritten)
button <Start>: confirm
Abort with button <C> if need be
→
basic menu
Display:
2
nd
line:
number of joint
0000
Number of joint of the selected project
Enter and display the number of joint
button <+> and <->: select numbers
button <Enter>: cursor jumps for 1 position to the right
button <Start>: confirm
Abort with button <C> if need be
→
basic menu

