Ku nst sto ffschweißtec hni k
Starting and operating
Chapter 5
02.08.2011
Working Instructions WIDOS 4900 CNC 3.5
Page 29 of 68
Display:
2
nd
line:
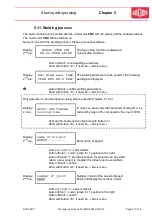
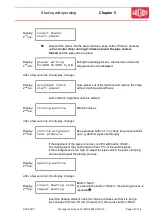
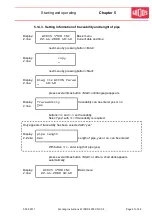
insert planer
start planer
Suspend the planer into the basic machine, keep button <Planer> pressed
until
a circular chip running 2-3 times around the pipe ends is
formed
and the pipe ends are plane
Display:
2
nd
line:
planer working
Ps=000 Pi=000 P
0
0.0
During the planing process, the desired, actual and
drag pressures are displayed
after a few seconds, the display changes
Display:
2
nd
line:
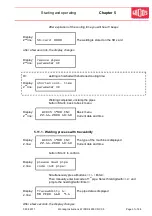
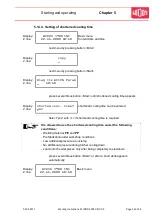
alignment check
start planer
Take planer out of the machine and remove the chips
without touching worked faces
button <Start>: alignment check is started
Display:
2
nd
line:
closing machine
Machine closes
after a few seconds, the display changes
Display:
2
nd
line:
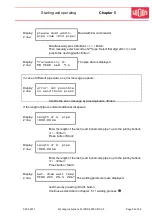
confirm alignment
test pressure
Keep pressed button <+> to check the pressure build-
up (e.g. whether pipes slip through)
If the alignment of the pipes is correct, confirm with button <Start>.
The misalignment may not be higher than 10 % of the wall thickness.
If the misalignment is too high, re-adjust the pipe ends in the basic clamping
devices and repeat the planing process.
Display:
2
nd
line:
opening machine
after a few seconds, the display changes
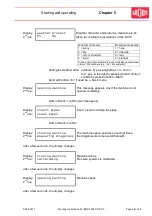
Display:
2
nd
line:
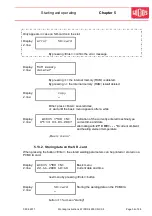
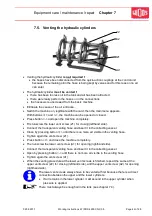
insert heating elem
repeat planing
Button <Start>
by pressing the button <Planer>, the planing process is
repeated
Insert the heating element in the machine and make sure that it is lying in
the necking of the tear off rod, (Chapter 4.3), then press button <Start>

