Configuration and setup
Wieland Electric GmbH | BA000870 | 06/2020 (Rev. A)
31
5.9.1
Date/Time settings
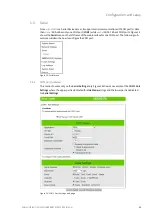
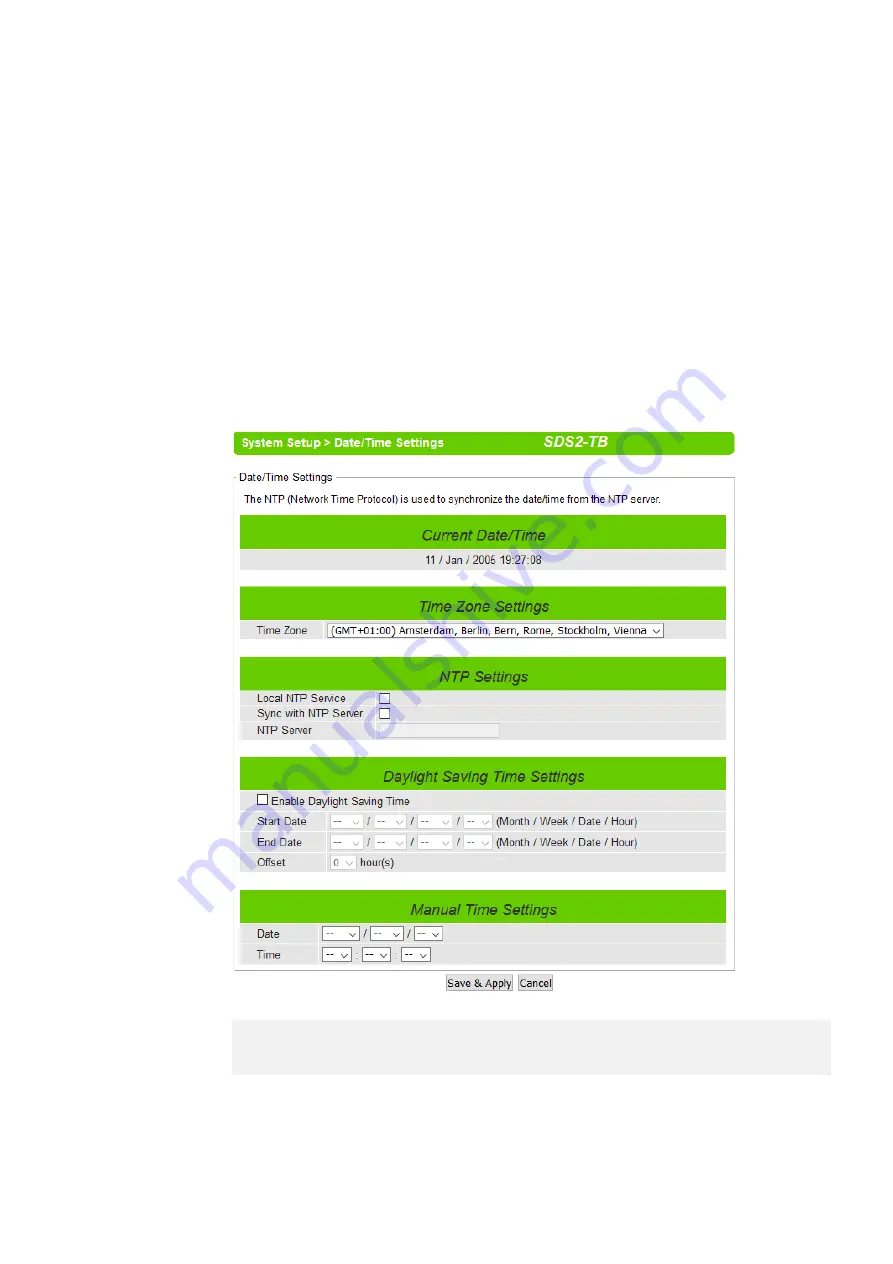
Date and time can be set manually or using Network Time Protocol (NTP) to automatically synchro-
nize date and time of
wienet SDS
with a Time Server. Figure 28 shows the
Date/Time Settings
page.
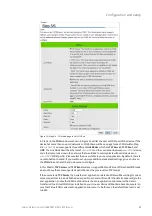
The first part of the page is the latest
Current Date/Time
which is in the format of
DD/Month/YYYY
HH:MM:SS
. The second part of the page is the
Time Zone Settings
. You can select your local
Time
Zone
from the drop-down list. The third part of the page is the
NTP Server
Settings
. In this part, you
can either enable the local NTP service inside
wienet SDS
by checking the option
Local NTP Service
below
NTP Settings
part or automatically synchronize with a time server or
NTP server
. To enable
automatic time synchronization, please check the box behind the
Sync with NTP
Server option.
Then proceed to enter the IP address or host name for the
NTP Server
. Note that if a host name is
entered, the DNS server must be configured properly. For more information, see section 5.4 Network
settings, p. 19. The fourth part is the
Daylight Saving Time Settings
that can be enabled when
Ena-
ble Daylight Saving Time
box is checked. When it is enabled, the user can select the detailed setting
of the daylight-saving period, such as
Start Date
and
End Date
with
Offset
. Finally, the last part of
the page is the
Manual Time Settings
where you can set
Date
and
Time
using corresponding drop-
down lists in Figure 28.
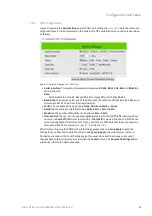
Figure 28: Date/Time Settings web page under System Setup
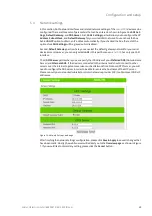
It is also important to setup Default Gateway and DNS Servers in the Network Settings properly so
that
wienet SDS
can lookup DNS names and point to the proper NTP server. For more information,
see section 5.4 Network settings, p. 19.
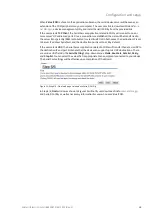
After finishing the configuration of the
Date/Time Settings
, please click on
Save & Apply
to keep the
change that you have made and to apply your setting. When the saving and applying are finished,
the web browser will remain on the
Date/Time Settings
page. If you want to cancel the change and
reset all changes back to their original values, just click the
Cancel
button.
NOTI C E

