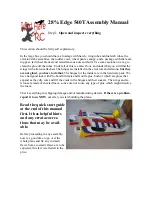
28% Edge 540T Assembly Manual
Step 2.
Engine mounting
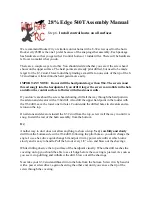
The first thing to do, before anything else goes in the fuselage, is to get the engine mounted
and aligned with the cowl. Here’s how I have done it. This is the hardest and most time con-
suming step in building this plane. If you can do this everything else should be easy. Do this
first before you hinge the rudder.
Note that the firewall already has a proper amount of right thrust built in, do not use any
other offsets. When you shim the engine out from the firewall use shims of equal thickness
on all 4 corners so that you do not introduce any other thrust angles.
This plane is designed around an engine of 3 to 4 1/2 pounds. If you plan to use a heavier
engine (some people plan to use 70-75cc, even though that is way overpowered and over-
weight) it’s a good idea to double the firewall. Cut a piece of 1/4” aircraft ply the same size
as the inside of the motorbox and epoxy it to the back of the pre-installed firewall. Reinforce
it with 1/2” triangle stock on all 4 sides. Drill out the center hole so the next step will still
work.
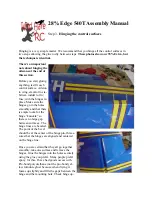
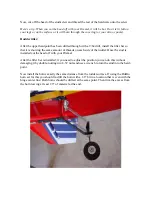
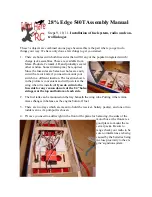
With no cowl or hatch on the fuse find a place in your workshop where you can stand the
fuselage up on its tail so that the motor mount is pointing at the ceiling. Secure the fuse so it
stands like that and wont fall over. I wrap masking tape around it and tape it to the side of
the workbench.
Note that the firewall already has a proper amount of right thrust built in, do not use any
other offsets.
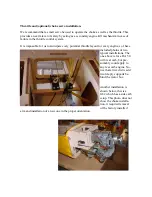
Set the engine on it’s rear radial mount (assuming it has one) on the motor mount firewall so
the crankshaft is pointing up at the ceiling. Some single cylinder engines will sit nicely on
their motor mount plate on the firewall, others have too much weight in the cylinder and will
fall over. If yours falls you will need some method of keeping the engine sitting on its
mounting lugs without falling over. Here’s how I did this:
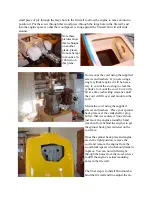
Temporarily mount the engine to a piece of wood about 1/2” thick, any old piece of plywood
will do. If the engine has a rear carb you may need to open up the firewall for the carb to go
through, but I find it easier to remove the carb during this fitting stage, then when the exact
engine location is found you can cut the firewall to clear the carb and then remount it. If you
do that, be sure to seal the engine inlet so you don’t get sawdust and debris in the engine.
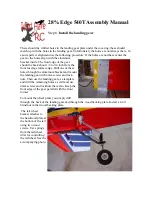
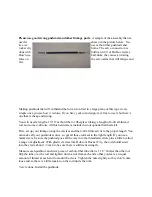
Cut a strip of 1/4” ply about 3” long, and drill it in the center so that you can put a sheet
metal screw through it. The idea is to sandwich the firewall between the wood spacer and the


