11
3.3
Load Batteries
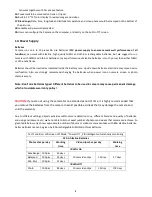
Open the camera cover.
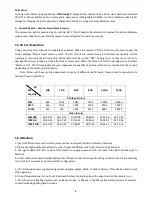
Push to open the battery door and load 4 AA batteries at least. Open the battery door of standby battery
compartment and load 12 AA batteries (make sure the polarity matches the sign on the cover).
Push to close the battery door.
Make sure the 12 new and full AA alkaline batteries are loaded
3.4 Enter Test Mode
Switching on and off , making settings
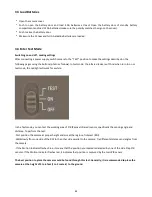
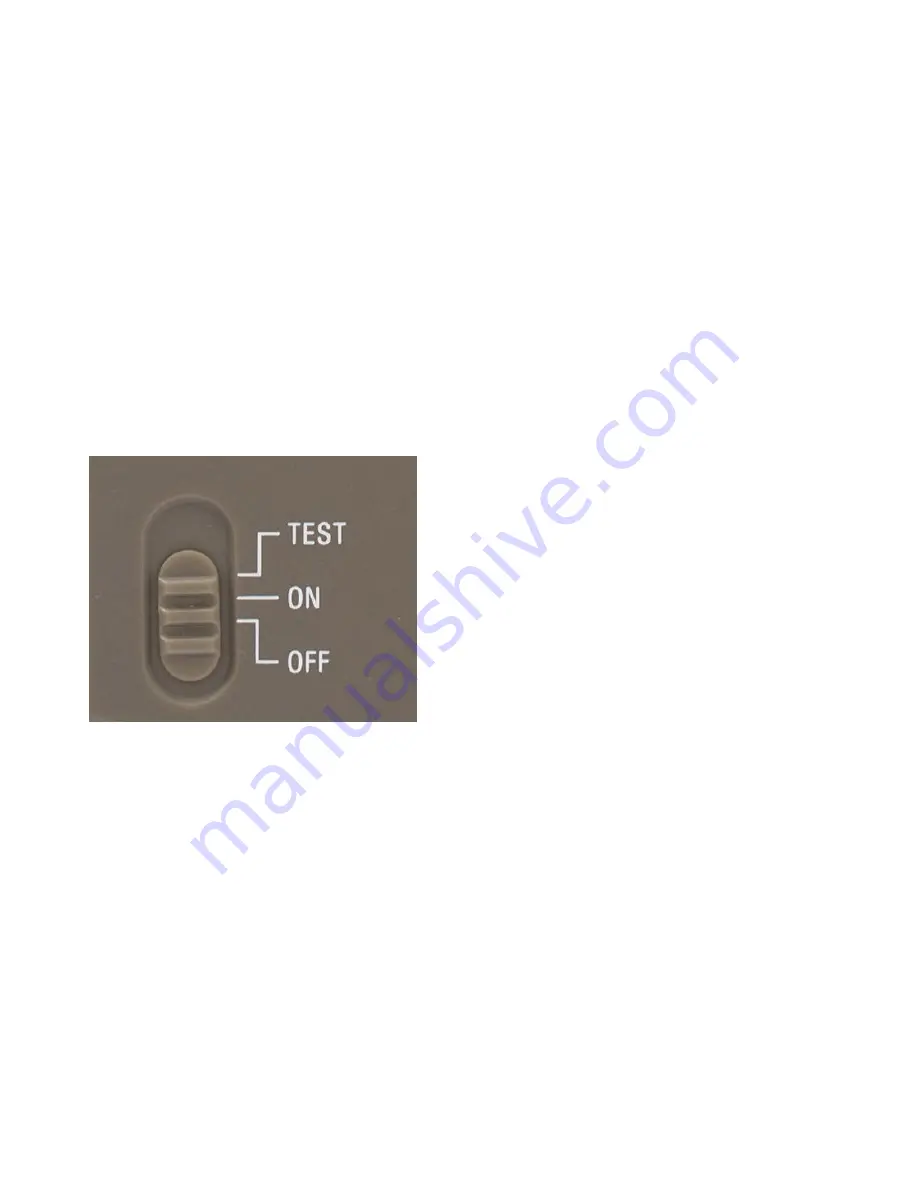
After connecting a power supply, switch camera to the “TEST” position to make the settings described on the
following pages using the buttons (photo as follows). In test mode, the infrared leds are off. And when turn to on or
test mode, the red light will work for a while.
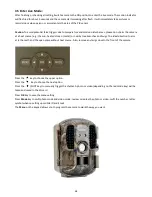
In the Test mode, you can test the working area of PIR (Passive Infrared) sensor, specifically the sensing angle and
distance. To perform the test:
-First position the camera at proper height and aim at the region of interest (ROI).
-Walk slowly from one side of the ROI to the other side parallel to the camera. Try different distances and angles from
the camera.
- If the Motion Indicator flashes blue, it means that the position you located is detected by one of the side Prep PIR
sensors. If the Motion Indicator flashes red, it indicates that position is captured by the main PIR sensor.
The best position to place the camera could be found through this test. Generally, it is recommended to place the
camera at the height of 3 to 6 feet (1 to 2 meters) to the ground.
Summary of Contents for GUARD1 Series
Page 9: ...9...


